Crochet Flower Pattern: A Simple, Addictive Design
Crochet Flower Pattern: An Easy, Addictive Design
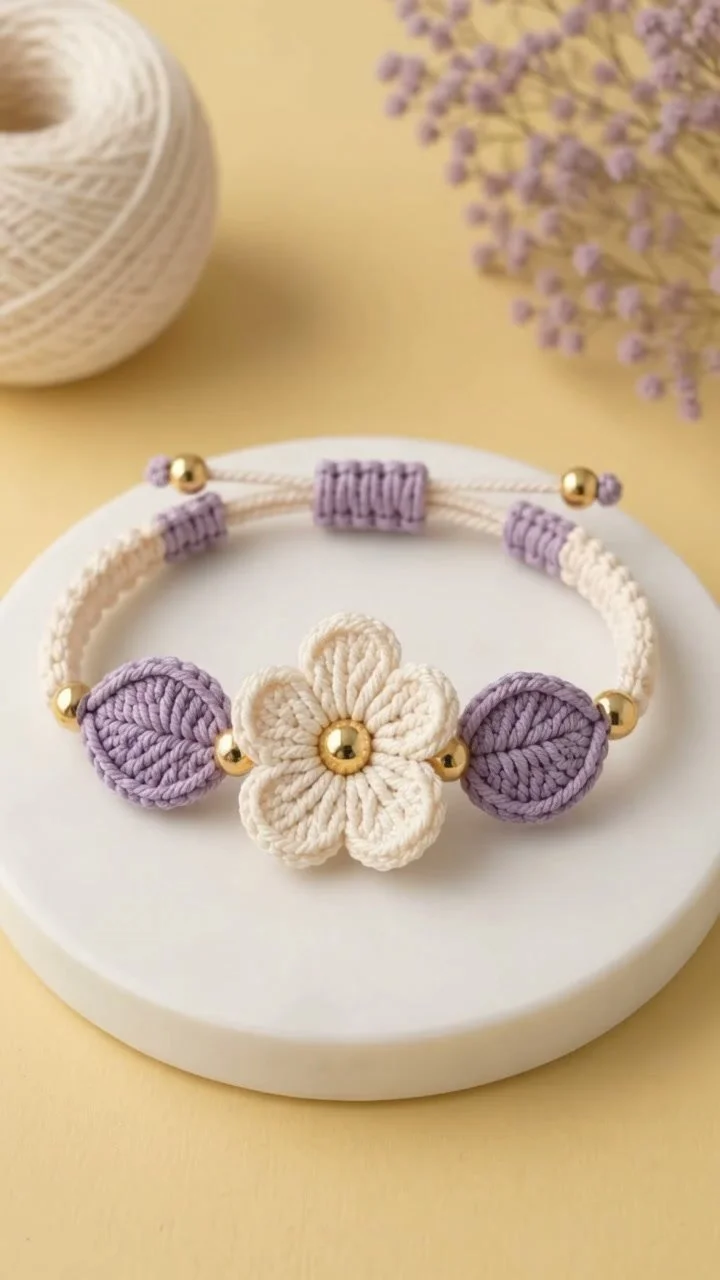
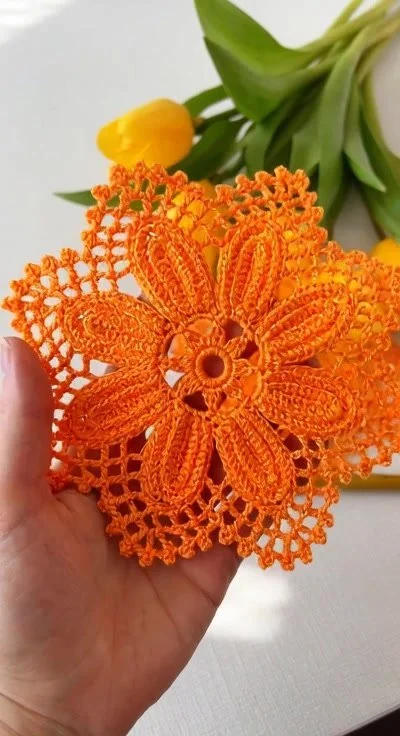
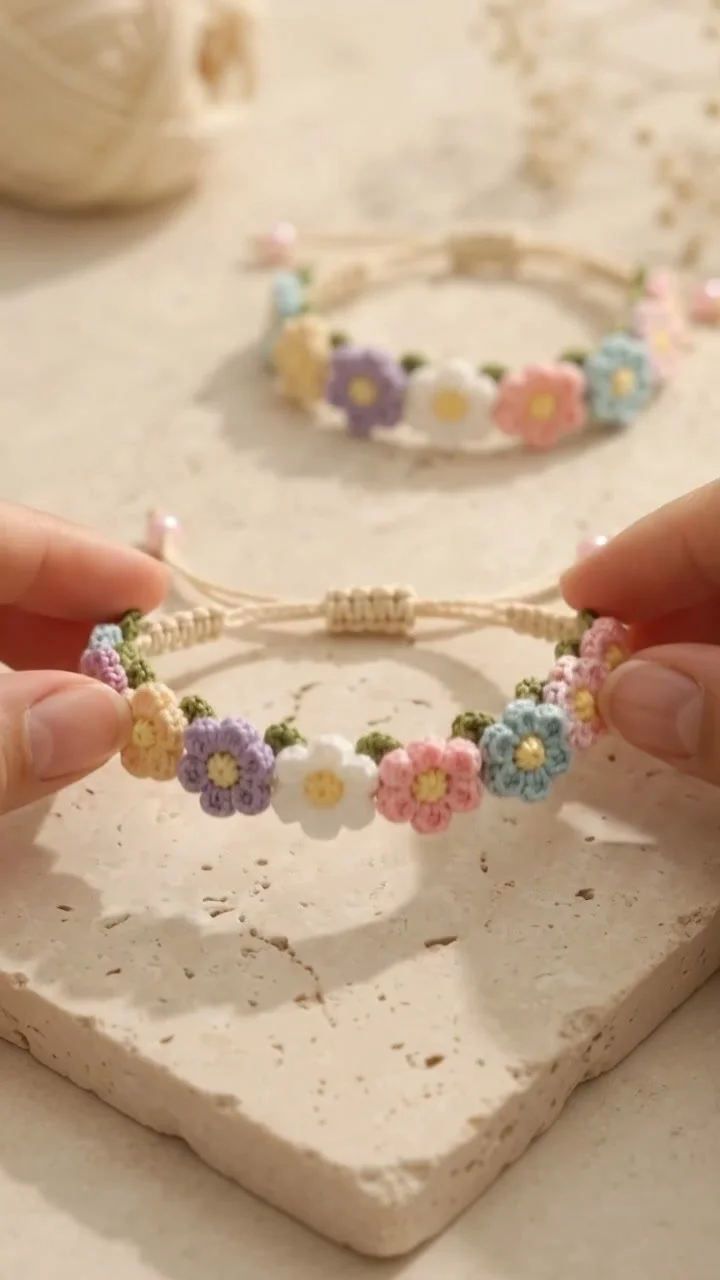
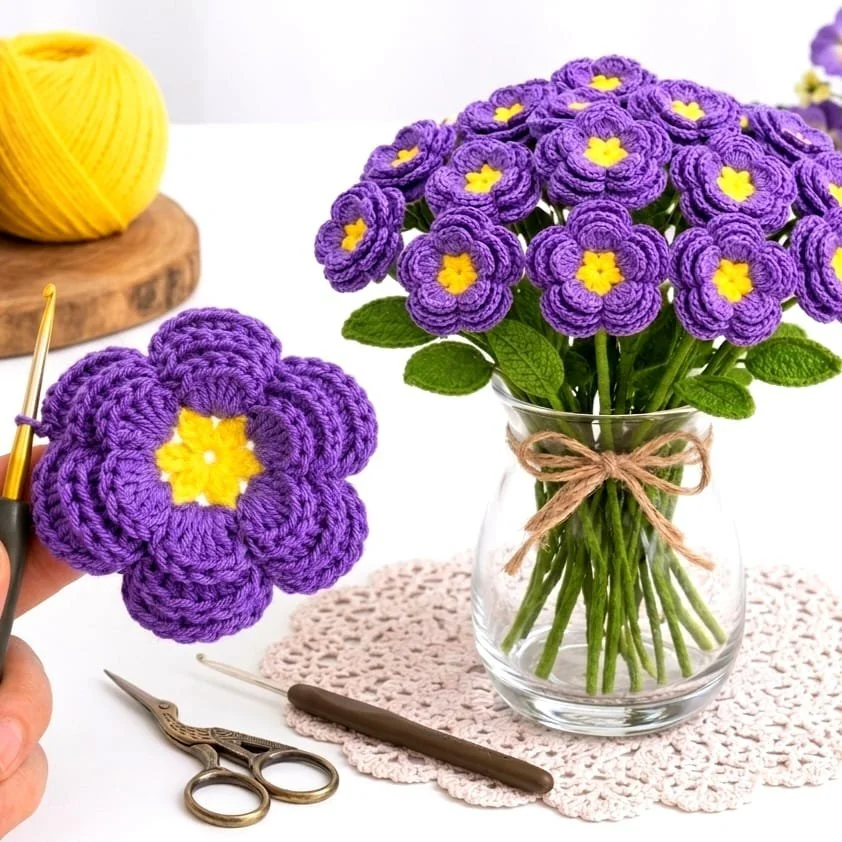
Creating crochet flowers is an enjoyable and versatile craft that can elevate your projects and showcase your creativity. In this tutorial, you’ll learn how to make a simple yet beautiful crochet flower pattern, suitable for all skill levels. This pattern is particularly addictive, encouraging you to experiment with colors and shapes for various applications such as embellishing accessories or home décor.
Project Plan
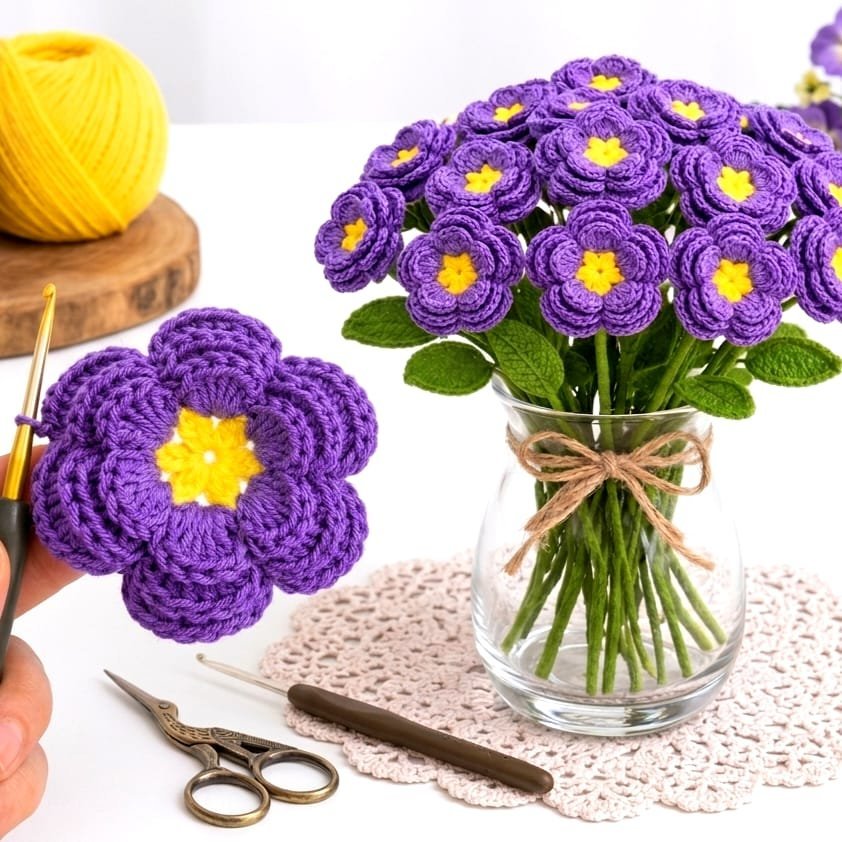
This project will consist of creating multiple flower petals, assembling them into layers, and finishing with a decorative center. The main components include:
- Flower Petals: Made with simple crochet stitches.
- Layering: Stacking petals for depth.
- Center: Adding elements like beads or buttons.
- Edging: Neatening the edges with slip stitches.
This guide will focus on crocheted components, while embellishments can be purchased or sourced from your craft supplies.
Materials and Tool Selection
Verified Materials
To create your crochet flower, you’ll need the following materials:
- Yarn: Cotton yarn is recommended for its durability and structure, though acrylic is softer and available in a wider variety of colors.
- Crochet Hook: A size between G (4.0 mm) and J (6.0 mm) is typically appropriate. Always refer to your yarn label for guidance on hook size.
- Scissors: For trimming yarn ends.
- Tapestry Needle: For weaving in ends after your flower is complete.
Suggested Alternatives
You might also consider:
- Wool Yarn: Softer, but be mindful of pilling.
- Metallic Threads: For a touch of sparkle in more elegant designs.
- Fabric Stiffener: If you want to create structured flowers.
Assessing Yarn and Hook
Before starting, create a small swatch of different stitches to find your preferred tension and ensure the flower’s proportions are to your liking.
Terminology and Techniques
Basic Crochet Terms
- Chain (ch): The initial foundation of stitches.
- Single Crochet (sc): A tight stitch for compact areas.
- Double Crochet (dc): Adds height to your stitches.
Key Techniques
-
Single Crochet:
- Insert your hook into the stitch.
- Yarn over and pull through (2 loops).
- Yarn over again and pull through both loops on the hook.
- The finished stitch should form a small, tight V-shape.
-
Double Crochet:
- Yarn over and insert your hook into the stitch.
- Yarn over and pull through (3 loops).
- Yarn over and pull through the first 2 loops (2 loops).
- Yarn over again and pull through the last 2 loops.
- The finished stitch should be taller than a single crochet and form a more open V-shape.
Measurements and Preparation
To prepare for your crochet flower, follow these steps:
- Gauge: Determine your gauge by crocheting a small square (4"x4") using the intended yarn and hook size. Count the stitches and rows to ensure consistent sizing.
- Measuring: If you’re aiming for a specific flower size, measure the swatch once washed or blocked, and adjust your hook size as necessary to meet your desired gauge.
Detailed Working Method
1. Create the Flower Petals
- Foundation: Start with a magic ring (or ch 4 and join) to create a circle.
- First Round: Work 10 single crochets (sc) into the ring. Pull the ring tight. Slip stitch (sl st) to the first sc to join the round (10 sc).
- Second Round: Ch 3 (counts as first dc). In the next stitch, work 2 double crochets (dc). Repeat this around, leading to a total of 20 dcs. Join with a sl st to the top of the ch 3.
- Layering: For a second layer, repeat the above, staggering the placement of the next layer’s petals slightly for a fuller appearance. You may create as many layers as desired.
2. Adding a Center
- Decorative Element: Choose a button or bead.
- Position the center onto the completed flower, and sew securely to attach it.
3. Edging
- Finish by working a round of slip stitches (sl st) around the flower’s outer edge to give it a defined shape and neat appearance.
Assembly and Finishing
To assemble your flower:
- Position each layer consistently, ensuring they are aligned.
- Sew through the base of the petals to attach layers securely.
- Neatly weave in any yarn ends using the tapestry needle.
- After securing, check for alignment, ensuring no petals are twisted or uneven.
Troubleshooting
| Symptom | Likely Cause | Practical Correction |
|————————————-|—————————-|———————————————-|
| Uneven petal sizes | Inconsistent tension | Practice maintaining tension throughout work.|
| Lopsided flower | Incorrect stitch count | Ensure you are counting stitches accurately.|
| Difficulty in assembly | Improper pinning | Use clips to secure petals before sewing. |
Variations, Care, and FAQ
Variations
- Different Petal Shapes: Experiment with rounded, pointed, or scalloped edges.
- Layering Techniques: Adjust the number of layers for a more minimalist flower.
- Color Blending: Use gradient yarn or double-stranded colors for added depth.
Care
- Hand wash in cold water with mild detergent.
- Lay flat to dry to maintain shape.
- Avoid prolonged sunlight exposure to prevent fading.
Frequently Asked Questions
-
What is the best yarn for making crochet flowers?
Cotton yarn is often best for its structure, but acrylic is suitable for a softer finish. -
Can I use different stitch patterns?
Absolutely! Experiment with various stitches for unique textures and effects. -
How do I attach flowers to accessories?
They can be sewn on or glued; just ensure the adhesive is compatible with your base material. -
Can I make large flowers?
Yes! Adjust your yarn weight and hook size to create larger blooms suitable for statement pieces.
Completion Checklist
- [ ] Gather all materials and tools.
- [ ] Create a swatch to assess gauge.
- [ ] Crochet flower petals and assemble layers.
- [ ] Add decorative center and finish edges.
- [ ] Weave in ends and ensure proper care instructions are followed.
Enjoy crafting your crochet flowers! With practice, you’ll find that these charming motifs provide endless opportunities for creativity. Happy crocheting!