Crochet Bracelet Gift: A Cherished Accessory for Someone Special
Crochet Bracelet: A Gift for Someone Special to Cherish
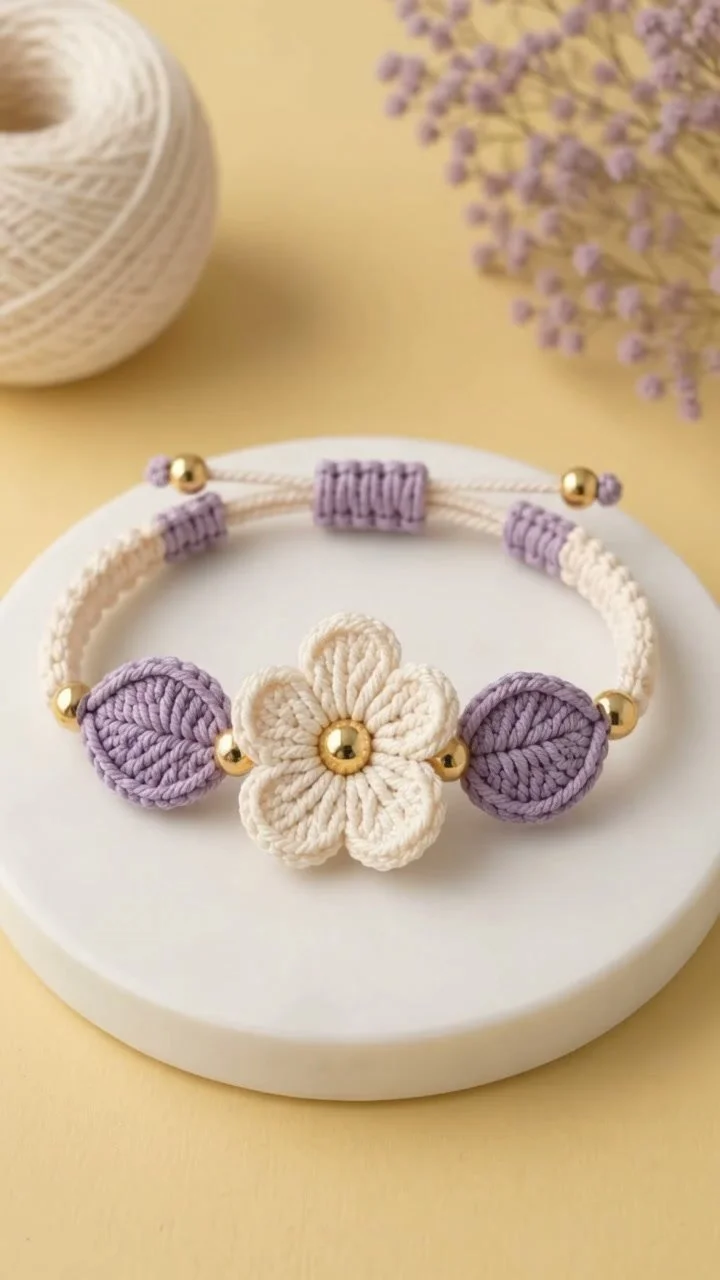
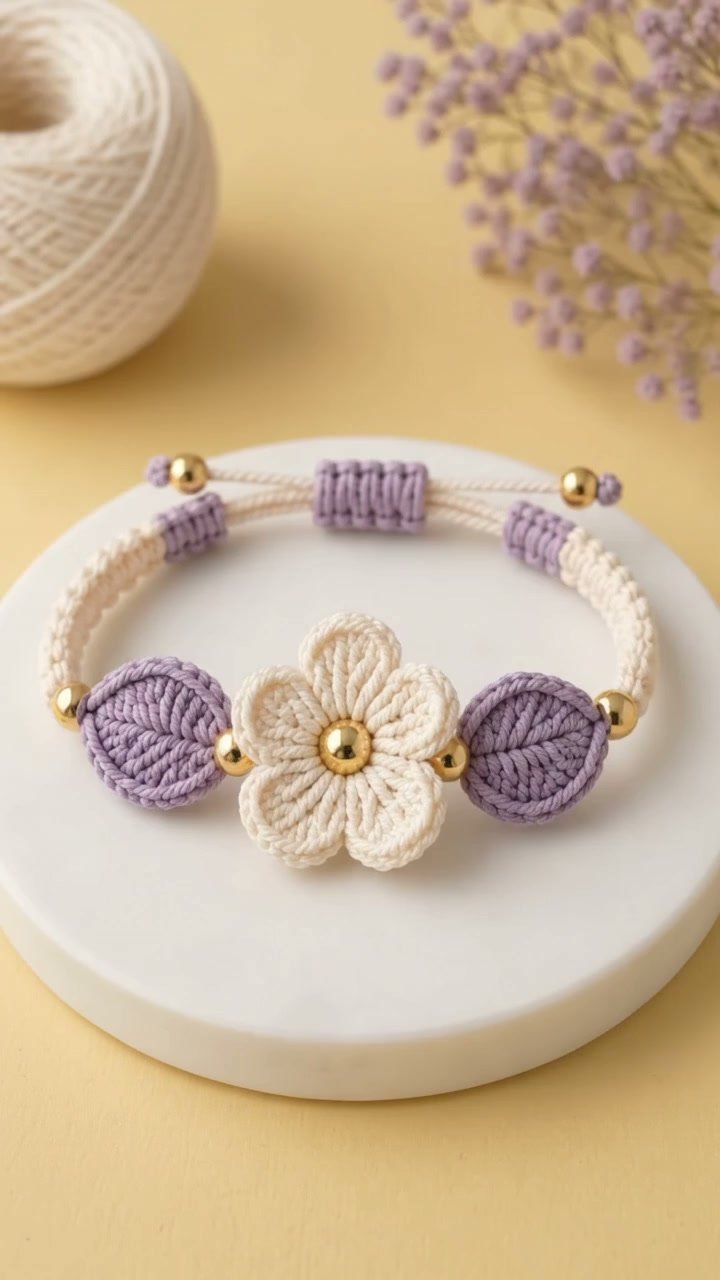
In this tutorial, you will learn how to create a charming crochet bracelet that is perfect for gifting to someone special. This project will guide you through selecting the right materials, mastering basic crochet techniques, and effectively assembling your unique accessory. You’ll be equipped with the skills to crochet the main body of the bracelet, create decorative flowers, and attach a clasp, making this both a fun and rewarding experience.
Project Plan
The crochet bracelet consists of three main components that you will create and assemble in this order:
- Bracelet Body: A strip of crochet that forms the main part of the bracelet.
- Flower Embellishments: These add character and charm to the bracelet.
- Clasp: A purchased component that allows the bracelet to be securely worn.
The assembly process will involve crocheting the bracelet, making flowers, attaching these flowers, and finally adding the clasp.
Materials and Tool Selection
Materials
- Yarn: Choose a soft, durable yarn such as cotton or acrylic.
- Hook: Select a crochet hook that matches your chosen yarn weight (see yarn label for recommendations).
- Clasp: A magnetic or lobster clasp, purchased separately.
- Scissors: For cutting your yarn.
- Tapestry Needle: For weaving in ends and securing the flowers.
Suggested Starting Choices
- Yarn Type: Medium-weight yarn (worsted-weight cotton recommended).
- Hook Size: Start with an H-8 (5 mm) crochet hook.
Yarn Selection Tips
Choosing the right yarn fiber affects the bracelet’s drape and durability:
- Cotton: Durable with vibrant color options.
- Acrylic: Affordable and easy to care for.
Before starting on your main project, it’s important to make a small swatch (around 4"x4"). Check your gauge to ensure your tension allows for neither too tight nor too loose stitches.
Terminology and Techniques
US Crochet Terminology:
- Chain (ch): A foundational stitch that starts your project.
- Single Crochet (sc): A fundamental stitch used throughout the bracelet.
- Slip Stitch (sl st): Used to join stitches or finish off the project.
- Double Crochet (dc): Adds height and texture to the design.
Techniques Explained
Chain Stitch
- Insert your hook into the desired stitch.
- Yarn over and pull through to have two loops on the hook.
- Yarn over again and pull through both loops to complete the stitch.
Single Crochet
- Insert the hook into the desired stitch.
- Yarn over and pull through (two loops on the hook).
- Yarn over again and pull through both loops to finish the stitch.
Slip Stitch
- Insert the hook into your stitch.
- Yarn over and pull through both the stitch and the loop on the hook.
Double Crochet
- Yarn over, insert your hook into the stitch.
- Yarn over and pull through (you now have three loops on the hook).
- Yarn over again and pull through the first two loops (two loops left).
- Yarn over and pull through the remaining two loops to complete the stitch.
Measurements and Preparation
Measure Your Wrist
Use a soft measuring tape to measure around your wrist at the point where you want the bracelet to sit. This measurement will help determine the length of your crochet strip.
Create a Swatch
Before starting on the actual bracelet, crochet a small square swatch. Ensure to note the number of stitches and rows per inch. This swatch will inform how many chains you will need to create a well-fitting bracelet.
Detailed Working Method
Stage 1: Crochet the Bracelet Body
- Foundation Chain: Begin with a slip knot and chain to the preferred length (your wrist measurement plus 1 inch for adjustability).
- First Row: Turn your work, crochet a single crochet in the second chain from the hook, and continue across the chain.
- Subsequent Rows: Turn your work and chain 1 at the end of each row before starting the next row of single crochet.
- Stopping Condition: Continue crocheting until the width reaches about 0.5 to 1 inch.
Visual Checkpoint
Ensure the fabric lies flat and maintain even tension throughout.
Common Error
Checking for skipped stitches is essential, as they can cause unevenness. To correct, insert your hook in any missed stitches and crochet into them.
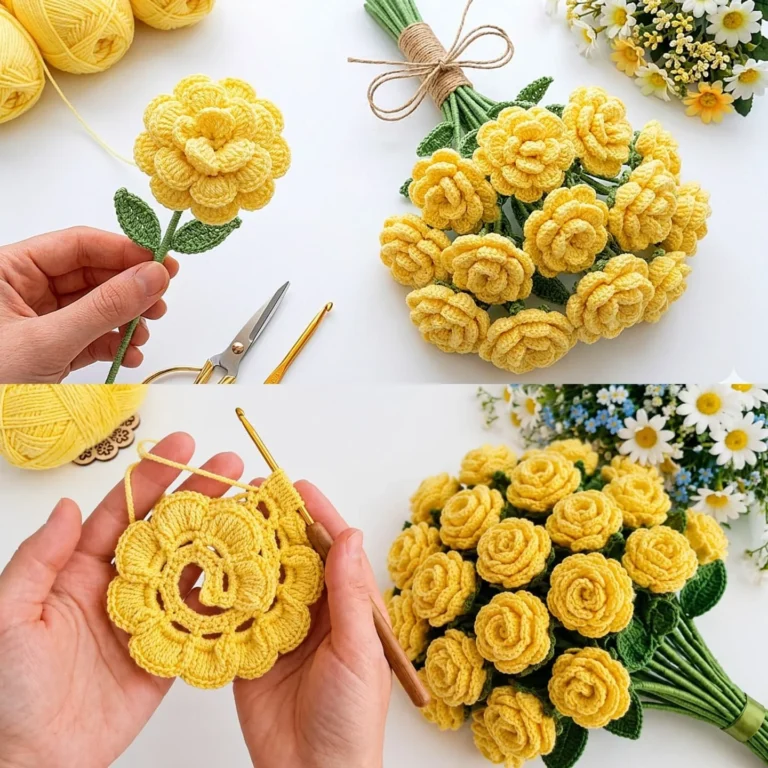
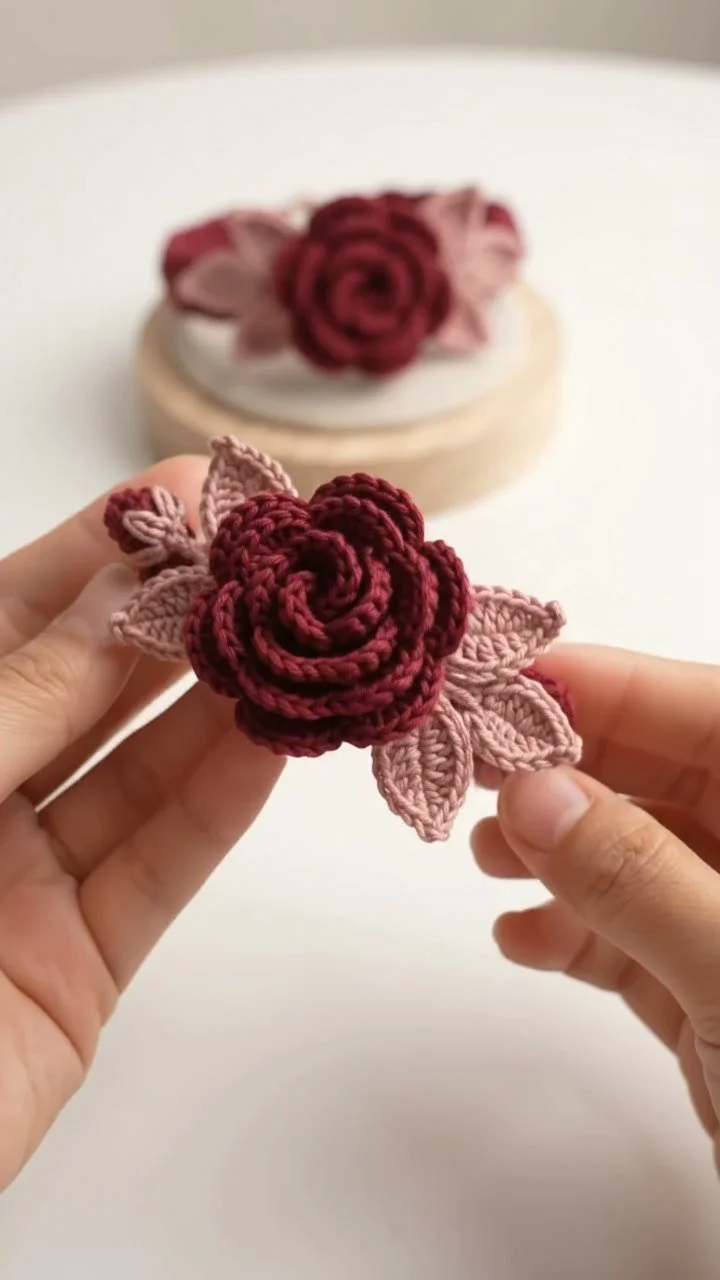
Stage 2: Crochet the Flowers
- Foundation: Start by making a magic ring and chaining 3 (this counts as your first double crochet).
- Complete Flower Petals: Make 4 more double crochets into the magic ring to create the petals and join the round with a slip stitch.
- Second Round: Chain 1, single crochet in the next stitch, chain 5, and single crochet in the next stitch. Repeat until five petal points are formed.
- Stopping Condition: Finish with a slip stitch and cut your yarn.
Stage 3: Attach the Flowers
- Placement: Decide on the position of the flowers on the bracelet. Use pins to hold them temporarily as you decide.
- Sewing: Use a tapestry needle with matching yarn to sew on each flower securely. Pull tightly to ensure they attach well.
Stage 4: Add the Clasp
- Attach Clasp: Secure the clasp to each end of the bracelet using slip stitches or whip stitches. Ensure that the clasp is centered with the ends of the crochet piece.
Assembly and Finishing
When assembling the bracelet, check the placement of all components to ensure proper alignment before securing anything in place. Use a tapestry needle to weave in any loose ends, ensuring a clean finish. Finally, check the clasp to see that it opens and closes smoothly.
Troubleshooting
| Symptom | Likely Cause | Practical Correction |
|———————–|————————|———————————————-|
| Uneven tension | Skipped stitches | Review your stitches and correct as needed. |
| Flowers sagging | Insufficient securing | Re-sew flowers with extra tension. |
| Clasp not attaching | Wrong placement | Re-assess clasp positioning and adjust. |
Variations, Care, and FAQ
Variations
- Experiment with different flower types or sizes.
- Use a thicker yarn for a chunkier look.
Care
To maintain your bracelet’s shape and integrity, hand wash it in cold water and lay it flat to dry.
FAQ
-
Can I use different yarn types?
Yes, but this may affect the size and drape of your bracelet. -
How can I customize the bracelet size?
Adjust the starting chain length according to your wrist measurement. -
Can I add beads or charms?
Yes! Just ensure that they are securely attached during assembly. -
What if my flowers are too big?
Create smaller flower motifs by adjusting the petal count for a more delicate appearance.
Completion Checklist
- [ ] Crocheted body is complete and checked for size.
- [ ] Flowers are securely attached.
- [ ] Clasp is properly installed and functional.
- [ ] Loose ends are woven in, and the bracelet is ready for gifting!
With this guide, you are now ready to create a delightful crochet bracelet that will surely be cherished by its recipient. Happy crocheting!