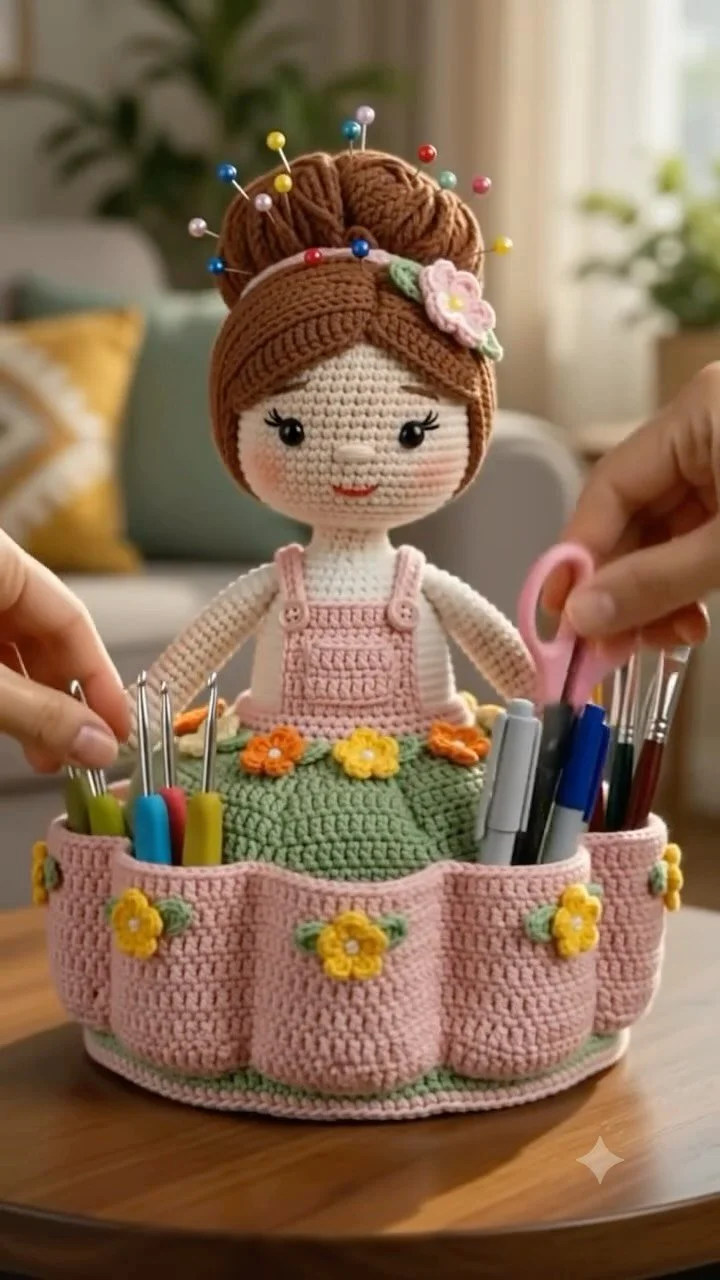
Crochet Amigurumi Organizer: Keeps Hooks, Brushes, Tools Handy
Crochet Amigurumi Organizer Holds Your Hooks, Brushes, and Tools
In this tutorial, you will learn how to create a charming amigurumi organizer designed to hold all your crafting essentials such as hooks, brushes, and tools. Additionally, we will cover essential crochet techniques, assembly methods, and troubleshooting tips to ensure you achieve a beautiful and functional result. Get ready to enhance your crafting space with this adorable addition!
Project Plan
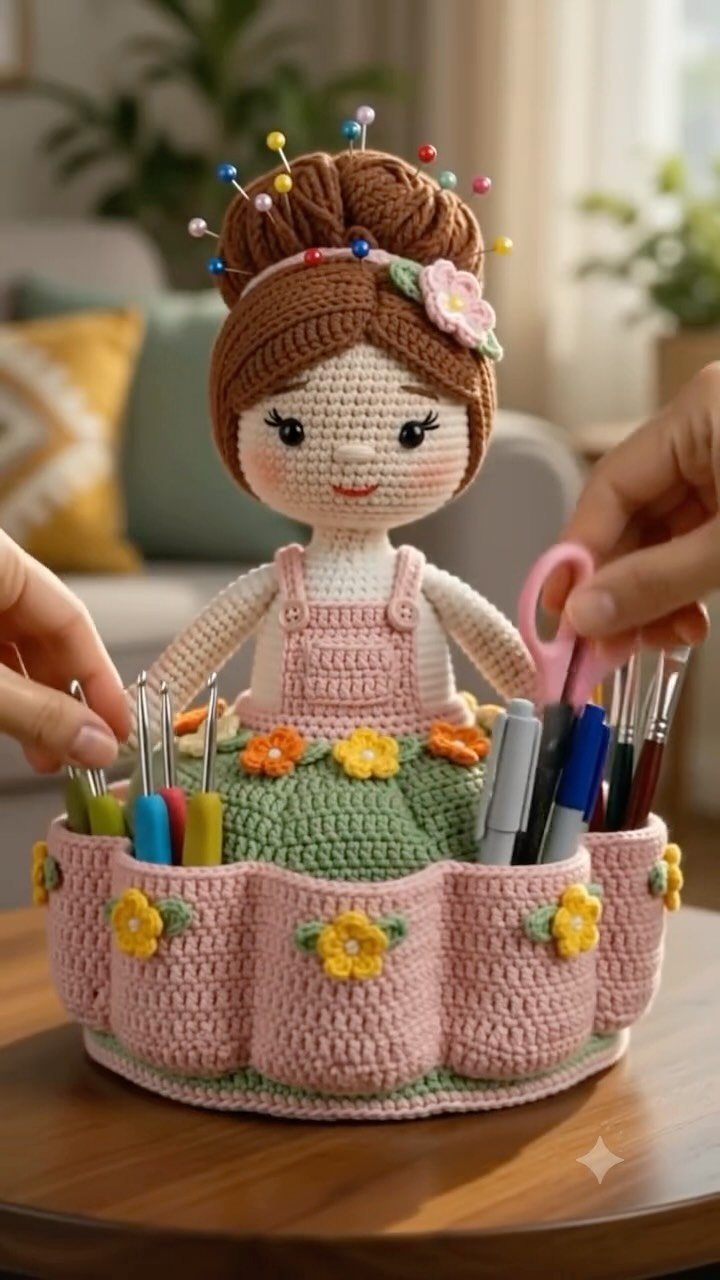
The crocheted amigurumi organizer consists of the following main components:
- Base: This is the sturdy foundation of your organizer.
- Body: The main section that will house your tools.
- Face: An adorable feature that adds personality to your organizer.
- Accessories: Optional decorative elements, such as flowers or characters that enhance the design.
You will crochet the base first, followed by the body and face. Finally, you’ll assemble everything, adding any optional accessories as desired.
Materials and Tool Selection
Materials
- Yarn: Select a medium-weight yarn (worsted weight) in your preferred colors for the body and face. Cotton yarn is suggested for durability.
- Crochet Hook: Choose a size H (5 mm) or I (5.5 mm) hook. Your choice may vary depending on your yarn tension.
- Filler: Use polyester fiberfill to stuff your organizer.
- Tapestry Needle: Required for weaving in yarn ends and sewing pieces together.
- Scissors: For cutting yarn.
- Stitch Markers (optional): Helpful in tracking stitches in rounds.
Suggested Choices
While medium-weight yarn is standard, feel free to experiment with lighter or heavier yarn, noting that this will affect the final size. Before committing, crochet a small sample swatch to ensure your yarn and hook choice produces the desired result.
Making a Sample
To check your gauge, crochet a test swatch of 10 x 10 stitches. Count the number of stitches and rows within a 4-inch square. Adjust your hook size accordingly to match your tension.
Terminology and Techniques
For this project, we’ll use standard US crochet terminology. Here are some useful abbreviations:
- sc: single crochet
- dc: double crochet
- rnd: round
- st(s): stitch(es)
- ch: chain
- sl st: slip stitch
Basic Techniques
-
Single Crochet (sc):
- Insert the hook into the stitch.
- Yarn over to catch the yarn and pull through (you will now have two loops on the hook).
- Yarn over again and pull through both loops on the hook.
- The finished stitch will form a small, tight “V” shape on the fabric’s surface.
-
Double Crochet (dc):
- Yarn over, then insert the hook into the stitch.
- Yarn over again and pull through (now, you have three loops on the hook).
- Yarn over and pull through the first two loops (leaving two loops on the hook).
- Yarn over one last time and pull through the final two loops.
- The finished stitch will create a taller, more open stitch than single crochet.
Working in Rounds
When crocheting in rounds, use a stitch marker to indicate the first stitch of the round. This will help maintain an accurate stitch count throughout the project.
Measurements and Preparation
Accurate measurements are crucial for the success of your organizer. The key measurements to keep in mind include the base’s diameter and the height of the body. After completing your swatch, ensure you understand any adjustments necessary for style and size.
- Base Diameter: Aim for a diameter of about 4-6 inches, depending on your desired organizer size.
- Body Height: A height of approximately 8-10 inches is suitable for most crafting tools.
Detailed Working Method
Stage 1: Crocheting the Base
Component: Base of the organizer.
- Chain 4 and join with a sl st to form a ring.
- In the ring, make 6 sc. (You should have 6 stitches.)
- Round 2: Increase in each stitch (12 sc).
- Round 3: (sc in next st, inc), repeat. (You should have 18 sc.)
- Round 4: (sc in next 2 sts, inc), repeat. (You should have 24 sc.)
- Continue increasing until the base measures the diameter you determined from your measurements.
Stopping Condition: The stitch count at the end of your last increase round should match your intended final stitch count (e.g., 24 sc).
Stage 2: Crocheting the Body
Component: The main section of the organizer.
- Continue working in rounds without increasing until the body measures 8 inches from the base.
- Keep your tension consistent while crocheting.
- Use a stitch marker to help track your rounds.
Stopping Condition: The height should match your pre-measured figure (around 8 inches).
Stage 3: Adding the Face
Component: Create the facial features.
- Using contrasting yarn, create the eyes, nose, and mouth using surface slip stitches.
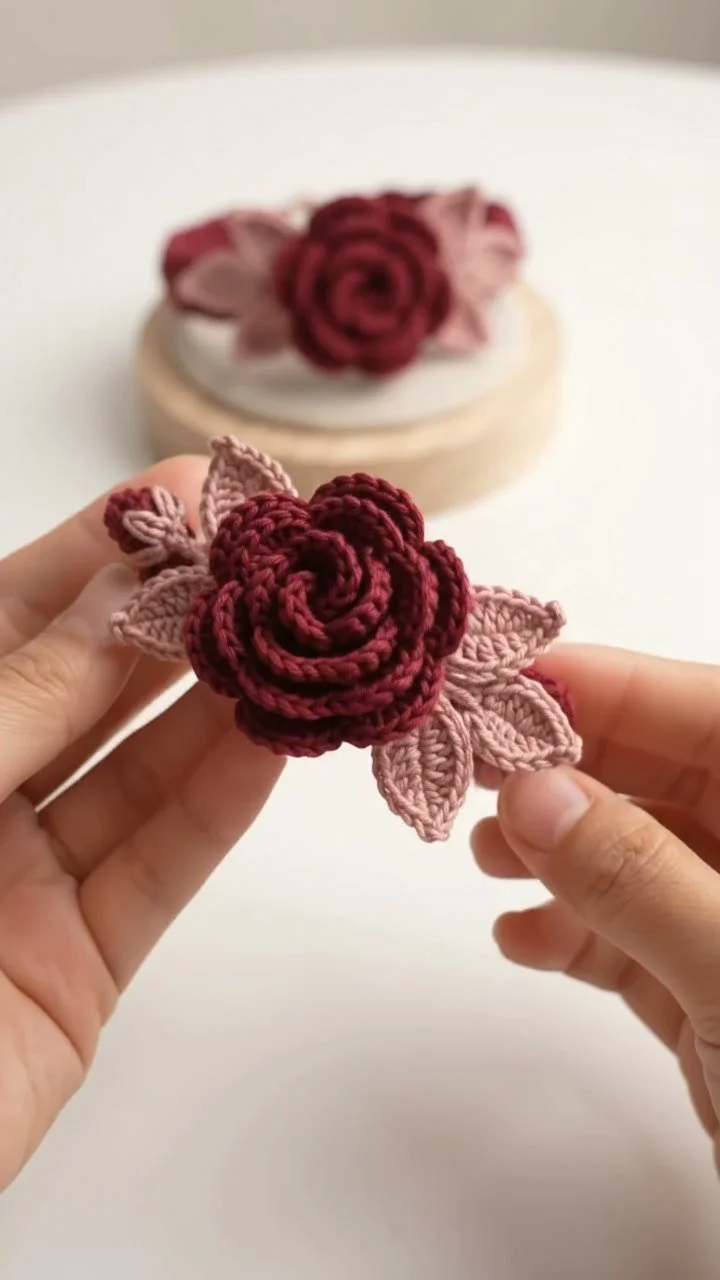
- For optional decorative flowers, you can create simple crochet flowers using basic stitches.
Visual Checkpoint: Ensure that the facial features are symmetrical and visually appealing.
Stage 4: Assembling the Pieces
- Center the face piece atop the body.
- Use the tapestry needle to sew it on securely, weaving in the ends around your stitches.
- Lightly stuff the body before sealing the top with the final round.
Final Checkpoint: The stuffing should be even across the body and not overly packed.
Assembly and Finishing
- Weave in any remaining yarn ends using the tapestry needle.
- Check that all parts are securely aligned and that your organizer is stable.
- If you added any accessories, sew them onto the organizer as desired.
Troubleshooting
| Symptom | Likely Cause | Practical Correction |
|———————–|———————|————————————————–|
| Base too loose | Too large hook | Switch to a smaller hook or adjust your tension. |
| Body shrinks or curls | Incorrect stitch count | Count your stitches to locate irregularities. |
| Stuffing pops out | Too much stuffing | Remove some stuffing and secure the closure more effectively. |
Variations, Care, and FAQ
Variations
Feel free to experiment with different colors, yarn types, or incorporate pockets for various tools.
Care
Your organizer can be spot cleaned with a damp cloth. Allow it to air dry as needed.
FAQ
-
Can I use a different size yarn?
Yes, but adjust your hook size accordingly and check your gauge. -
Is this project a good gift?
Absolutely! It’s both functional and decorative. -
How can I personalize my organizer?
Add unique embellishments or color schemes that reflect the recipient’s taste. -
What should I do if I run out of yarn?
Ensure you have enough yarn before starting; if you run short, consider using a contrasting color for the top.
Completion Checklist
- [ ] Base crocheted and measured.
- [ ] Body completed to desired height.
- [ ] Face and accessories applied.
- [ ] All ends woven in and pieces secured.
Enjoy your adorable amigurumi organizer, a perfect companion for all your crafting adventures! 🌸✂️