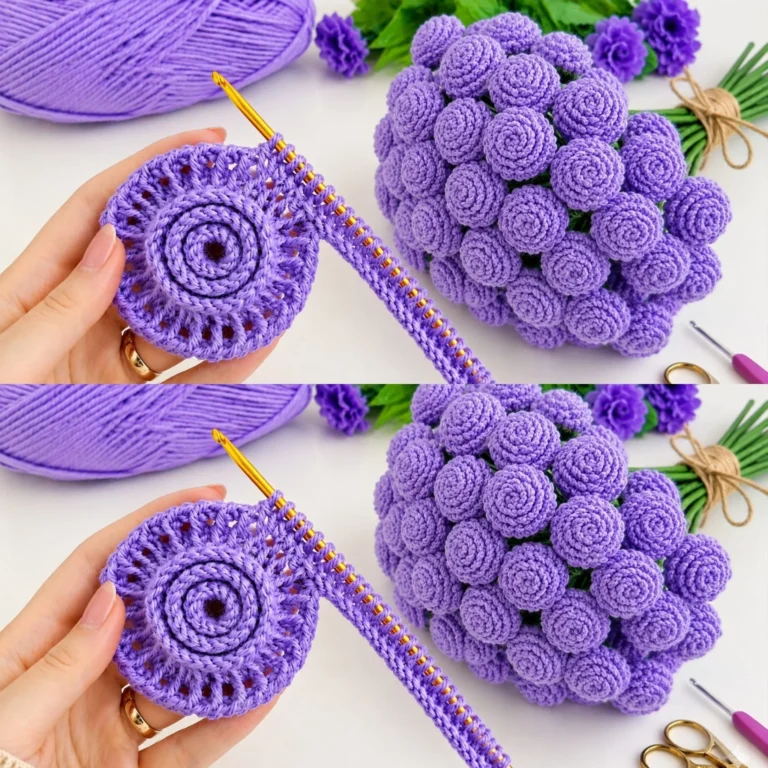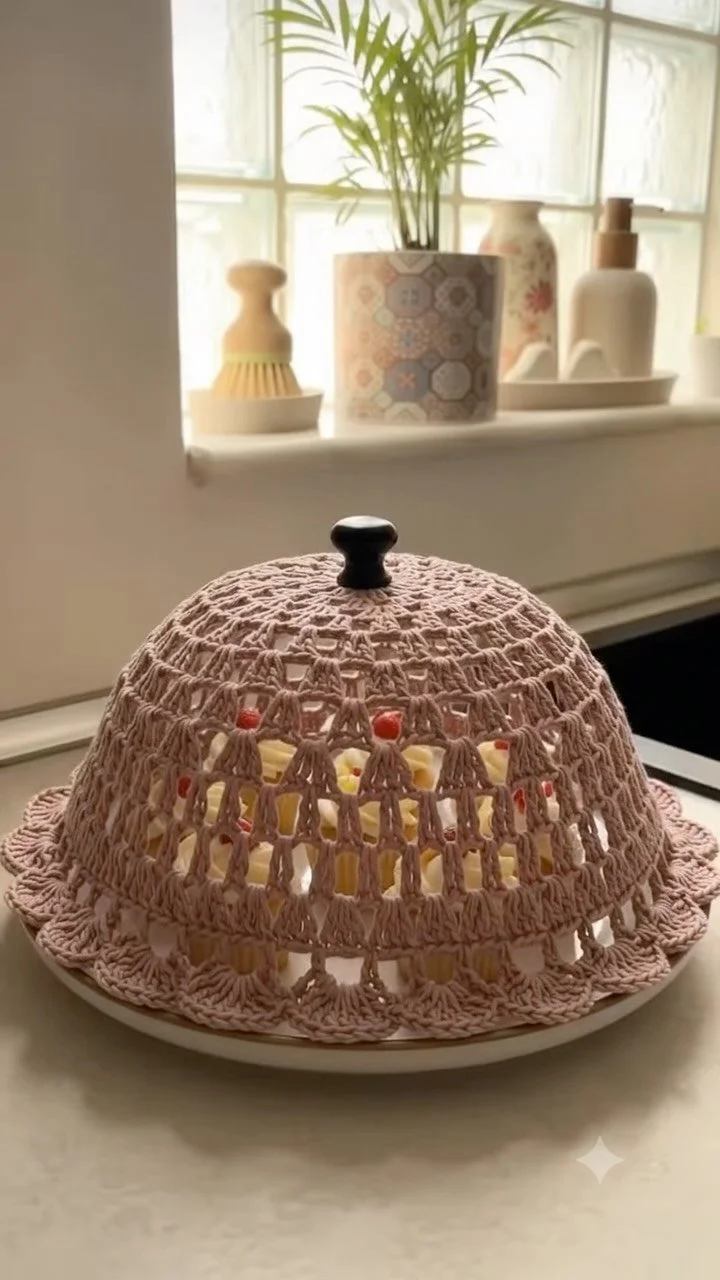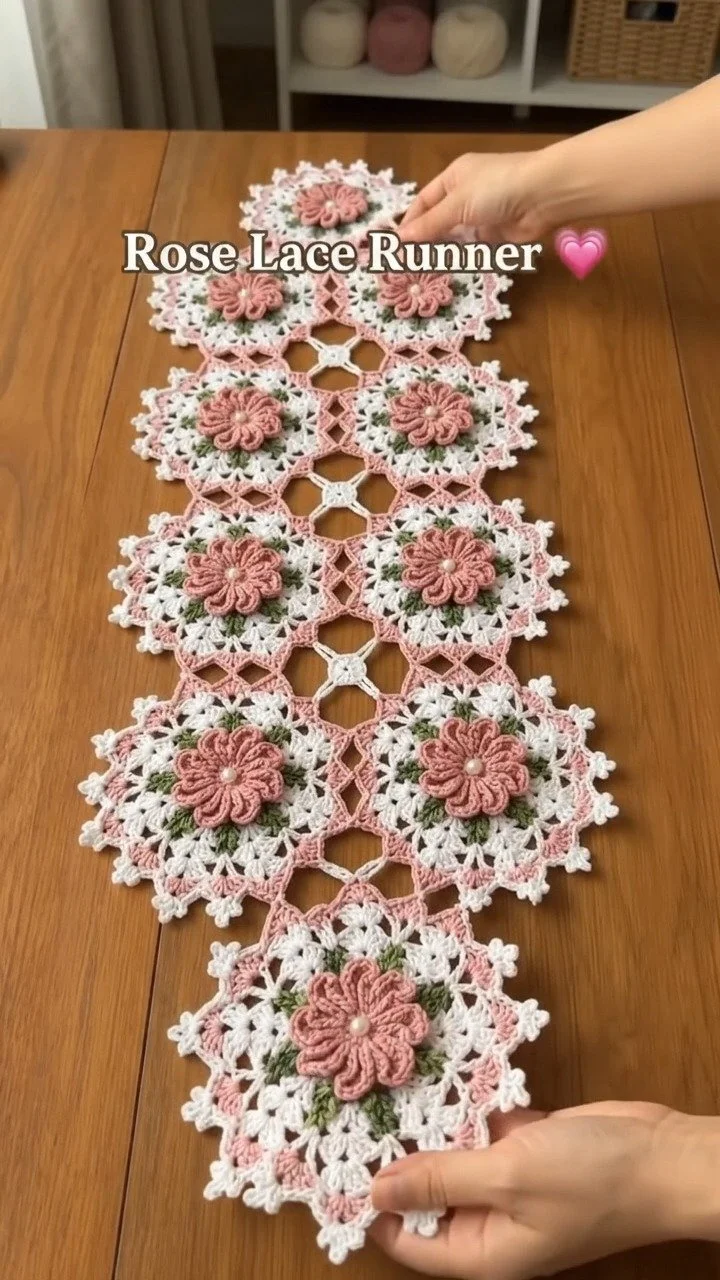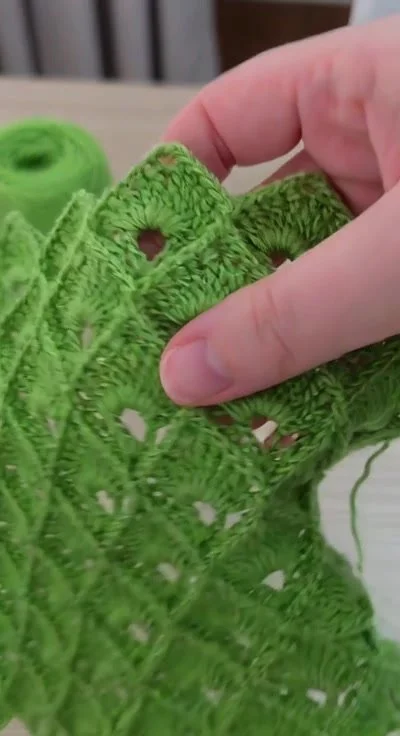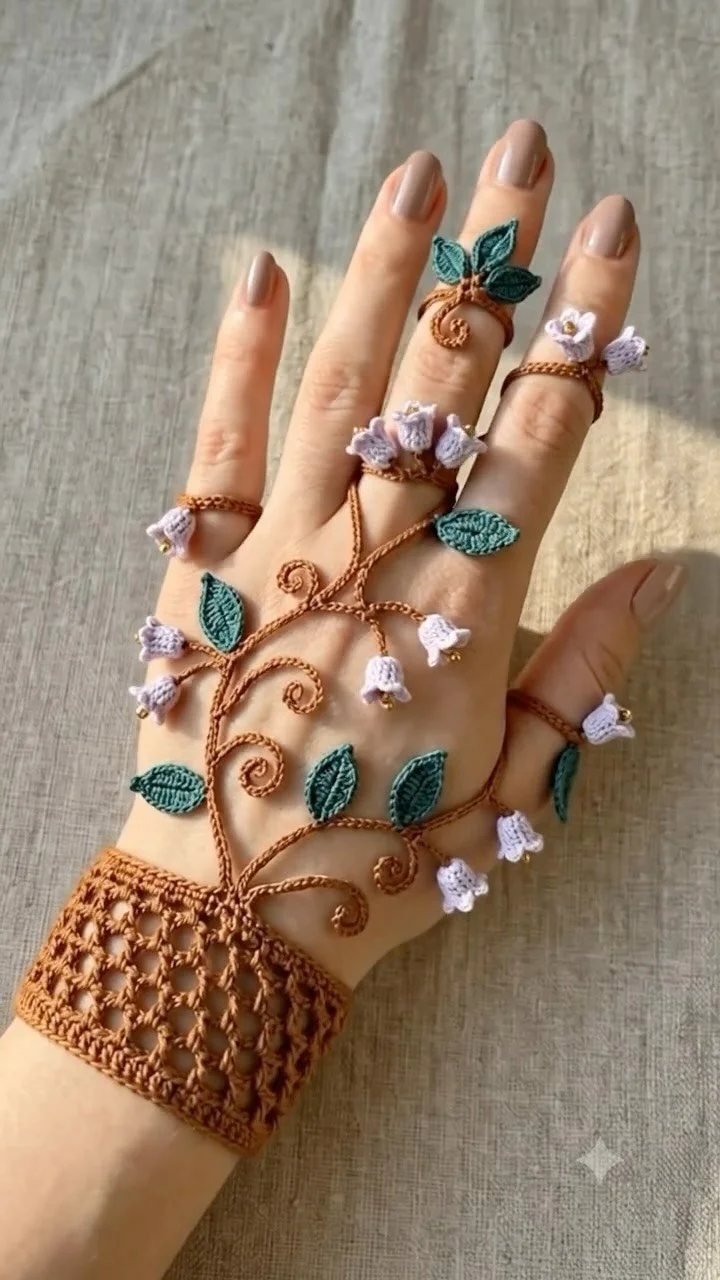
Crochet Jewelry: Tiny Flower Motifs and Delicate Leaves
Crochet Jewelry: Tiny Flowers and Delicate Leaves
In this tutorial, we will explore the art of crocheting delicate jewelry pieces inspired by tiny flowers and leaves. You will learn the essential crochet techniques needed to create beautiful components that can be transformed into earrings, necklaces, or bracelets. By the end of this project, you’ll possess the skills to design your unique piece of crochet jewelry. Let’s dive in!
Project Plan
This crochet jewelry project consists of multiple components that will be assembled to create a stunning piece. Here’s an overview of what you’ll be making:
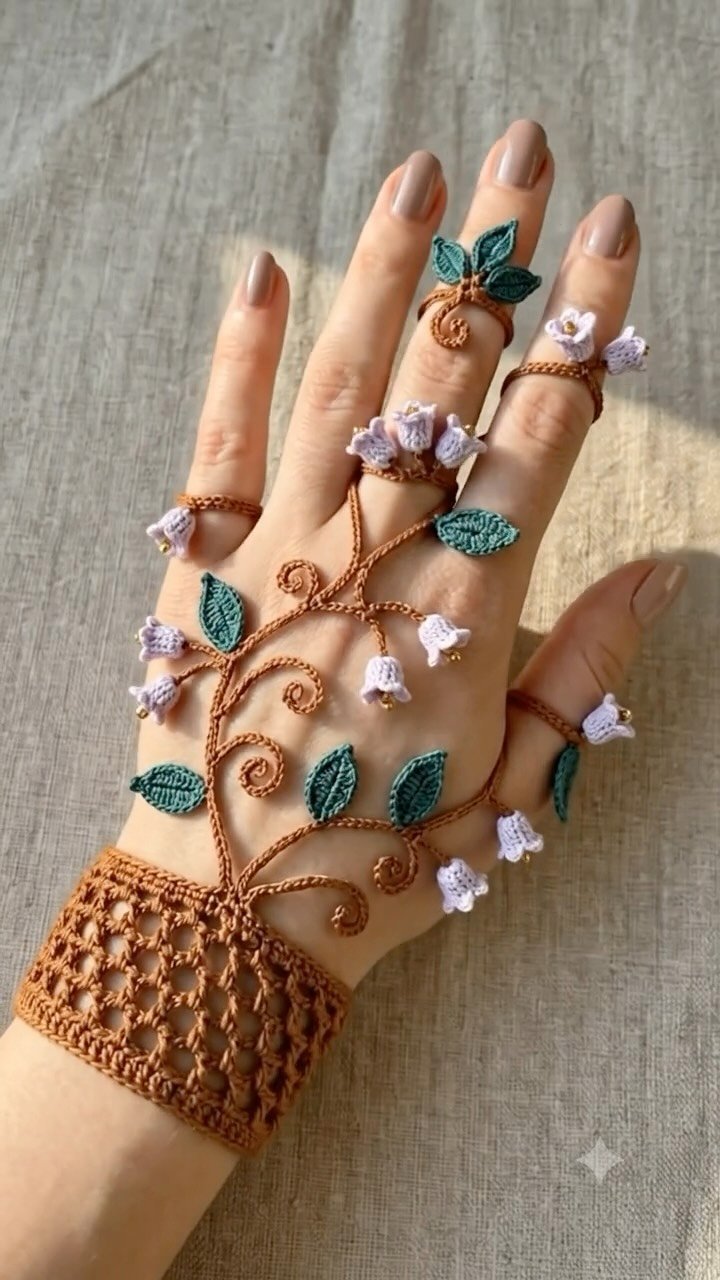
- Crocheted Flowers: These small textured flowers will serve as the focal points of your jewelry.
- Crocheted Leaves: Simple leaves that complement the flowers and provide added depth to the design.
- Jewelry Assembly: Combine the flowers and leaves into your chosen jewelry piece, using purchased hardware like jump rings and hooks.
Make sure to keep the assembly in mind as you create each component, ensuring everything fits together seamlessly!
Materials and Tool Selection
Required Materials
- Yarn: Opt for lightweight cotton or acrylic yarn. Cotton is preferred for its ability to hold shape, while acrylic is stretchy and flexible.
- Crochet Hook: A size between 2.5mm and 3.5mm is recommended. Adjust the size based on your yarn choice and the stitch tightness you desire.
- Sewing Needle: Essential for weaving in ends and sewing pieces together.
- Jewelry Findings: Depending on whether you’re making earrings, a necklace, or a bracelet, choose suitable findings like jump rings, earring hooks, or chains.
Suggested Choices
- Yarn Fiber: Cotton yarn provides durability and sheen. Wool can be chosen for a softer component.
- Testing Yarn: Crochet a small swatch (approximately 10 stitches) to assess drape and gauge. If necessary, block it to avoid stretching or shrinking.
Yarn and Hook Assessment
When selecting yarn and hook size, keep these principles in mind:
- The finer the yarn, the smaller the hook.
- Always check your stitch tightness; too-tight or too-loose stitches can impact the appearance and comfort of your jewelry.
Terminology and Techniques
Understanding a few basic crochet terms will be beneficial as we work on this project:
- Chain (ch): A fundamental stitch often used to start a project.
- Single Crochet (sc): A basic crochet stitch that creates a tight fabric.
- Slip Stitch (sl st): A stitch used to join without adding height.
Essential Techniques
Chain Stitch (ch)
- Insert the hook into the desired spot.
- Yarn over and pull through the loop on your hook, leaving one loop on the hook.
Single Crochet (sc)
- Insert the hook into the stitch.
- Yarn over, pull up a loop (you now have two loops on the hook).
- Yarn over again and pull through both loops (one single crochet completed).
Slip Stitch (sl st)
- Insert the hook into the stitch to join.
- Yarn over and pull through both the stitch and the loop on your hook.
Visual Checkpoints
- Each single crochet should exhibit a small "V" shape on the surface.
- Chains should lie flat and be consistent in height.
Measurements and Preparation
Before embarking on your project, it’s crucial to prepare adequately:
- Yarn Swatch: Create a 4×4 inch swatch to establish your gauge and ensure your components will be the desired size.
- Stitch Counting: Keep a tally of your stitches to maintain symmetry in your designs, especially for leaves and flowers.
- Measuring Final Pieces: For earrings, aim for a total drop of about 1.5 inches, adjusting based on your style preferences.
Detailed Working Method
Stage 1: Create the Flowers
Begin by making lovely crocheted flowers.
Create a Magic Ring
- Form a loop with your yarn and pull it tight.
- Chain 1, then single crochet 6 times into the ring (total of 6 stitches).
- Pull the ring tight to close it, and join with a slip stitch into the first stitch made.
Build Petals
- Round 1: Chain 3 (counts as a double crochet), then make 2 double crochets into the same stitch. Slip stitch into the next stitch.
- Repeat this process for each stitch around, creating a total of 6 petals.
- Fasten off, leaving a long tail for sewing later.
Stage 2: Create the Leaves
Next, we’ll create simple leaves to complement the flowers.
Foundation Chain
- Chain 8.
Form Leaf Shape
- Row 1: Single crochet in the second chain from the hook and continue single crocheting across until the end.
- Row 2: Chain 1, turn your work, and repeat single crochet until the end of the row.
- Complete your leaves and aim to create 2-3 for your jewelry piece.
Stage 3: Assemble Components
Once you have your flowers and leaves ready, the next step is assembly.
Position Flowers and Leaves
Experiment with the layout of flowers and leaves to find a pleasing arrangement before attaching them.
Sew Components Together
Use a tapestry needle to securely stitch the leaves beneath the flowers. Ensure you leave enough thread length for final attachment to your jewelry hardware.
Stage 4: Adding Jewelry Findings
Now that your components are assembled, it’s time to incorporate the jewelry findings.
Attach Hardware
- Use jump rings to connect the flowers to earring hooks or necklace chains.
- Ensure each connection is secure and mobile for ease of wear.
Secure and Weave in Ends
- Weave in any loose ends using a needle to ensure a clean finish.
Assembly and Finishing
Final Checkpoint
Before securing all elements, check the alignment of the flowers and leaves. Ensure everything hangs evenly, and fix any distortion.
Fixing Alignment
Using temporary pins can help keep components in place while you adjust the overall appearance. Check that no yarn twists are visible.
Troubleshooting
| Symptom | Likely Cause | Correction |
|——————————|——————————|————————————————–|
| Flowers look uneven | Inconsistent tension | Reassess and adjust your yarn tension. |
| Yarn splitting | Wrong hook type | Switch to a hook better suited for your yarn. |
| Pieces won’t hold together | Weak sewing | Reinforce sewing points with added stitches. |
Variations, Care, and FAQ
Variations
- Experiment with different colors or secondary yarn textures to personalize your pieces.
- Add beads for a touch of sparkle!
Care Tips
- Hand wash your crochet jewelry in cold water and lay it flat to dry, preserving its shape.
FAQ
-
Can I use thicker yarn for this project?
Yes, just be sure your hook size accommodates the yarn’s thickness for consistency. -
Can I mix yarn fibers?
It’s advisable to use similar fibers to ensure uniform wear. -
What if my flower petals are curling?
A gentle light steam blocking can reshape them nicely. -
How do I strengthen the jewelry?
Consider using fabric stiffener after your crochet work is complete, if necessary.
Completion Checklist
- [ ] All components crocheted.
- [ ] Components securely sewn together.
- [ ] Hardware attached and checked for stability.
- [ ] Ends weaved in and neat.
By following these detailed steps, you’ll create beautiful crochet jewelry that showcases your unique crochet skills! Would you wear it? Share your creations and thoughts in the comments!