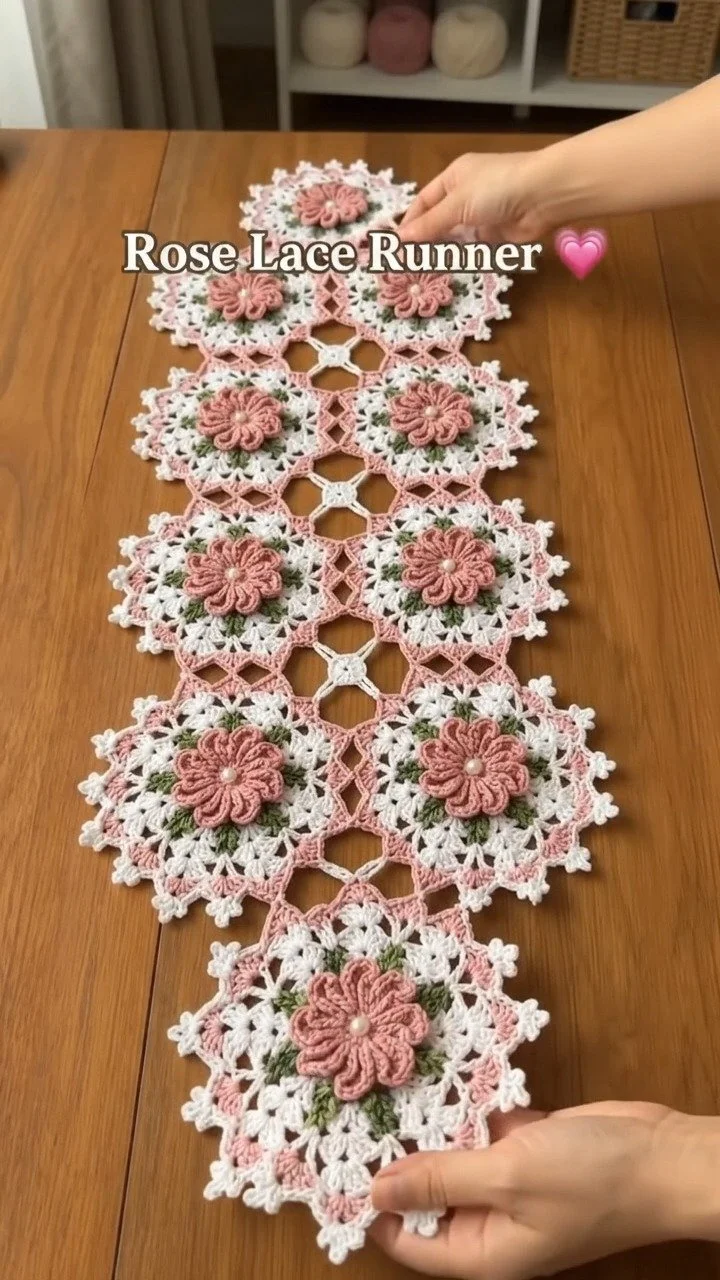
Crochet Lace Medallion Rose Table Runner in Open Diamond Mesh
Crochet Lace Medallion Rose Table Runner with Open Diamond Mesh
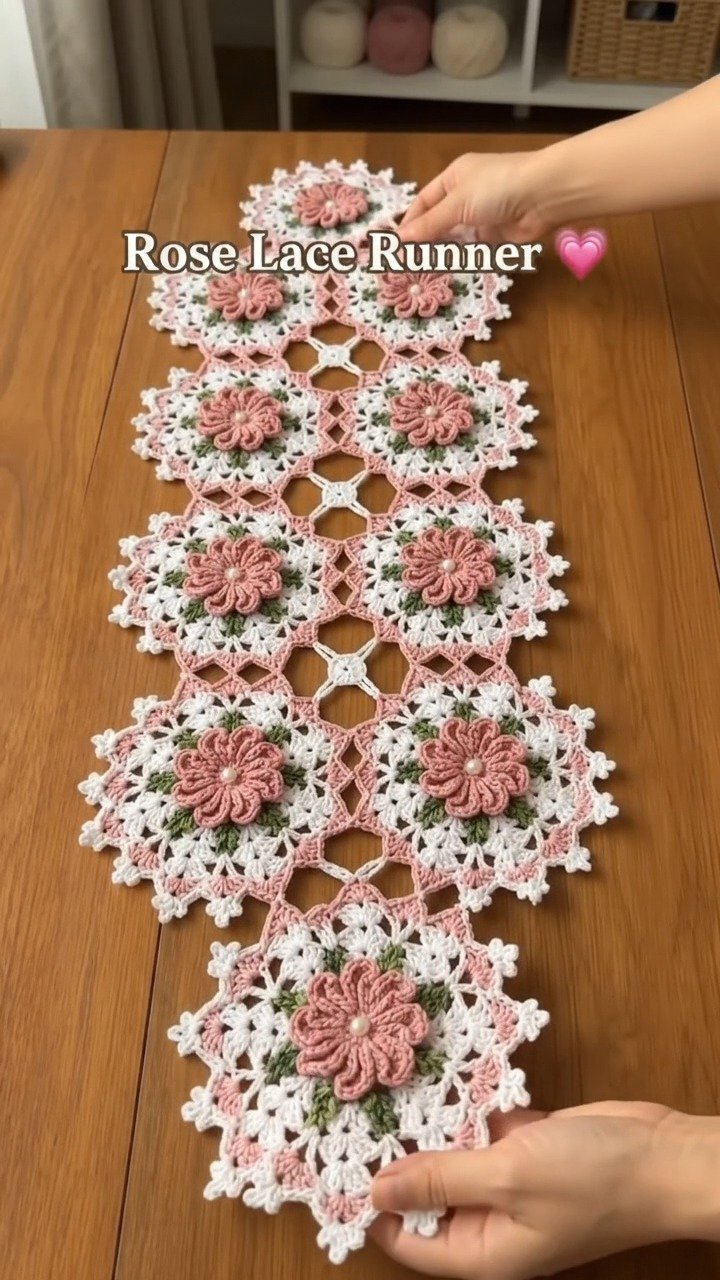
In this tutorial, you will learn how to create a beautiful crochet lace table runner featuring floral lace medallions in soft pink, white, and green. We will guide you through the creation of lace medallions, open diamond mesh sections, and the assembly of your table runner, resulting in an elegant vintage look that will enhance your dining table or dresser. Gather your supplies, and let’s get creative!
Project Plan
The Lace Medallion Rose Table Runner is composed of three main components:
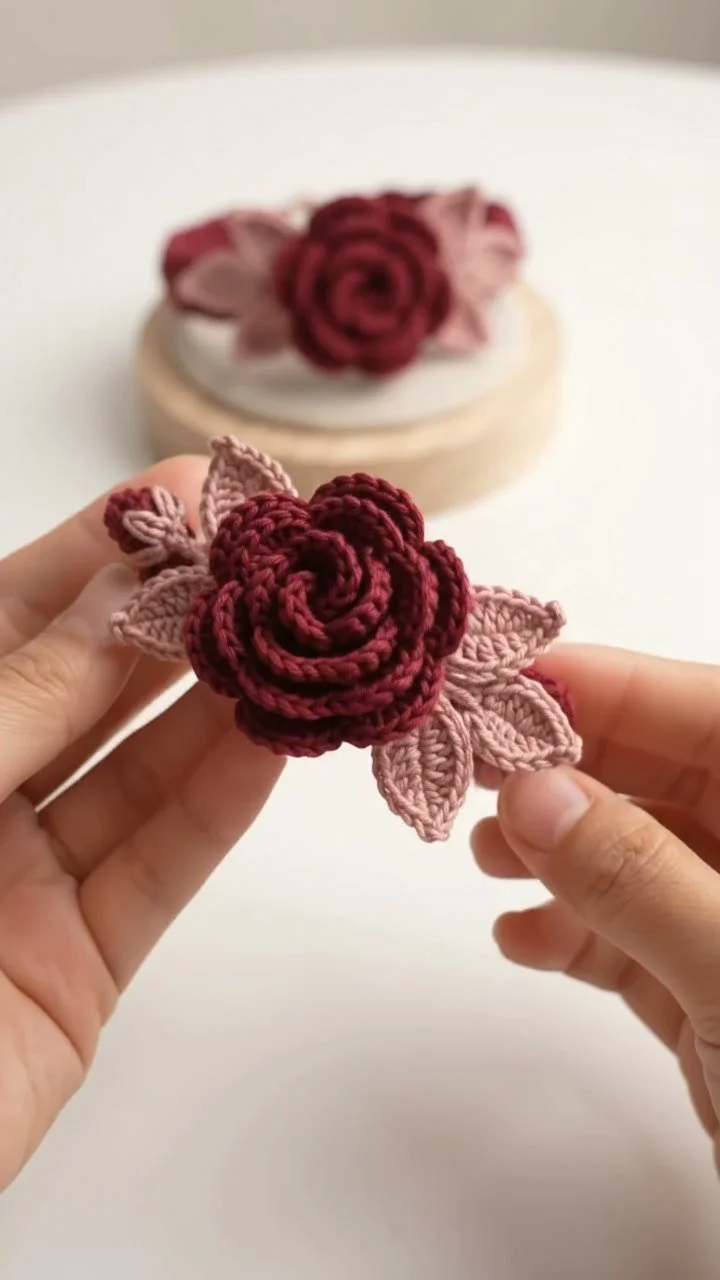
- Floral Lace Medallions: These unique pieces will be crocheted individually, using a combination of floral stitches.
- Open Diamond Mesh Sections: These will connect the medallions, forming the central body of the runner.
- Border and Finishing: After joining the medallions and mesh sections, a border will be added for a polished finish.
We will begin with the lace medallions, followed by the mesh sections, and finally, we will piece all elements together to create your finished table runner.
Materials and Tool Selection
Here’s what you will need:
Yarn:
- Colors: Soft pink, white, and green yarn, preferably a cotton blend for softness and a delicate look. A DK weight yarn is ideal as it will allow the stitches to be well-defined and drape nicely.
Crochet Hook:
- A 3.5 mm (US E-4) hook is suggested for working with the DK weight yarn. If your stitches appear too loose or tight, consider adjusting the size of your hook.
Additional Supplies:
- Tapestry Needle: For weaving in ends and attaching any pieces together.
- Scissors: To cut your yarn.
- Measuring Tape: To verify your dimensions and widths.
Yarn Selection Tips:
Choosing the right yarn is crucial for achieving the desired drape and look of your table runner. A cotton yarn will provide the structure needed for the medallions, while avoiding fuzzy yarns will help maintain lace definition. Before starting the project, it’s essential to create a small sample swatch to ensure your gauge and fabric appearance align with your vision.
Terminology and Techniques
Be familiar with the following abbreviations and techniques:
Abbreviations:
- ch: chain
- sc: single crochet
- dc: double crochet
- sl st: slip stitch
- sp: space
- rep: repeat
Techniques:
-
Chain (ch): To form a foundation. Wrap the yarn around the hook, pull through the loop on the hook.
- Loops on hook after chain: 1
-
Single Crochet (sc): Insert the hook into the desired stitch, grab the working yarn, yarn over, pull through, yarn over and pull through both loops.
- Loops on hook after sc: 1 at start; then none after completion.
-
Double Crochet (dc): Yarn over, insert the hook, yarn over again, pull through, yarn over pull through two loops, yarn over, pull through remaining two loops.
- Loops on hook after dc: 3 at start; 1 after the second yarn over; none after completion.
-
Slip Stitch (sl st): Insert the hook into the stitch, yarn over and pull through both the stitch and the loop on the hook.
- Loops on hook after sl st: 0
Turning Chains:
When working in rows, a turning chain is often required for elevation. For double crochet, a turning chain of 3 is common unless otherwise stated.
Measurements and Preparation
Gauge Measurement:
Create a sample swatch, and measure to confirm you have approximately 20 stitches and 10 rows per 4 inches in width and height.
Foundation Chain:
For the floral lace medallions, create a base chain of 14.
Block Your Swatch:
It’s important to wash and block your swatch before beginning your project to identify post-shrinkage measurements and gauge requirements.
Detailed Working Method
1. Create Lace Medallions
Component: Floral lace medallion
Action:
- Ch 14, join to the first ch with a sl st to form a ring.
- Round 1: Ch 3 (counts as 1 dc), then 11 dc in the ring. Join with a sl st to the top of the ch 3 (total of 12 dc).
Stopping condition: You need to have 12 dc completed.
Visual Checkpoint: This round should form a small circle of densely packed stitches.
Common Error: Too few stitches may happen if foundational chains are skipped. Always count to ensure you have 12 dc.
2. Add Open Diamond Mesh Sections
Component: Open diamond mesh
Action:
- Attach to a medallion using a sl st.
- Diamond Mesh: Ch 5 (acts as the first dc and ch 2 space). Then, work 1 dc in the next space of the medallion, chain 2, and rep: 2 dc, ch 2 around. Join all mesh sections with a sl st.
Stopping condition: Create an equal number of mesh pieces between medallions.
Visual Checkpoint: The mesh areas should appear open and airy.
Common Error: Incorrect counts can lead to unevenness; always double-check the number of spaces created.
3. Assemble the Runner
Component: Joining medallions and mesh
Action:
- Arrange the medallions in a row with open spaces in between. Join them with the diamond mesh using sl st as needed, maintaining consistent tension.
Stopping condition: You should achieve a complete row of medallions and mesh that form a continuous line without gaps.
Visual Checkpoint: The assembled runner should lay flat, revealing distinct mesh sections connected by medallions.
Common Error: Pulling too tightly on connecting stitches may cause distortion. If this occurs, loosen the loop and rejoin carefully.
Assembly and Finishing
- Add a Border: After assembling, crochet a border around the outer edge with dc to frame the medallions and enhance durability.
- Weaving in Ends: Use a tapestry needle to weave in any loose ends from your project.
- Blocking: After the entire project is complete, gently wash your table runner and lay it flat to dry, shaping the edges for a neat finish.
Troubleshooting
| Symptom | Likely Cause | Correction |
|————————-|—————————–|————————————-|
| Runner curls up | Tension too tight | Loosen your stitches and block again. |
| Uneven stitch sizes | Inconsistent hook tension | Check your grip and use a consistent hooking method. |
| Mesh sections too tight | Not enough ch spaces | Revisit the counting of your ch’s; each space should have at least 2 ch. |
Variations, Care, and FAQ
Variations:
- Experiment with different color combinations or variegated yarns for unique effects.
- Incorporate different motifs or embellishments like beads to enhance your design.
Care:
- Hand wash in cool water and lay flat to dry, avoiding harsh detergents to preserve the quality.
FAQs:
-
Do I need to block the finished item?
Yes! Blocking is important to define the lace and set the correct size. -
Can I use a different yarn weight?
Yes, but be sure to adjust your hook size accordingly to match your gauge. -
How long will it take to complete?
Depending on your skill level and speed, this project could take several hours to a few days. -
How do I know if my stitches are too tight?
If inserting your hook into the next stitch feels difficult or if the fabric is curling, your stitches may be too tight.
Completion Checklist:
- [ ] Finished all lace medallions.
- [ ] Assembled sections correctly.
- [ ] Completed the border and properly woven in ends.
- [ ] Confirmed all measurements and completed blocking.
With your Lace Medallion Rose Table Runner, you can now add a touch of vintage charm to your home. Enjoy showcasing your beautiful handiwork!