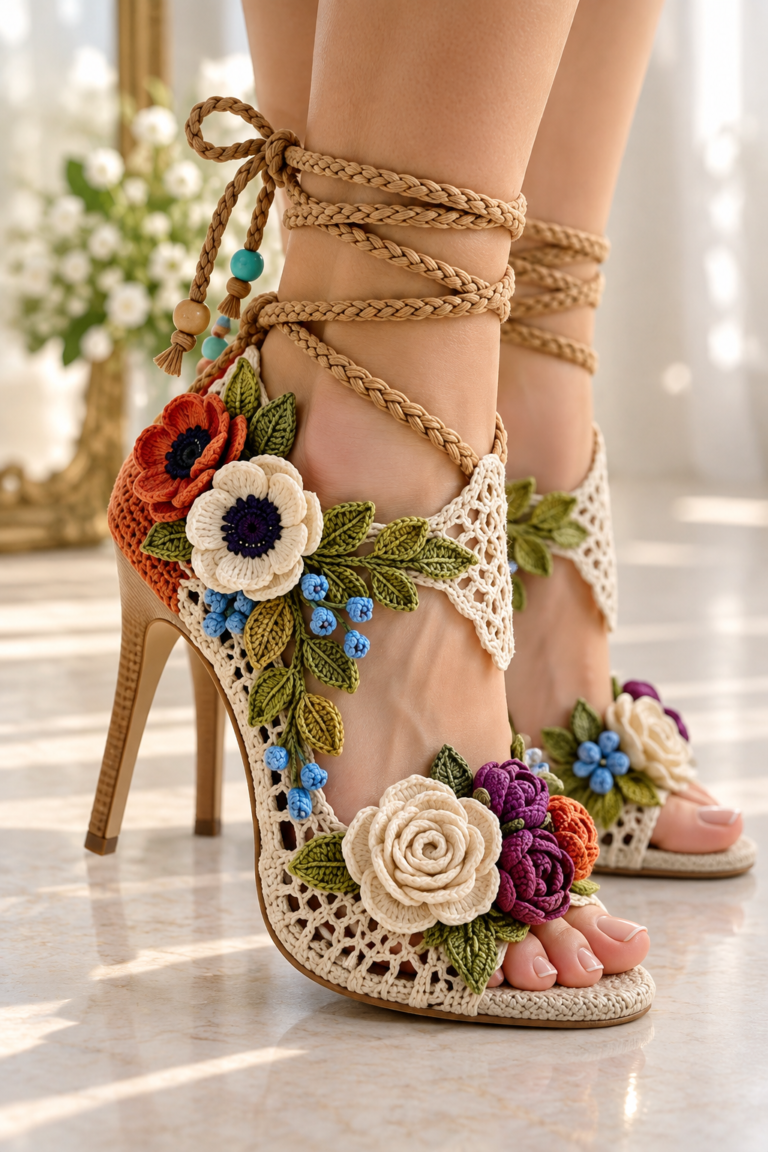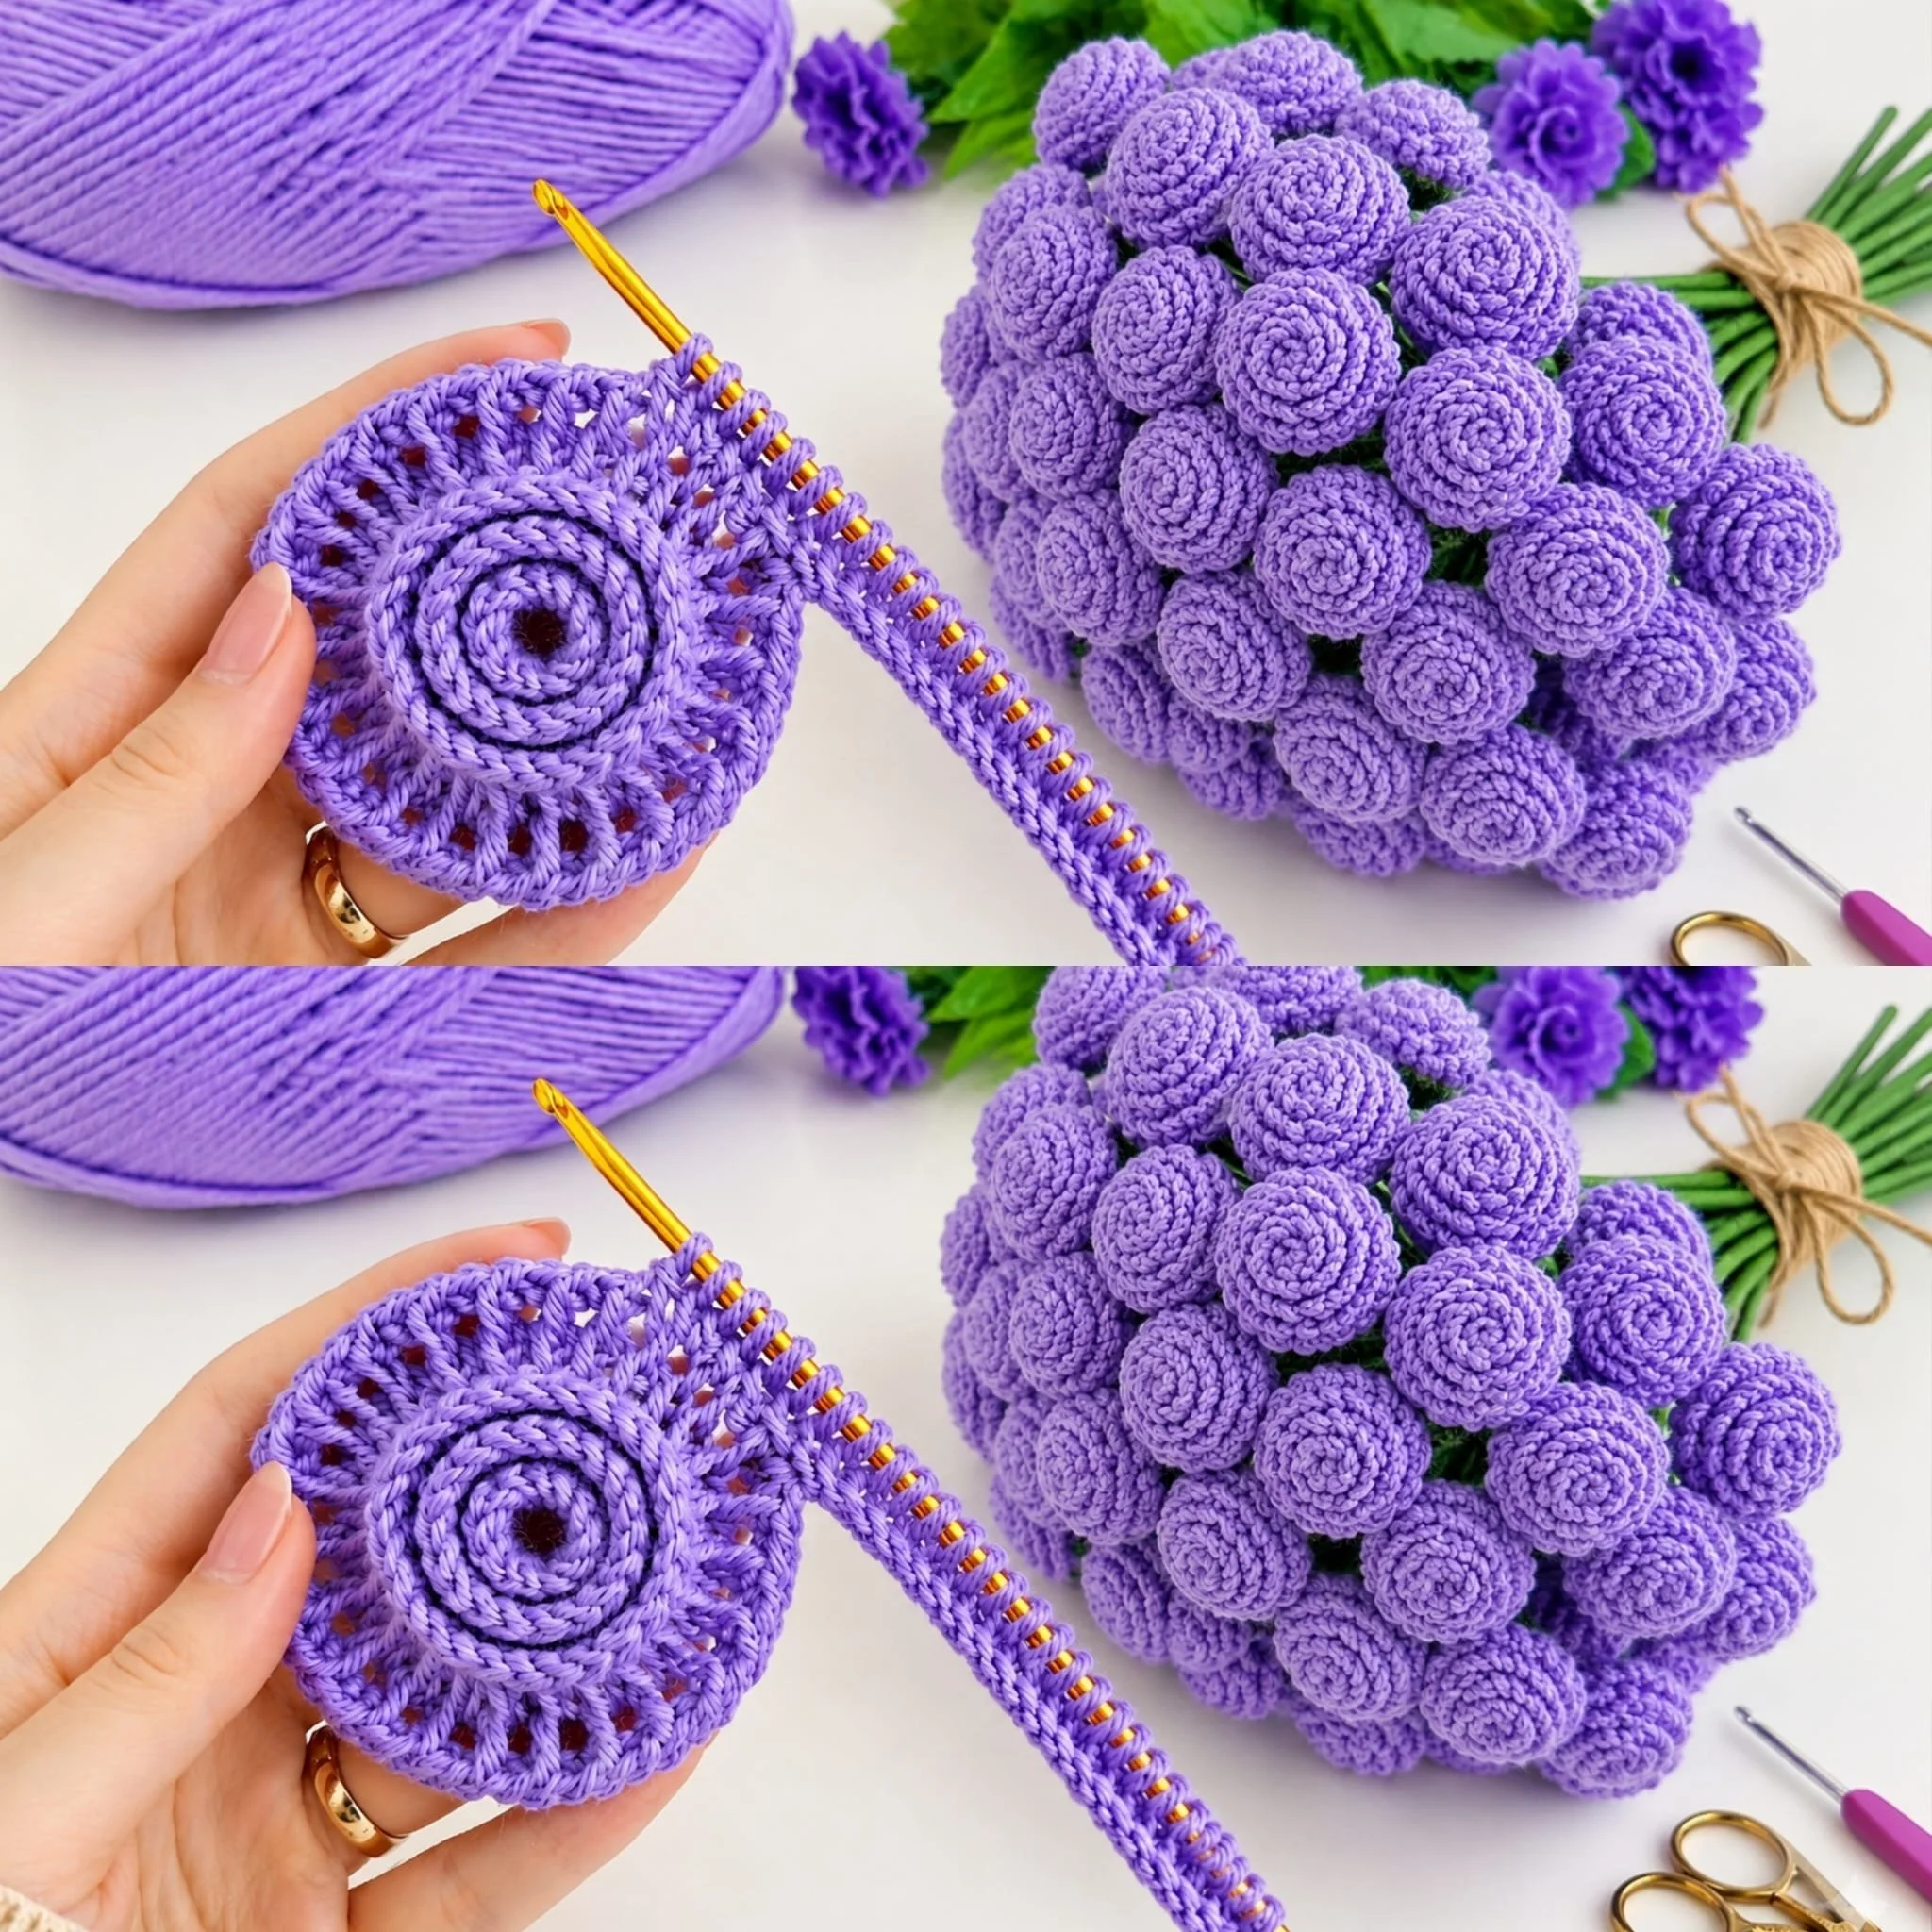
Tunisian Crochet Flower Bouquet with Leaves for Home Decor
Amazing Tunisian Crochet Idea! 🌹 Flower Bouquet with Leaves | Easy & Beautiful #crochet
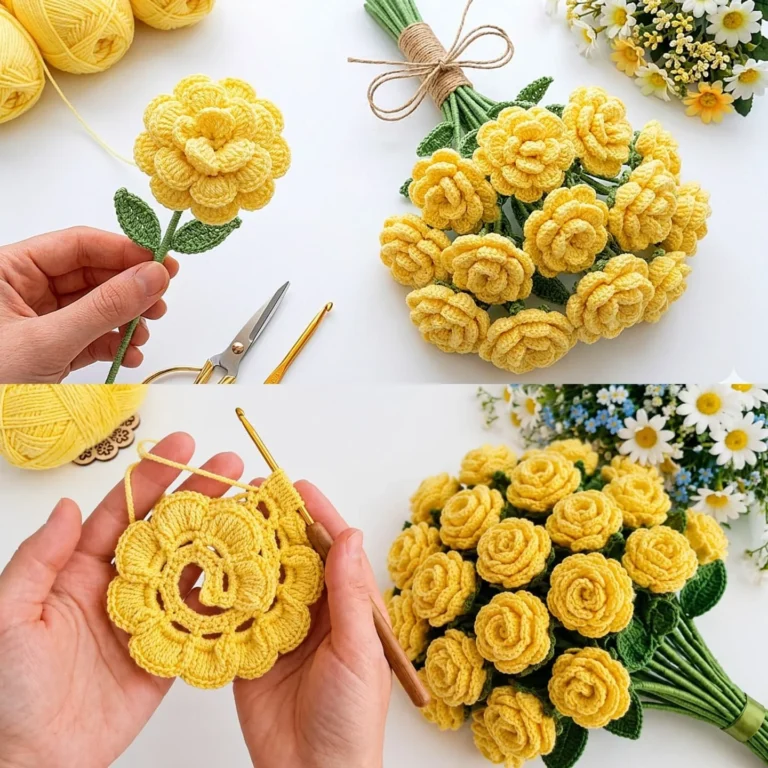
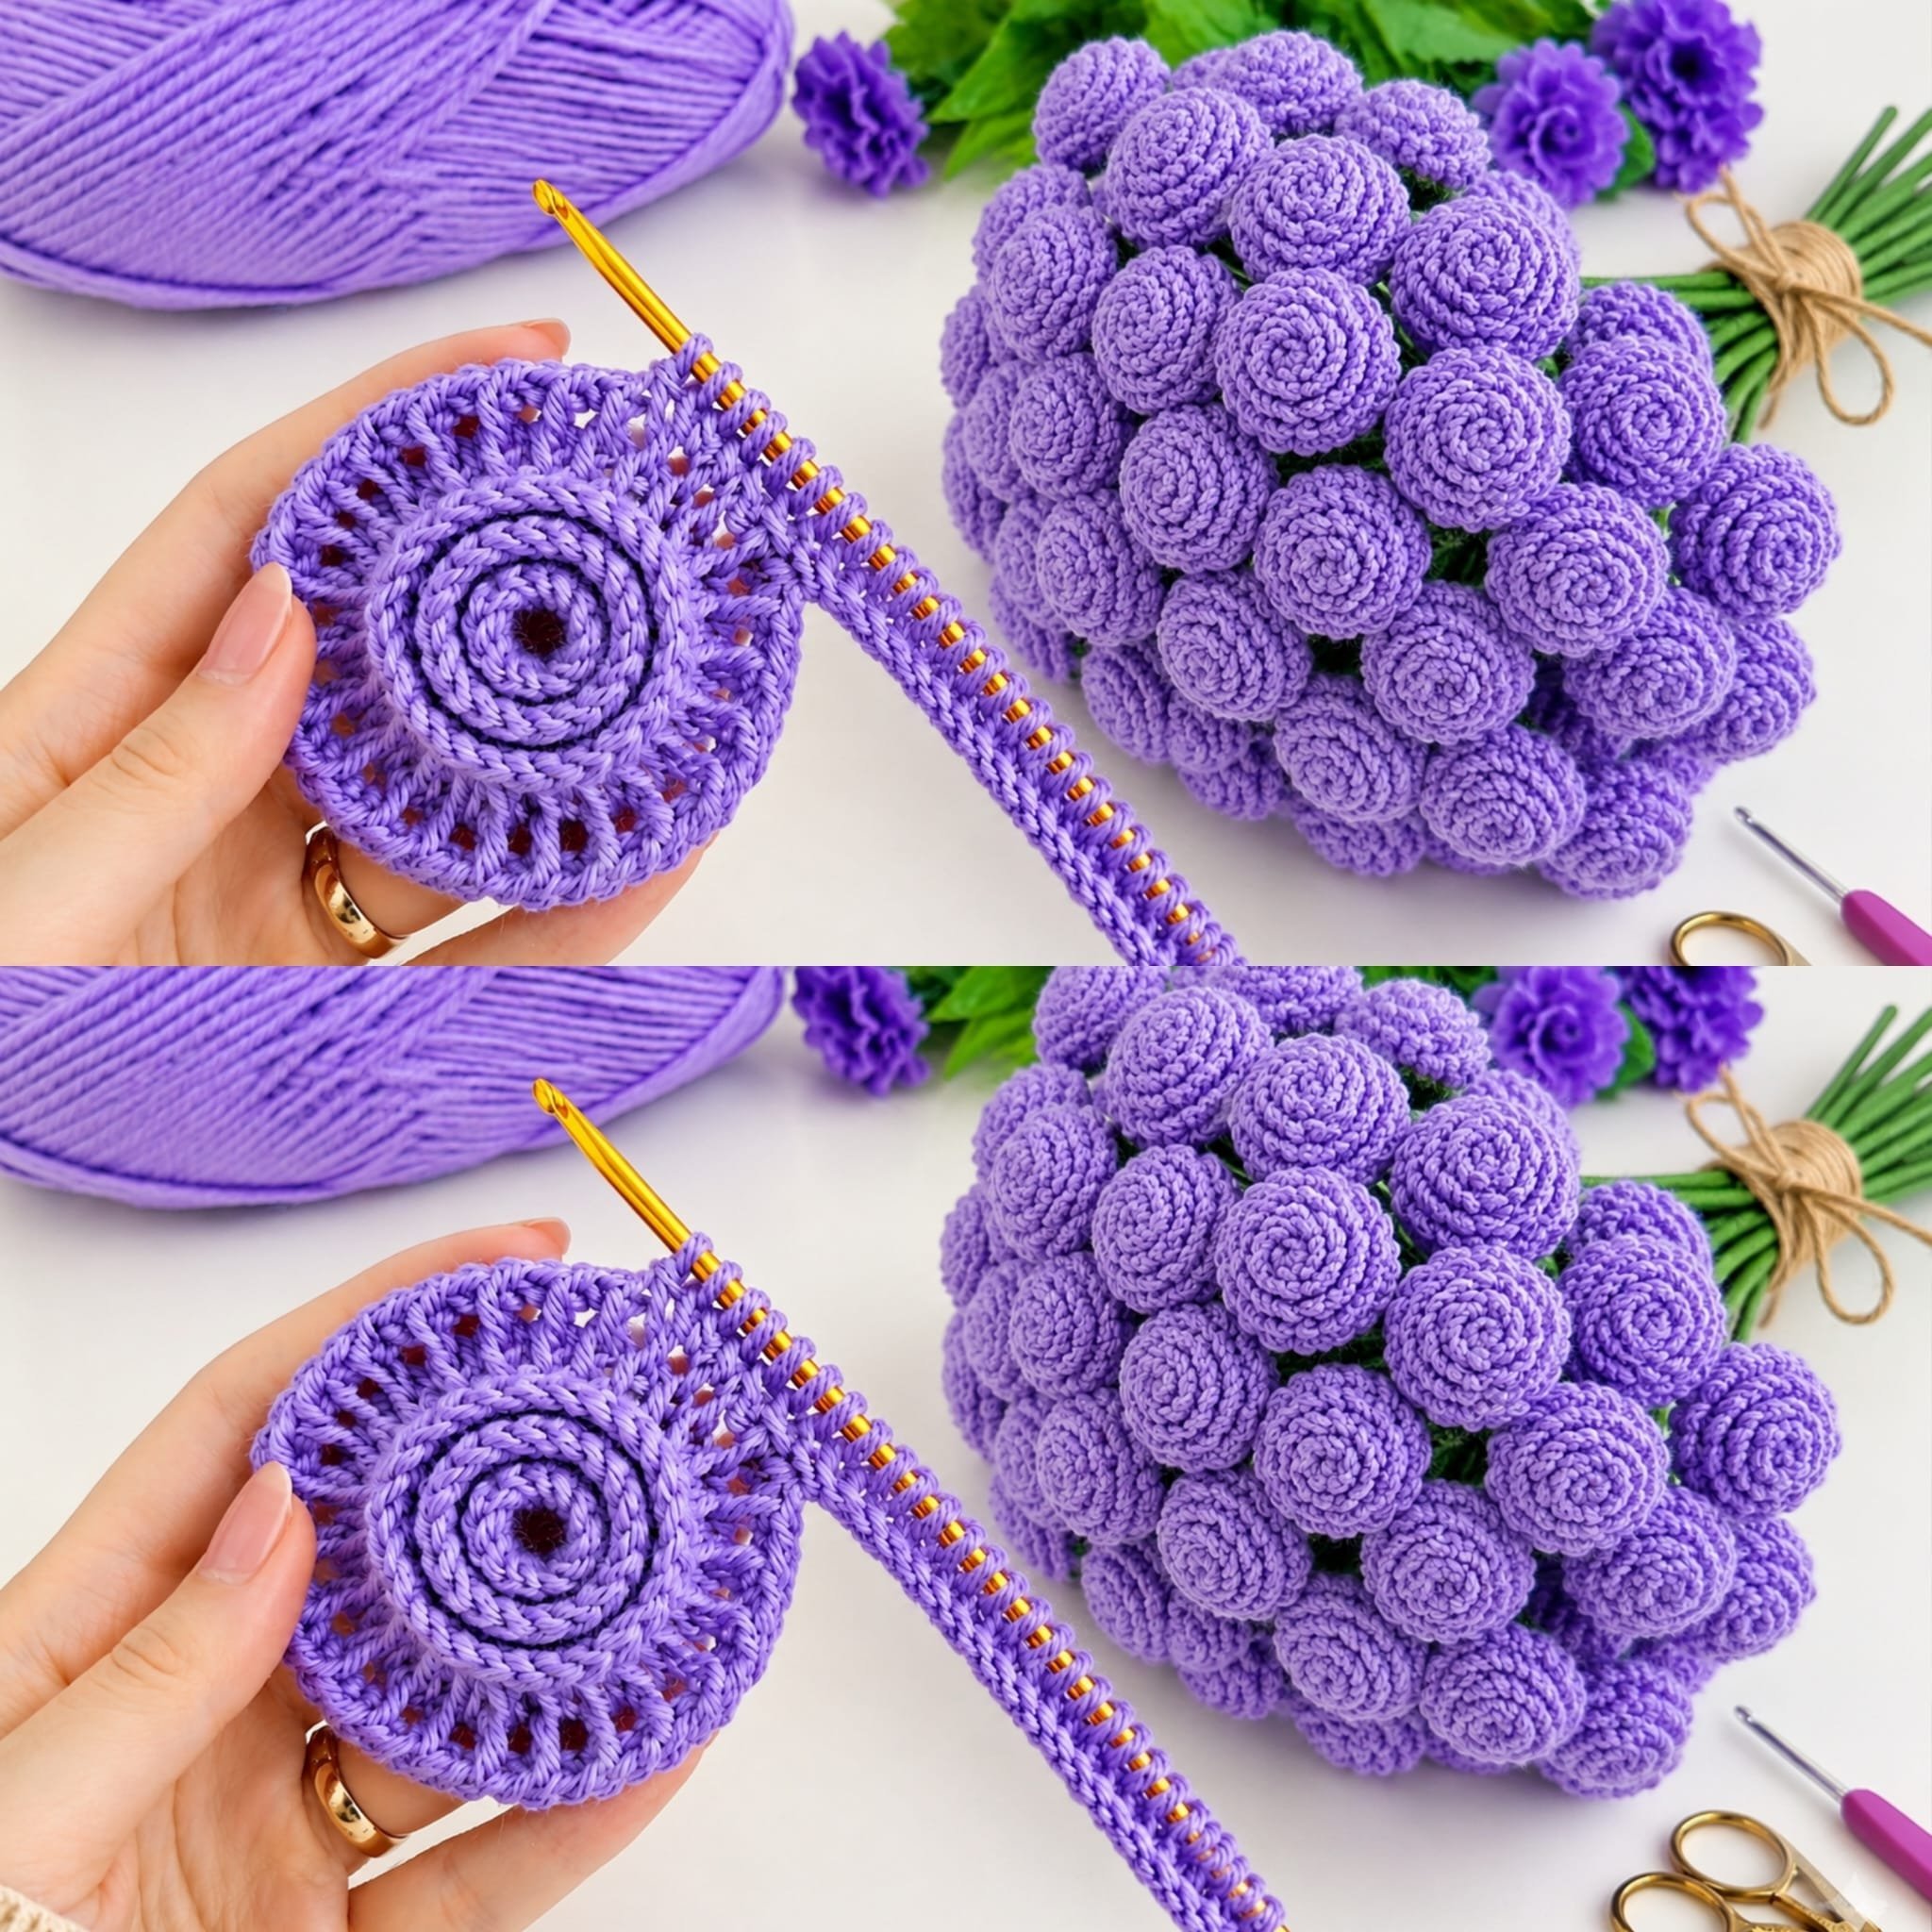
Creating a stunning Tunisian crochet flower bouquet is a fantastic project that combines artistic expression with practical crochet techniques. This tutorial will guide you through the necessary steps, materials, and methods you need to craft your unique bouquet, including flowers and leaves that showcase the special texture that Tunisian crochet provides.
Project Plan
This project consists of several components which you will crochet individually and then assemble into a beautiful bouquet:
- Flower Petals – Create multiple petals for each flower using the Tunisian Simple Stitch and Tunisian Knit Stitch.
- Leaves – Crochet simple leaves to complement your floral design.
- Assembly – Combine the flowers and leaves onto a common stem to form the bouquet.
- Finishing Touches – Secure everything and weave in ends for a polished final look.
Materials and Tool Selection
Verified Materials:
- Yarn: A cotton or cotton blend yarn is recommended. Cotton provides durability and has a lovely drape, perfect for floral designs.
- Tunisian Crochet Hook: A long hook suited for your chosen yarn, generally between 4.0 mm to 6.0 mm.
- Polyester Fiberfill: For stuffing the flowers, this helps achieve a fuller, more realistic shape.
- Wire or Floral Tape: Optional, but useful for shaping and securing leaves and stems.
Suggested Alternatives:
- Yarn Type: While cotton works best, using a soft wool yarn can add to the look, although it may behave differently.
- Hook Size: Adjust your hook size according to the yarn thickness to achieve your desired drape and tension.
Before starting your project, it’s essential to make a test swatch to determine your tension and ensure your chosen hook size works with your yarn.
Terminology and Techniques
In this project, you’ll be using:
- Tunisian Simple Stitch (TSS): Insert your hook from front to back of the stitch, catch the yarn, and pull it through, leaving a loop (start with one loop per stitch). Aim to maintain consistent tension throughout.
- Tunisian Knit Stitch (TKS): The hook is inserted into the back vertical bar of the stitch, catch the yarn, and pull through, creating a loop on your hook. This will add dimension and texture to your flowers.
- Color Changing: When creating flowers with multiple colors, practice changing colors at the end of a row to create smooth transitions.
Make sure you are comfortable with these techniques before proceeding, as they are fundamental to your project.
Measurements and Preparation
Before you begin crocheting, take the time to measure and prepare your workspace:
- Create a Swatch: Crochet a small square using your chosen stitch and yarn to assess your gauge. A sample of about 4 inches by 4 inches will help you evaluate your stitches and tension.
- Measure Tension: Count the number of stitches per inch and rows for height. This will help in ensuring that your flowers are proportional.
For the flowers, aim for a general gauge of 4 stitches and 4 rows per inch, adjust your hook size accordingly to achieve this.
Detailed Working Method
1. Create Flower Petals
Component Required: Flower petals
Action:
- Using TSS, chain the number of starting stitches (e.g., 10).
- Work back to the start, keeping all loops on the hook.
- For the next row, change to a TKS to add texture.
- Repeat until the petals reach your desired length (5-6 inches is a good starting point).
- To finish, leave a long tail for sewing.
Stopping Condition: When you have completed enough petals for each flower (typically 4-6 petals).
Common Error: If the petals are too loose, try using a smaller hook. If they’re too tight, switch to a larger one.
2. Crochet Leaves
Component Required: Leaves
Action:
- Chain 12 stitches, then work TSS into each to the last 3.
- For the last 3 stitches, switch to TKS to add dimension.
- Make the leaves slightly elongated with pointed ends – finish each leaf with a long tail.
Stopping Condition: Create 4-6 leaves depending on how lush you want your bouquet.
Visual Checkpoint: The leaf should have an elongated oval shape with points on either end.
3. Assemble Flowers
Component Required: Assembled flowers.
Action:
- Take your petals and layer them as desired.
- Use your yarn to sew or stitch them together at the base.
- Pinch the base together and secure to create a round flower shape.
- Weave in your ends as you go to keep the back tidy.
Common Error: Ensure that your stitches are secure to avoid petals falling off.
4. Attach Leaves and Stems
Component Required: Stems for the bouquet.
Action:
- Insert a floral wire or stiff yarn through the base of the flower to create a stem.
- Attach leaves to the stems. Use a tapestry needle to sew them on securely, ensuring they sit at varying angles for a natural look.
- Wrap floral tape around the joined areas to ensure stability.
Stopping Condition: When all flowers and leaves are attached and positioned as desired.
Visual Checkpoint: Your bouquet should have a balanced look with varied heights and positions of flowers and leaves.
Assembly and Finishing
Once you have created all components, it’s time to assemble your bouquet:
- Position the Flowers: Group flowers based on your desired look and adjust their positions before securing.
- Secure with Thread or Tape: Use strong thread to sew where needed for added stability.
- Finalize the Stem: Ensure that all wires are wrapped securely, and trim to achieve equal lengths.
- Weave in Ends: Go through remaining loose ends for a clean finish.
Final Checkpoint: The bouquet should look proportionate from all angles.
Troubleshooting
| Symptom | Likely Cause | Practical Correction |
|————————|———————————————|——————————————|
| Petals flop or sagging | Not enough stuffing or loose stitches | Add more fiberfill and secure tightly |
| Uneven shape | Inconsistent tension in stitches | Practice tension with a swatch and adjust|
| Difficulty assembling | Components are not proportionate | Reassess flower and leaf placements |
Variations, Care and FAQ
Variations:
- Explore different flower types such as daisies or sunflowers.
- Experiment with different sizes for a mini or large bouquet.
- Incorporate beads for added embellishments.
Care:
- Dust the bouquet regularly and store it away from direct sunlight to avoid fading.
Frequently Asked Questions:
-
Can I use acrylic yarn?
Yes, although cotton is preferred for its drape. -
How long does it take to create the bouquet?
Time varies greatly, so expect anywhere from a few hours to a couple of days. -
Can I turn this into a hair accessory?
Absolutely! Attach flowers to clips or headbands. -
Is this project suitable for beginners?
It’s designed for intermediate crafters, but beginners can tackle it with prior Tunisian crochet practice.
Completion Checklist:
- Have all flower and leaf components been completed?
- Is your bouquet securely assembled?
- Have all loose ends been woven in?
- Ensure the bouquet is proportionate and visually pleasing.
Delight in your creation as you admire your lovely Tunisian crochet flower bouquet!