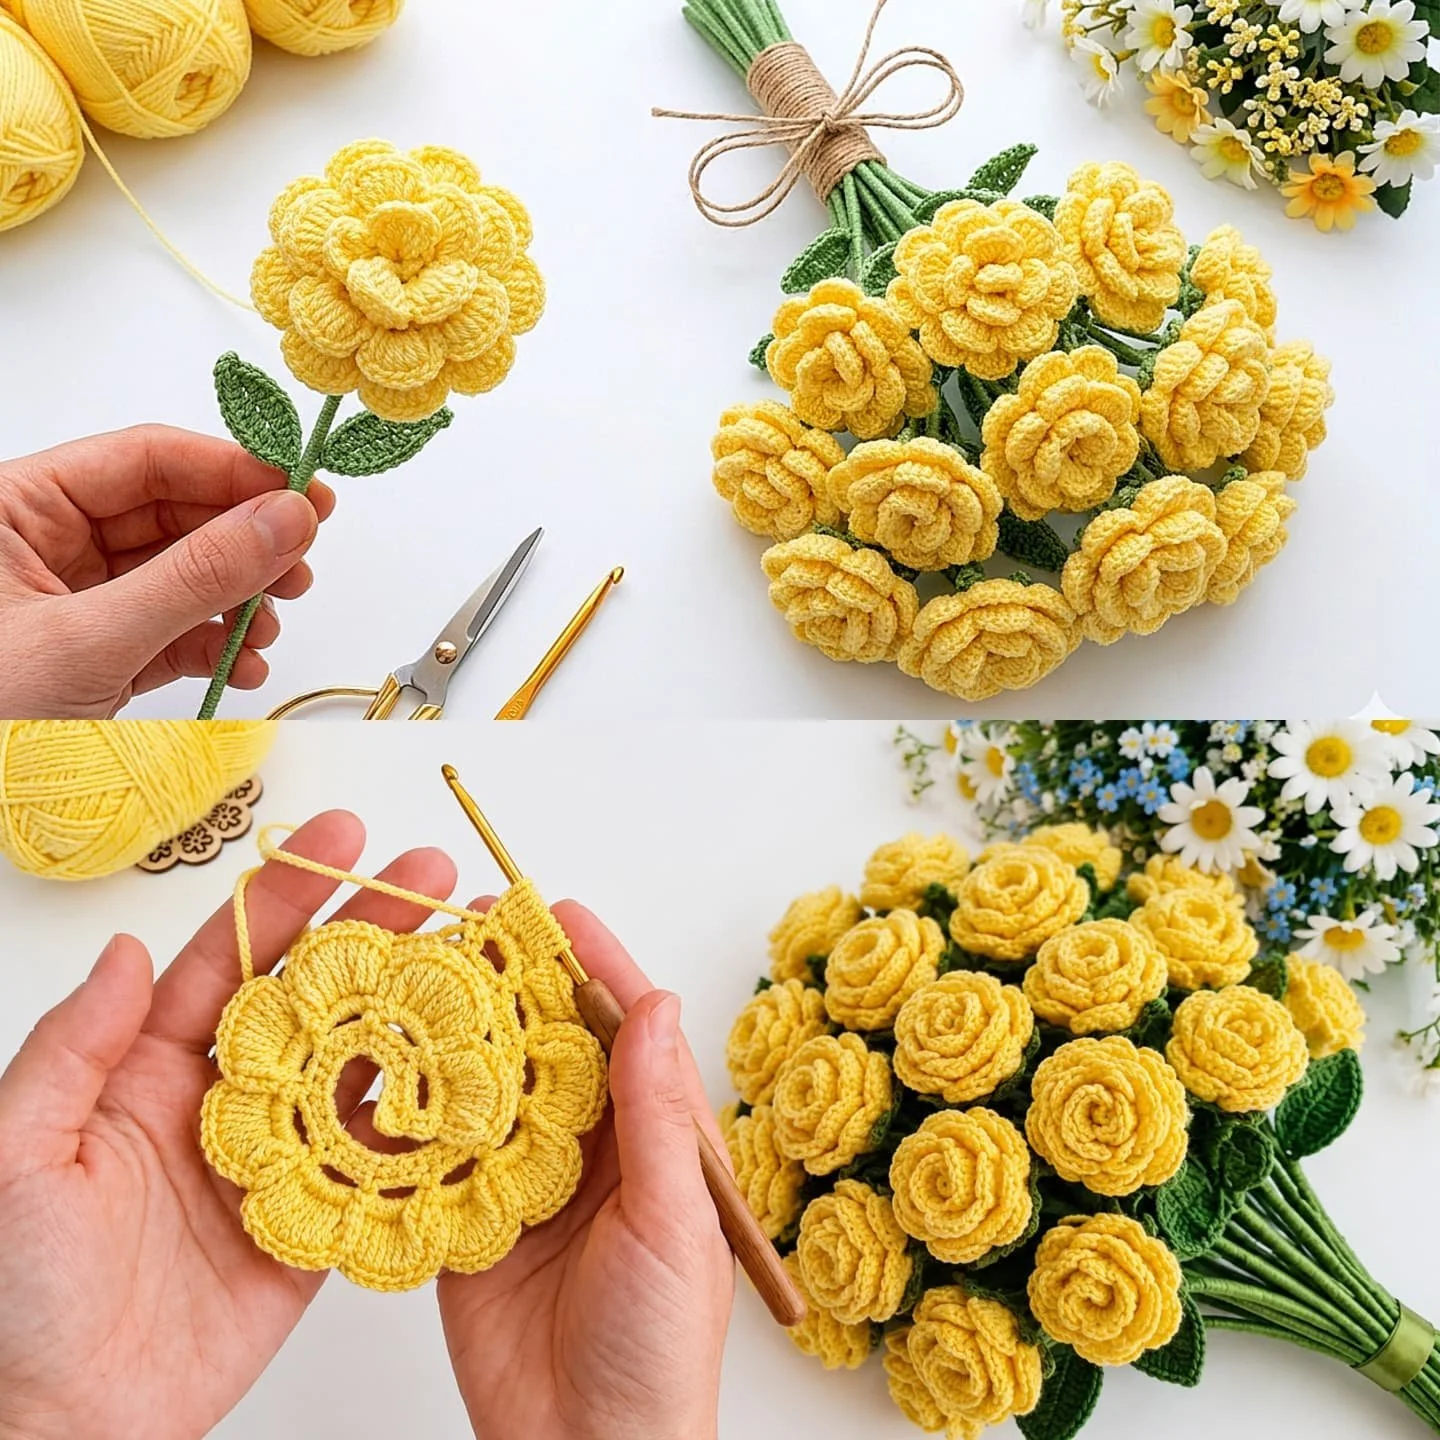
Crochet Realistic Roses for Lifelike Home Decor
Crochet Roses That Look Real for Stunning Decor
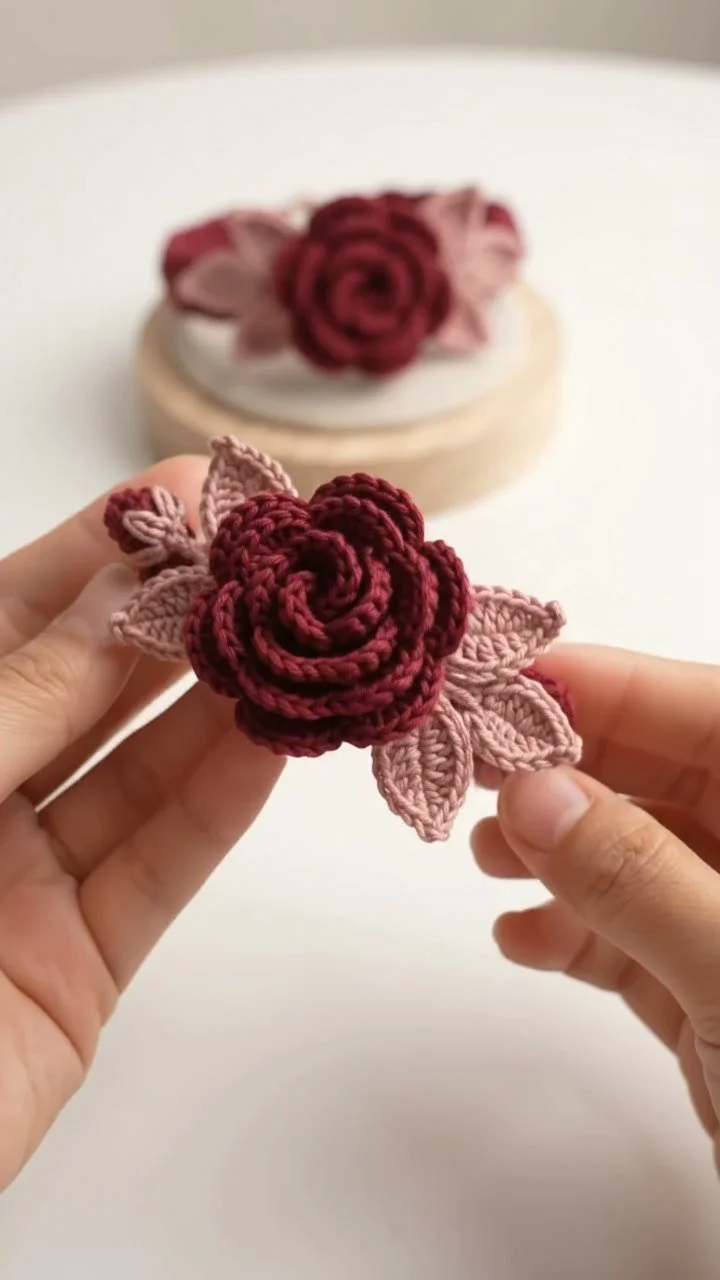
In this tutorial, you’ll learn how to crochet stunning roses that closely mimic real blooms. This project will focus on the techniques and construction decisions necessary to create realistic petals, leaves, and a sturdy base for your flower. With detailed instructions on materials, techniques, and assembly, you’ll be on your way to crafting beautiful decor or unique gifts!
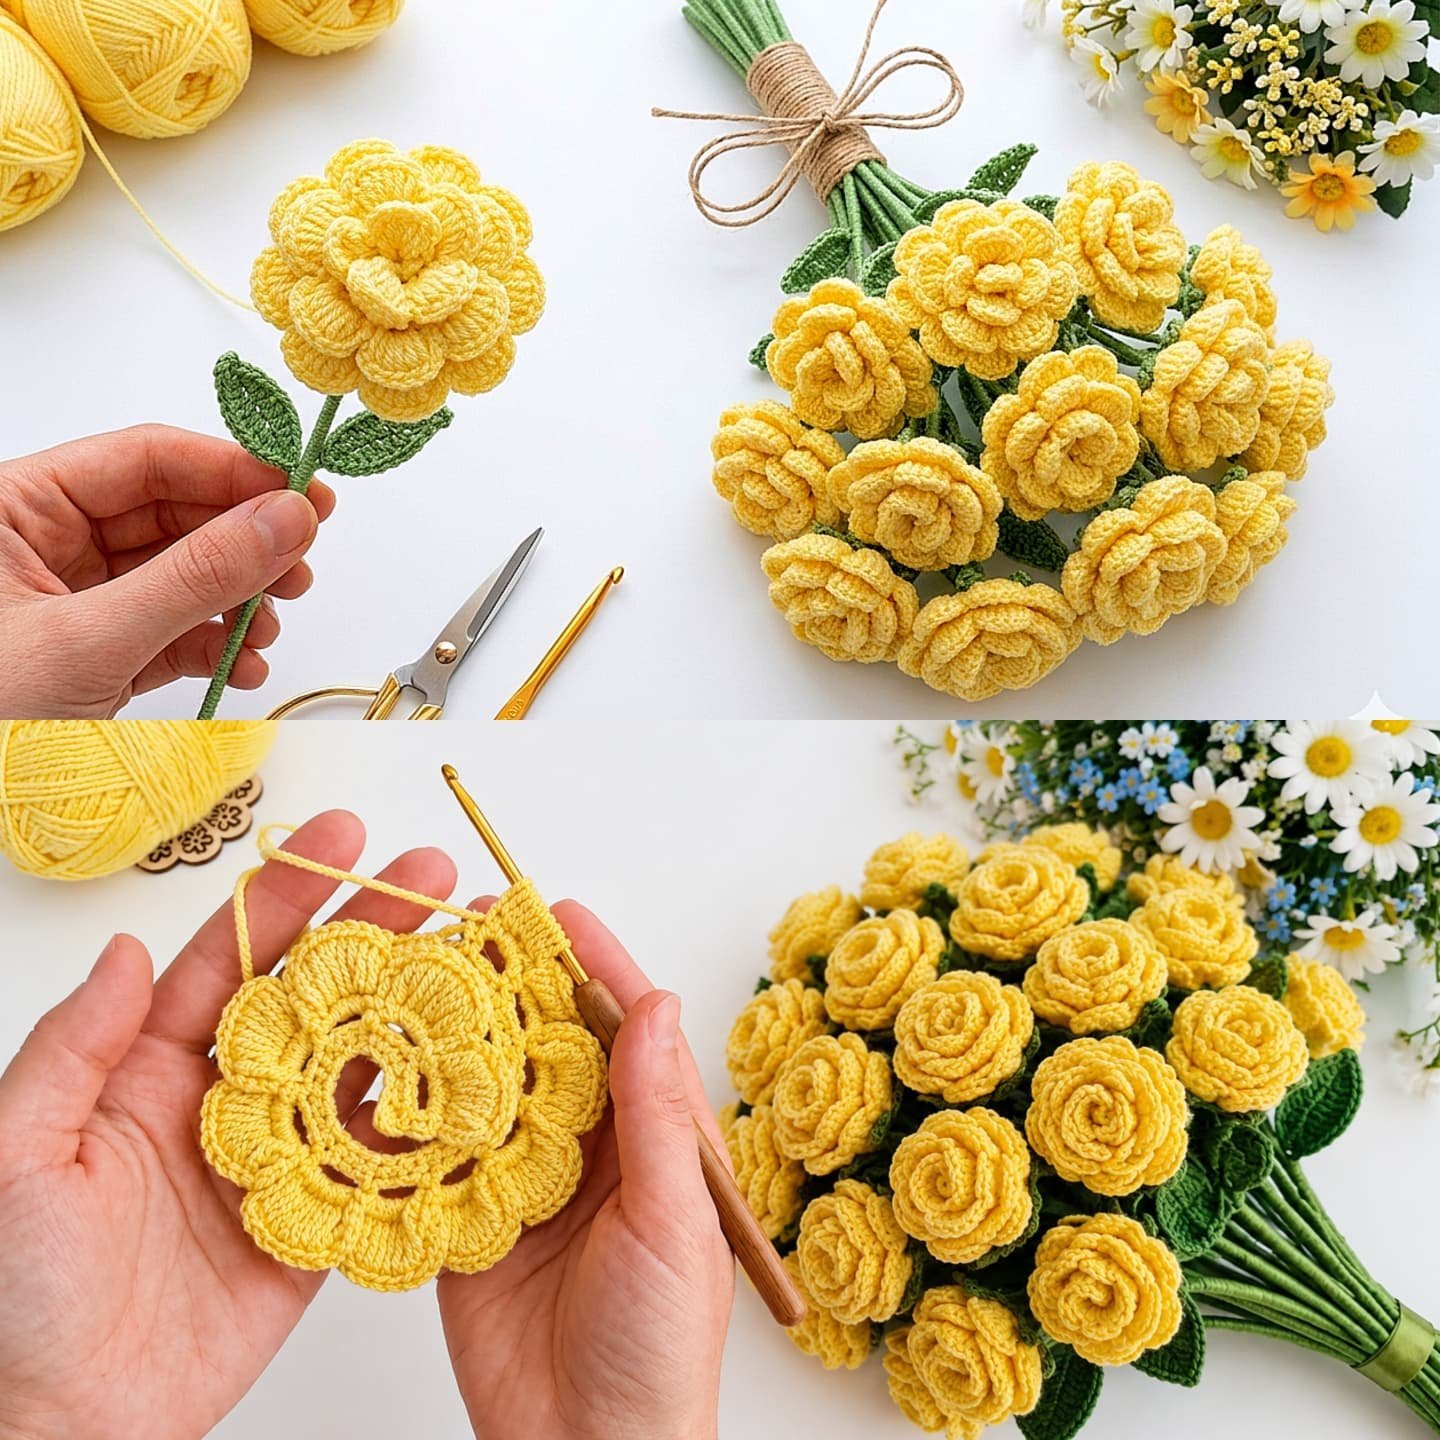
Project Plan
The crochet rose consists of three main components:
- Petals: Crafted in multiple layers to create depth and dimension.
- Leaves: Complementary pieces that enhance the overall floral design.
- Base: A sturdy attachment point to hold the petals and leaves together.
After crocheting each piece, you will assemble them to form a lush, natural-looking rose.
Materials and Tool Selection
Verified Materials
-
Yarn: Choose medium-weight acrylic or cotton yarn. The fiber type will heavily influence the final look of your rose.
- Cotton yarn provides a structured shape for petals.
- Acrylic yarn offers a softer, more fluid finish.
-
Crochet Hook: Use a G (4.0 mm) or H (5.0 mm) hook for medium-weight yarn, but consider adjusting based on your personal tension.
Suggested Starting Choices
- Yarn Colors: Opt for colors that reflect the natural hues of roses, such as reds, pinks, or yellows. Feel free to experiment with variegated yarns for a unique finish.
Importance of Yarn and Hook Selection
The yarn’s fiber type and thickness will impact how well the petals hold their shape. Always crochet a sample swatch to ensure your chosen yarn and hook combination yields the desired effect.
Sample Swatch
To achieve the correct gauge:
- Crochet a 4” x 4” square using your chosen yarn and hook.
- Count the number of stitches and rows to confirm they match your expectations.
Terminology and Techniques
Understanding these terms will be crucial for successfully crocheting your roses:
- Slip Knot (sl st): Used to start your project.
- Chain (ch): Formed by pulling the working yarn through the slip knot.
- Single Crochet (sc): Insert your hook into a stitch, yarn over, pull up a loop (you’ll have 2 loops on your hook), yarn over again, and pull through both loops.
- Double Crochet (dc): Yarn over, insert into a stitch, yarn over, pull up a loop (3 loops on your hook), yarn over again, pull through 2 loops (2 loops on your hook), then yarn over and pull through the remaining 2 loops.
- Join (join): Connects the last stitch of a round to the first stitch.
- Slip Stitch (sl st): A technique used for joining stitches without adding height.
In this project, we will primarily utilize chains, single, and double crochet techniques.
Measurements and Preparation
To ensure your crochet roses come out proportional, follow these guidelines:
- Yarn Swatch: Measure your 4” x 4” swatch to determine stitch count.
- Petal Size: Aim for each petal to measure approximately 5" long upon completion. Adjust your hook size or yarn weight as needed.
It’s essential to block your swatch before measuring for an accurate gauge.
Detailed Working Method
Stage 1: Creating the Petals
Component: Petals (make 6 for each rose).
- Start with a slip knot and chain 5.
- Row 1:
- In the second chain from the hook, make 1 single crochet (1 sc).
- In the next chain, make 2 half double crochets (hdc).
- In the last chain, work 3 double crochets (dc).
- Turn your work and repeat the above pattern for an additional row.
- Lay the petals out to ensure they fan out properly. Attach with a slip stitch to form the base.
Stopping Condition: You should have 6 petals shaped like half moons.
Visual Checkpoint: Ensure petals are uniform in size and shape.
Common Error: Forgetting the transitions between stitches can yield angular leaves instead of soft, rounded ones.
Stage 2: Creating the Leaves
Component: Leaves (make 2 for each rose).
- Foundation: Chain 10.
- Row 1:
- In the second chain from the hook, make 1 single crochet (sc).
- In the next chain, make 1 half double crochet (hdc).
- In the next 5 chains, make double crochets (dc).
- In the next chain, work 1 half double crochet (hdc).
- Finish with 1 single crochet (sc) in the last chain.
- Turn your work and repeat across the row.
Stopping Condition: End with a shaped leaf; pinching the base may provide additional curvature.
Common Error: Ensuring smooth transitions between stitches is key to achieving a rounded leaf shape.
Stage 3: Assembling the Components
- Base Assembly: Using a yarn needle, stack your petals on top of one another, starting with the smallest on the bottom and layering up to the larger petals.
- Attach Leaves: Place leaves in between petals to create a natural look.
- Sew components together securely, using a contrasting thread if desired for a rustic effect.
Final Checkpoint: Make sure the petals and leaves have a natural appearance, and the structure is sturdy.
Tip: Be careful not to pull too tightly during assembly, as this can distort the shape of your flower.
Stage 4: Finishing Touches
- Weave in Your Ends: Trim any excess yarn and use a crochet hook to tuck the ends into your work.
- Block your Rose: Lightly steam or wet block to help the petals and leaves maintain their shape.
Assembly and Finishing
When finalizing your rose, ensure a balanced visual arrangement of petals and leaves. You may use yarn or floral wire to secure everything in place if necessary.
Fasten off with a knot, ensuring the tension maintains the integrity of your flower. Before securing, conduct a final inspection of alignment to ensure all components look natural.
Troubleshooting
| Symptom | Likely Cause | Practical Correction |
|———————————-|——————————-|————————————–|
| Petals Too Stiff | Incorrect yarn choice | Experiment with a softer yarn |
| Uneven Petal Size | Inconsistent tension | Use a stitch marker for guidance |
| Leaves Curling Up | Stitches too tight | Loosen your stitches and block |
| Difficulty in Assembly | Missed stitches | Review your petal and leaf counts |
Variations, Care, and FAQ
Variations
- Experiment with various yarn textures and colors to create unique roses.
- Consider adding embellishments like beads for a touch of elegance.
Care
- Hand wash in cold water and lay flat to dry to preserve shape.
Frequently Asked Questions
- Can I use a different yarn weight? Yes, but be sure to adjust your hook size accordingly.
- How do I store my completed roses? Store them in a cool, dry place, away from direct sunlight.
- Are there techniques for crafting larger roses? Yes, consider adding more petal layers for a more voluminous effect.
- Can I create a rose without leaves? Absolutely! Simply skip the leaf-making stage.
Completion Checklist
- [ ] Crochet 6 petals.
- [ ] Crochet 2 leaves.
- [ ] Assemble components securely.
- [ ] Weave in ends.
- [ ] Block as needed.
Now you’re ready to create your very own crochet roses that look remarkably lifelike! Happy crocheting!