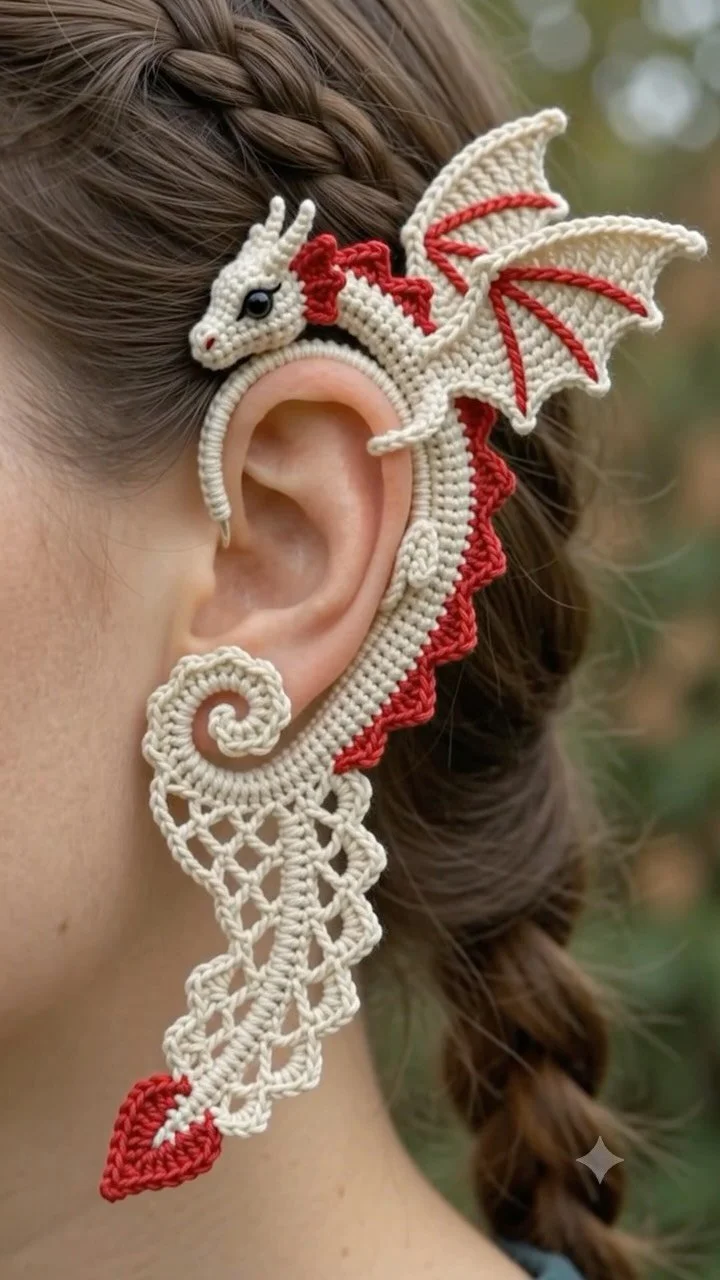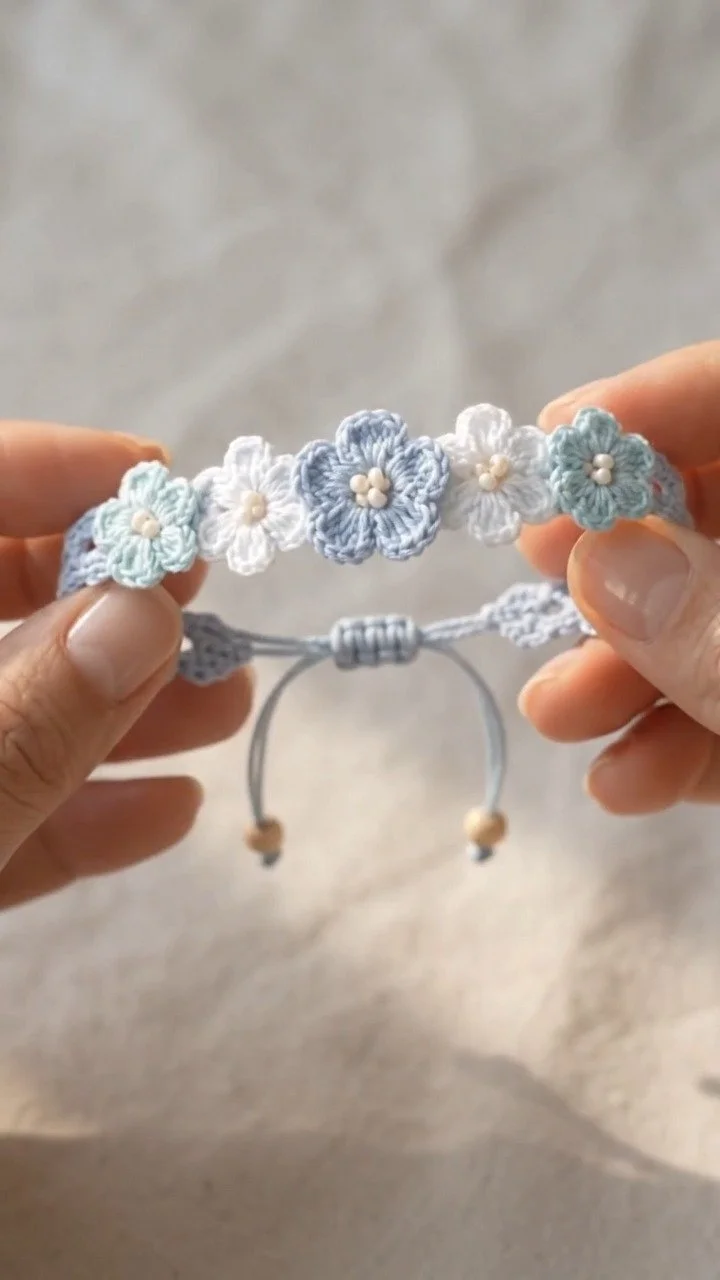
Crochet Bracelet Color Picks: Choosing Your Shade
Crochet Bracelet Color Picks: Which Shade Would You Choose?
In this tutorial, you will learn how to create a colorful crochet bracelet that reflects your personal style. We’ll cover the required materials, crochet techniques, and a step-by-step guide to completing your bracelet. This adaptable project allows you to explore color combinations and patterns, making it perfect for a gift or a trendy accessory for yourself!
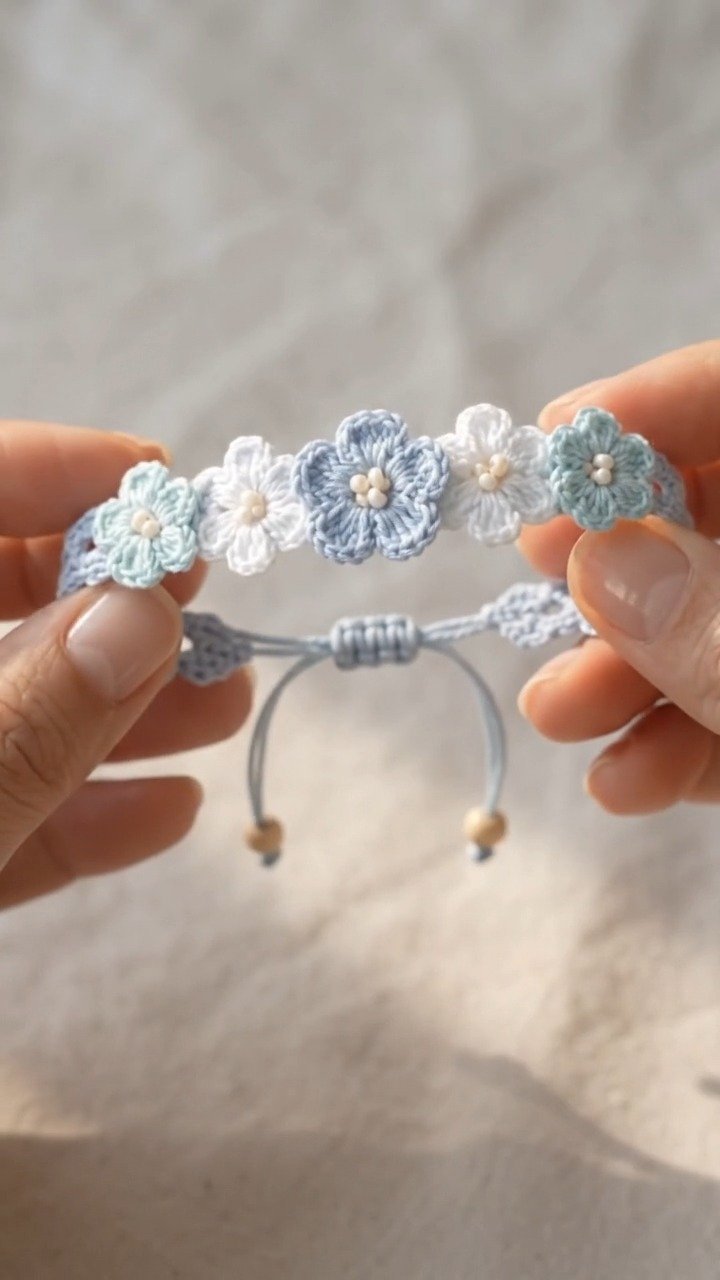
Project Plan
The crochet bracelet project consists of the following key components:
- Base Chain: The foundational structure created using a chain stitch.
- Crochet Stitch Pattern: This element provides the unique texture and design of your bracelet.
- Color Changes: Techniques to incorporate multiple colors into your bracelet design.
- Closure Method: Options for fastening your bracelet securely, including simple knots or decorative clasps.
Assembly Order
- Create the base chain.
- Work the main crochet stitch pattern.
- Incorporate color changes (if desired).
- Finish with a neat closure.
Materials and Tool Selection
Required Materials
- Yarn: Use cotton or acrylic yarn for comfort; medium-weight yarn (worsted weight) is ideal.
- Crochet Hook: Size H (5 mm) is commonly used but check the yarn label for the best fit.
- Scissors: For cutting the yarn.
- Tapestry Needle: For weaving in yarn ends securely.
Suggested Starting Choices
- Yarn Color: Pick at least three colors that appeal to you. A solid color can serve as your base, complemented by contrasting colors for the patterns you want to create.
- Hook Size: Depending on the thickness of your yarn, you may need to adjust. However, staying close to a size 5 mm hook typically works best for worsted weight yarn.
Sample Preparation
Before diving into the bracelet, create a swatch to check your gauge. A standard gauge for worsted weight yarn is about 4 stitches per inch. Count your stitches and measure to ensure you’re on track.
Terminology and Techniques
Familiarize yourself with these basic crochet abbreviations and definitions that you will encounter:
- ch: chain
- sc: single crochet
- dc: double crochet
- sl st: slip stitch
Basic Techniques
Chain (ch)
- Insert the hook into the slip knot.
- Wrap the working yarn around the hook.
- Pull through the loop on the hook. (1 loop remains on the hook)
Single Crochet (sc)
- Insert the hook into the stitch you wish to work into.
- Yarn over and pull through the stitch (2 loops on the hook).
- Yarn over again and pull through both loops (the stitch is complete).
Double Crochet (dc)
- Yarn over and insert the hook into the stitch.
- Yarn over and pull through (3 loops on the hook).
- Yarn over and pull through the first two loops (2 loops on the hook).
- Yarn over again and pull through the remaining two loops (the stitch is complete).
Slip Stitch (sl st)
- Insert the hook into the stitch.
- Yarn over and pull through the stitch and the loop on the hook (1 loop remains on the hook).
Turning Chains
When starting a new row, use a turning chain. Typically, this involves chaining 1 for single crochet or chaining 3 for double crochet.
Measurements and Preparation
To ensure a proper fit, measure your wrist with a flexible measuring tape. The average adult wrist measures about 6.5 to 7.5 inches. Add a few extra inches to allow for comfort and design flexibility.
Swatch Measurement
Crochet a small sample piece (4 inches by 4 inches) to confirm gauge. The stitches per inch will help you determine if you’re achieving the desired gauge.
Detailed Working Method
Stage 1: Create the Base Chain
- Use your chosen yarn and crochet hook to create a slip knot.
- Chain a multiple of 3 stitches plus 1. For example, for a base of 23 stitches, the total length will be approximately 7.5 inches.
- Check your tension against your wrist measurement.
Stage 2: Work the Main Stitch Pattern
- Start with the second chain from the hook and work a row of single crochets.
- Continue this pattern until the last stitch.
- Turn your work and chain 1 to begin the next row.
Stage 3: Incorporate Color Changes
- At the end of a row, finish the stitch of the current color but do not complete the last pull-through.
- Introduce the new color by pulling it through the last two loops.
- Continue crocheting in the new color for subsequent rows. Repeat this process for any additional color changes desired.
Stage 4: Finishing the Bracelet
- Once your bracelet reaches the desired length, finish with a slip knot.
- Cut the working yarn, leaving a 6-inch tail for weaving in ends.
- Use the tapestry needle to weave in any loose ends securely.
Stopping Condition
Check that the bracelet comfortably fits your wrist. The total length should closely align with your measurement plus a little stretch.
Assembly and Finishing
- Once you finish crocheting, block the bracelet if needed to ensure even stitches.
- Ensure there’s no twisting and the alignment is correct.
- Secure the bracelet with a simple knot or a decorative clasp, depending on your style preference.
Troubleshooting
| Symptom | Likely Cause | Practical Correction |
|————————-|————————|—————————————–|
| Bracelet too tight | Incorrect chain count | Start over with a longer chain. |
| Gaps in stitching | Loose tension | Tighten your stitches as you work. |
| Twisting of bracelet | Incorrect stitch count | Re-check pattern alignment after every row. |
| Color changes not neat | Poor transition | Practice transitioning yarn cleanly for better results. |
Variations, Care, and FAQ
Variations
- Experiment with various crochet stitches (like half double crochet) to create different textures.
- You can also add beads or other embellishments to enhance the design.
Care
- Hand wash gently and lay flat to dry to maintain the bracelet’s shape.
FAQs
What if I want to resize the bracelet?
Adjust the initial chain length to change the size, ensuring that it remains a multiple of your chosen stitch count.
Can I use different materials?
Yes, but remember that the overall stretch and comfort may vary.
How can I incorporate a closure?
You can try clasps or toggle closures for added security and style.
What if I run out of yarn?
Plan your colors and stitches ahead of time to minimize waste and keep extra yarn handy for experimentation.
Completion Checklist
- [ ] Measure wrist.
- [ ] Crochet a swatch.
- [ ] Gather materials.
- [ ] Follow the step-by-step instructions.
- [ ] Finish off securely.
- [ ] Enjoy your new bracelet!
Now that you have the skills and knowledge to crochet your bracelet, pick out your colors and get started. Happy crocheting!