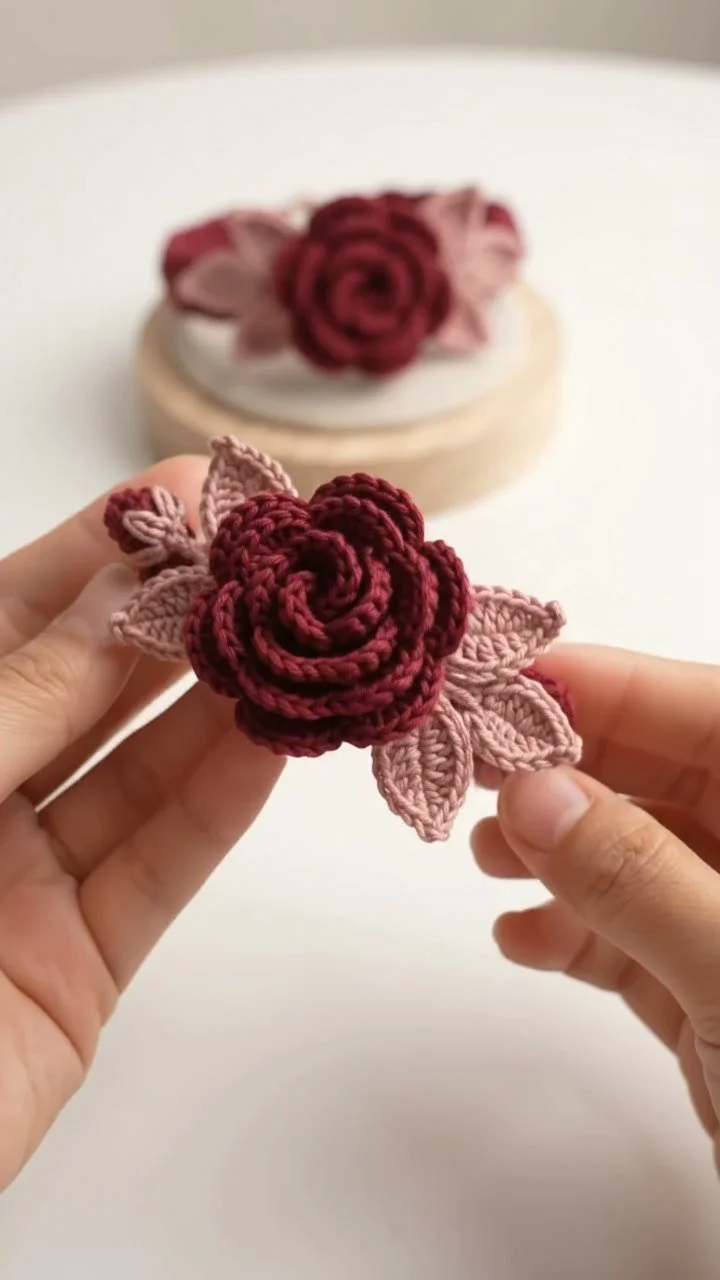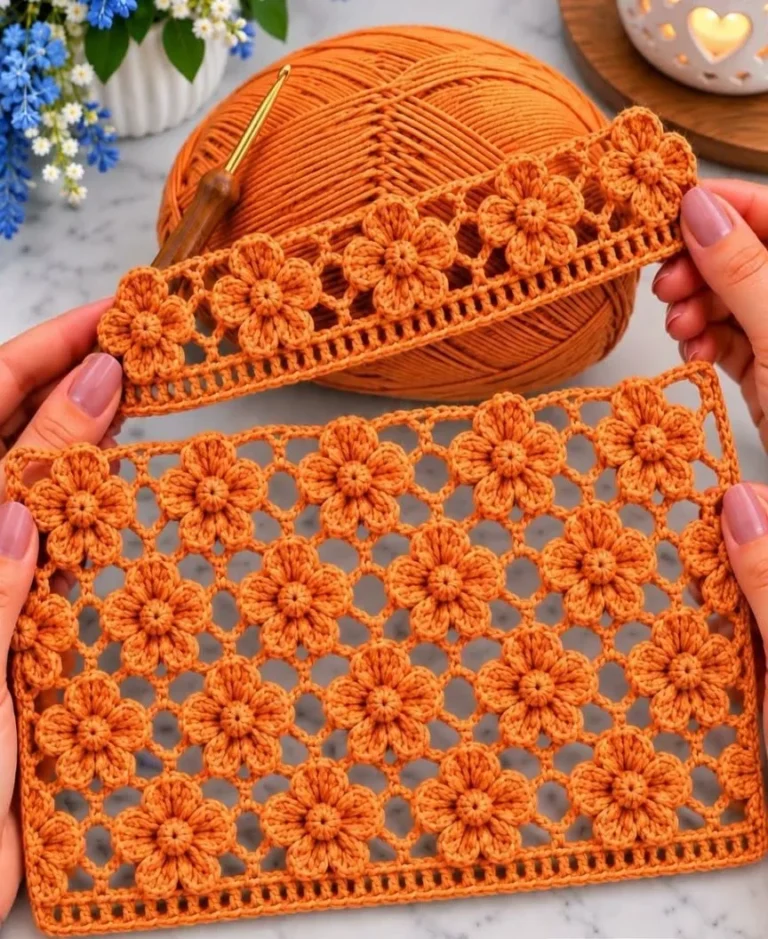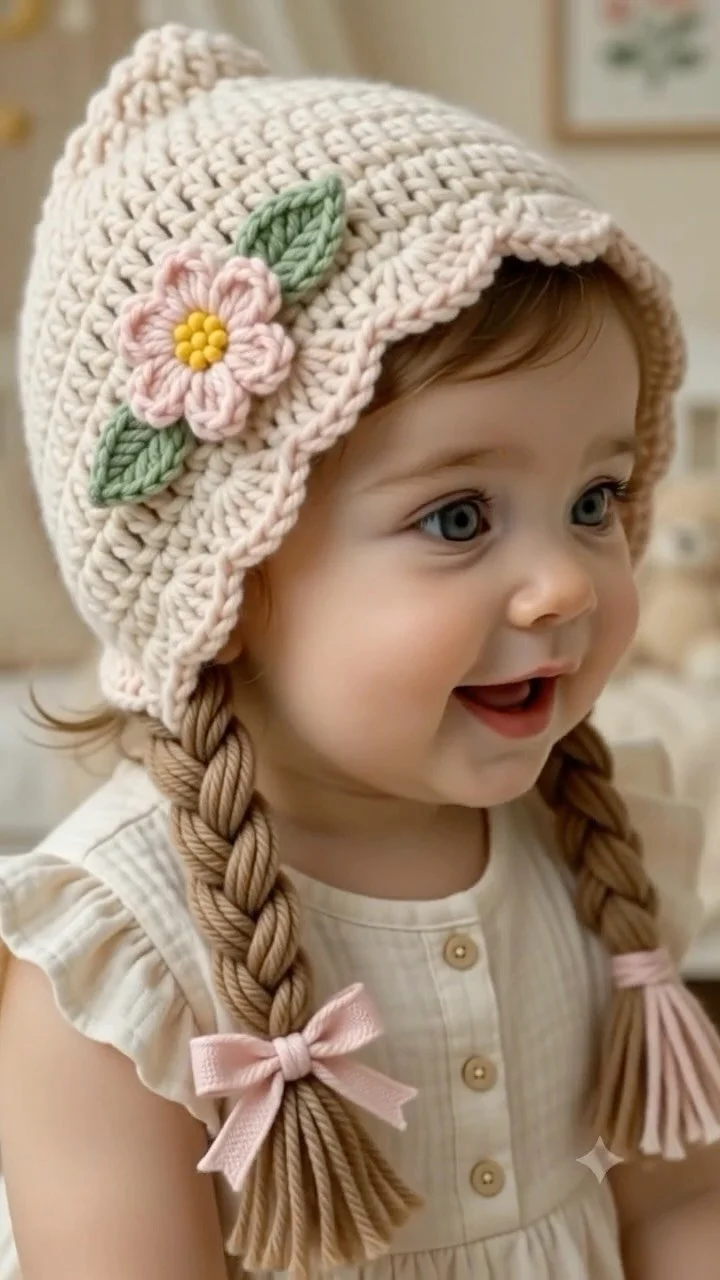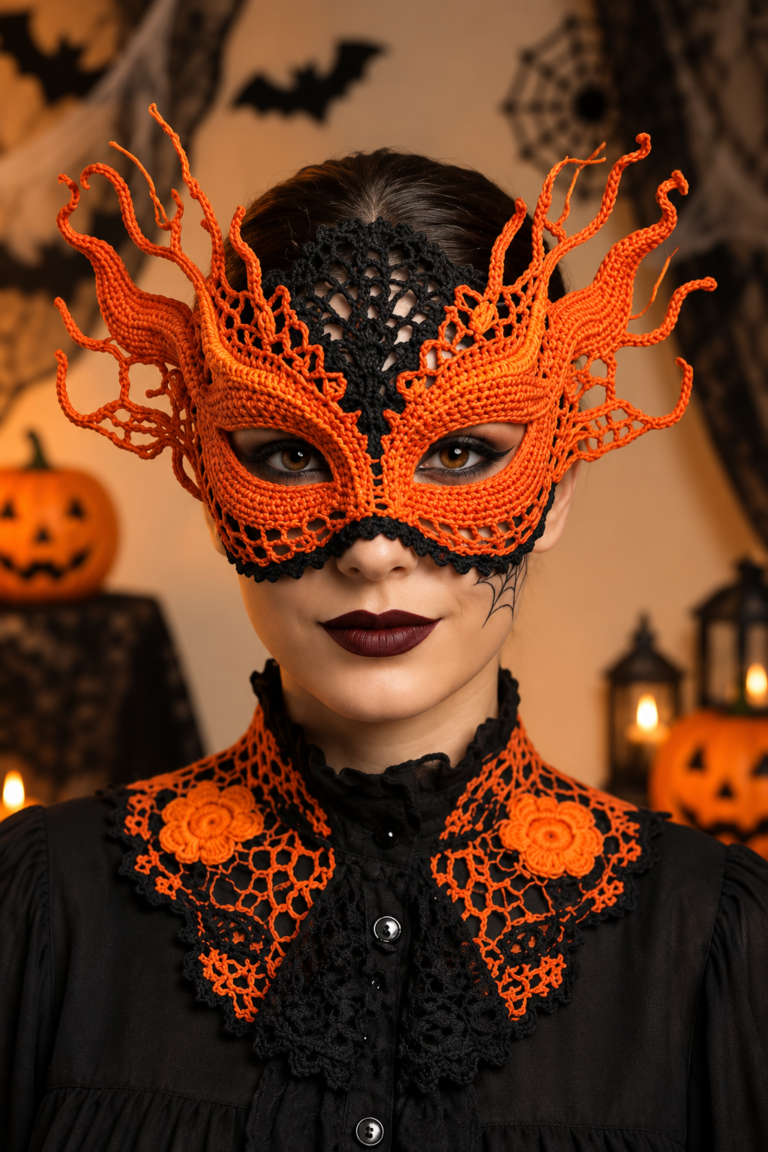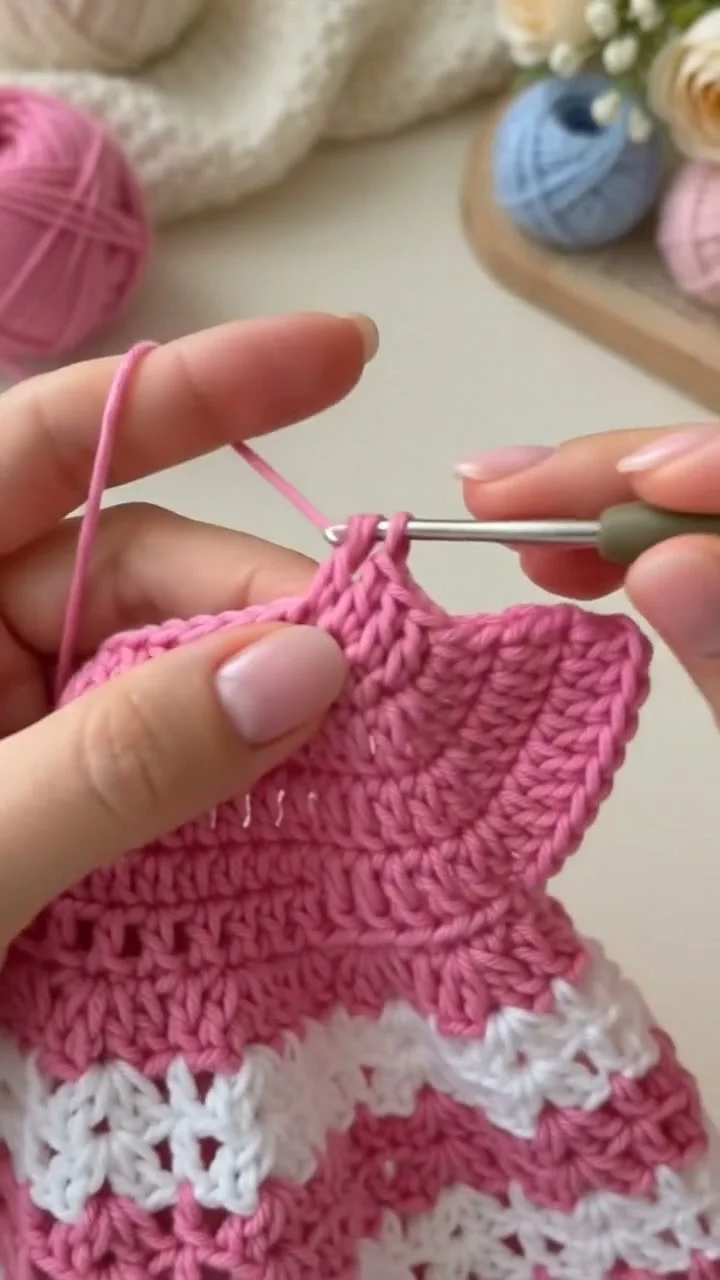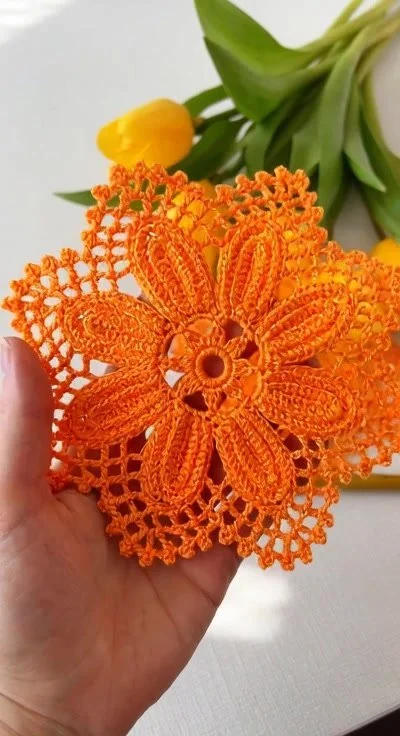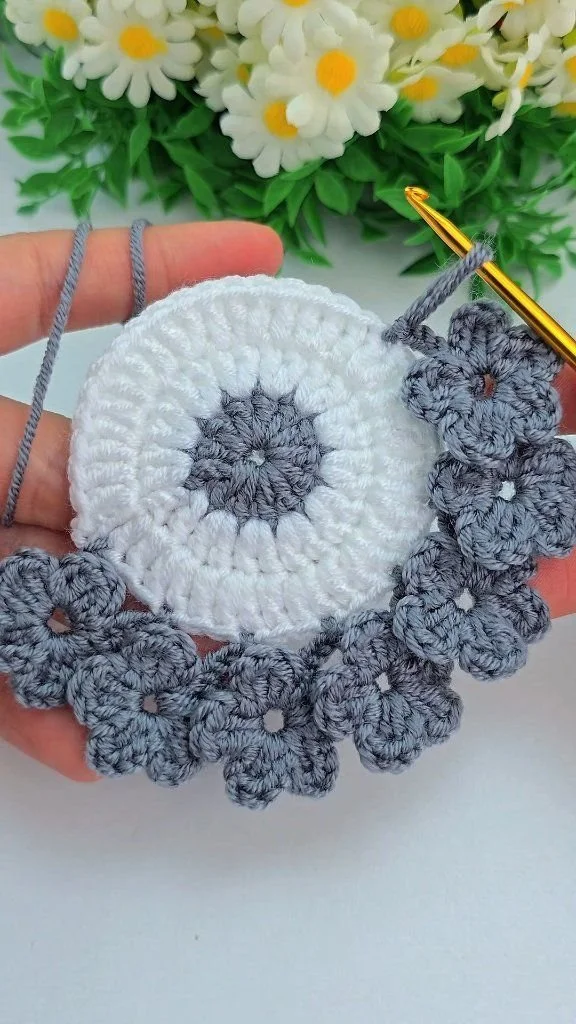
Crochet Flowering Motif: Delicate, Easy Design
Crochet Flowering Motif: An Easy, Delicate Design
Creating crochet flower motifs is a delightful way to combine your love for crafting with floral aesthetics. This tutorial will guide you through the process of making a simple yet charming crochet flower motif, complete with techniques, tips for troubleshooting, and customization options. By the end, you’ll have the skills to craft beautiful flower appliqués that can enhance your handmade accessories or home décor.
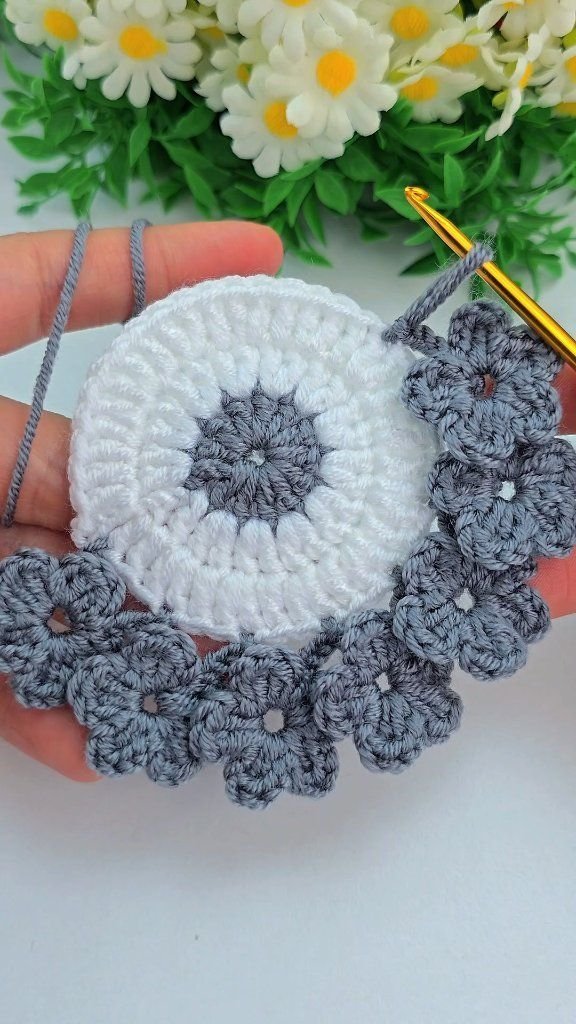
Project Plan
In this project, you will create a delicate crochet flower motif comprised of petals and a center. The assembly will occur in several stages:
- Create the Flower Center: Start with a foundation chain or magic ring.
- Form the Petals: Build individual petals using chosen crochet stitches around the center.
- Finish the Flower: Edging can be added to define the shape and enhance durability.
- Optional Embellishments: Attach beads or buttons at the flower’s center if desired.
Materials and Tool Selection
When gathering your materials, it’s essential to select the right tools and yarn to achieve the desired result:
Essential Materials
-
Yarn: Lightweight yarn (such as cotton or acrylic)
- Cotton offers durability and crisp stitch definition.
- Acrylic is soft and approachable for beginner projects.
-
Crochet Hook: A G (4.0 mm) or H (5.0 mm) hook is commonly used for worsted weight yarn.
-
Scissors: For trimming your yarn at the finish.
-
Yarn Needle: Essential for weaving in ends.
Suggested Materials
- Beads or Buttons: For embellishment in the center of the flower.
- Stiffening Agents: Such as fabric stiffener if you want the flowers to retain a specific shape.
Yarn Thickness and Fiber
Choose your yarn based on the weight and fiber content you feel comfortable working with. Thicker yarns will create bolder flowers, while thinner yarn creates delicate, detailed petals. A swatch is always a good practice to ensure your tension and style are what you want before fully committing.
Terminology and Techniques
It’s essential to familiarize yourself with common crochet terms and abbreviations:
- Chain stitch (ch): The foundation stitch.
- Slip stitch (sl st): Used for joining pieces together or finishing.
- Double crochet (dc): Creates height and texture in flower petals.
Stitch Guide
- Chain stitch: Insert the hook into the last stitch, yarn over and pull through, keeping two loops on the hook. Yarn over again and pull through both loops.
- Slip stitch: Insert the hook into the next stitch, yarn over, pull through both the stitch and the loop on the hook.
- Double crochet: Yarn over, pull through the stitch leaving three loops on your hook. Yarn over again, pull through the first two loops (two remaining), yarn over again and pull through the last two loops (one remaining).
Measurements and Preparation
Before starting, create a small swatch to ensure your desired gauge. For this project:
- A typical gauge might be around 4 inches (10 cm) = 10 double crochets and 5 rows.
- Adjust your hook size if your swatch doesn’t match or feels too tight or too loose.
To measure your swatch, crochet a 4-inch square in the stitch pattern you intend to use and lay it flat. If your stitches are too small, try a larger hook; too large, a smaller hook.
Detailed Working Method
Follow these steps to create your crochet flower motif:
1. Create the Flower Center
- Action: Begin by creating a magic ring (or a chain of 4 joined to form a ring).
- Hook Insertion: Insert the hook into the magic ring.
- Stopping Condition: Complete 5 double crochets into the ring.
- Checkpoint: You should now have a circle with 5 double crochets protruding from it.
2. Form the Petals
- Action: For each petal, chain 3, then double crochet into the ring. Repeat this step for each petal.
- Placement: After completing your first petal, specify the next petal position by noticing the space in-between.
- Stopping Condition: Complete a total of 5 petals all around the center.
- Common Error: If petals seem too tight, consider loosening your tension.
3. Assemble the Motifs
- Action: Slip stitch into the first petal to join it.
- Technique: Ensure you maintain a consistent spacing for symmetry.
- Visual Checkpoint: Examine for even petal spacing.
4. Add Optional Embellishments
- Action: If you want to add beads, carefully place them on the center and secure them with a slip stitch.
- Joining Method: Make sure the beads are secure and won’t easily come loose.
- Stopping Condition: Once sewn on, ensure the embellishment lies flat and secure.
5. Finish with Edging
- Action: For the border, single crochet around the outside of each petal.
- Visual Checkpoint: Assess that the edging brings the flower together instead of pulling it out of shape.
Assembly and Finishing
When you’ve completed your flower, take time to finish it properly:
- Weaving in Ends: With a yarn needle, weave any loose strands securely into the back of the flower.
- Block Your Flower: To shape, lightly spray with water or steam and pin down to a flat surface until dry.
- Stiffening (Optional): If desired, mist with fabric stiffener to maintain the flower shape once it is completely dry.
Troubleshooting
| Symptom | Likely Cause | Practical Correction |
|————————————|—————————–|——————————————–|
| Petals are uneven | Inconsistent tension | Practice maintaining even tension across all stitches. |
| Flower is too floppy | Too thin yarn or no stiffener | Try a thicker yarn or apply fabric stiffener. |
| Beads are falling off | Not secured correctly | Reattach with a tighter slip stitch. |
Variations, Care, and FAQ
Variations
- Petal Shapes: Try longer or shorter petals for a different flower look.
- Layering: Stack smaller flowers on top of larger flowers for multi-layered effects.
- Color Combinations: Utilize gradient colors for a more dimensional effect.
Care Instructions
- Cotton Yarn: Machine wash on gentle; air dry.
- Acrylic Yarn: Durable and can usually be washed and dried safely.
FAQs
-
Can I combine different yarn types?
Yes! Different fibers can create unique textures. -
How should I attach these flowers to my projects?
Use a yarn needle or hot glue for a secure attachment. -
What can I do if my flowers come out uneven?
Check your tension and adjust as necessary. -
Can I sell items made from these motifs?
Yes, ensure your designs are original and not direct copies of patterns.
Completion Checklist
- [ ] Gather all materials and tools.
- [ ] Complete a gauge swatch.
- [ ] Follow the instructions step-by-step.
- [ ] Weave in ends and block your flower.
- [ ] Experiment with variations!
Enjoy crafting your crochet flower motifs and let your creativity flourish!