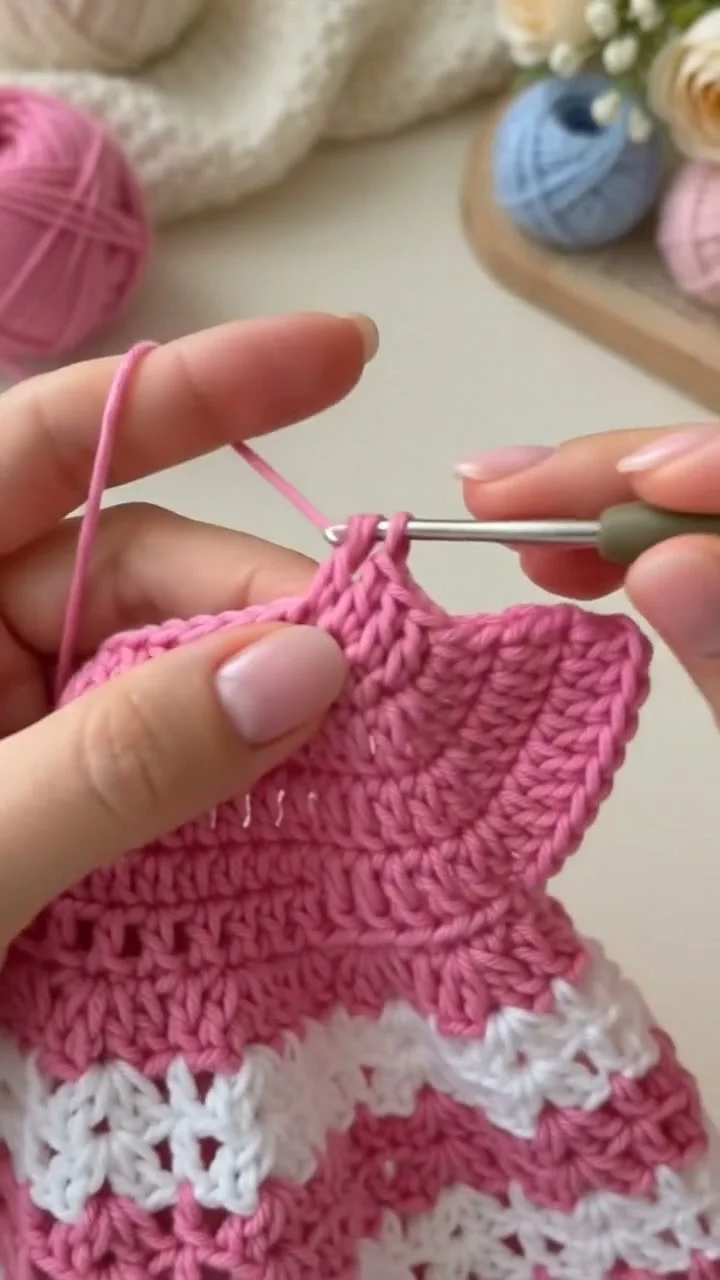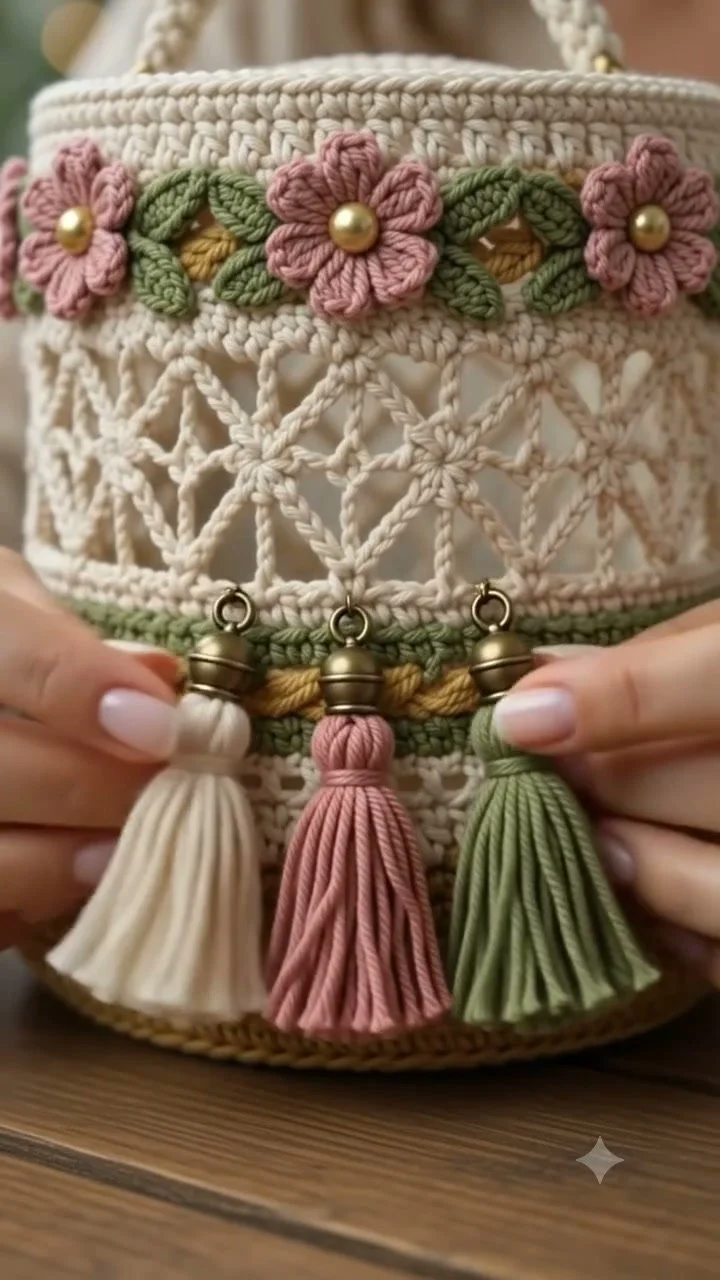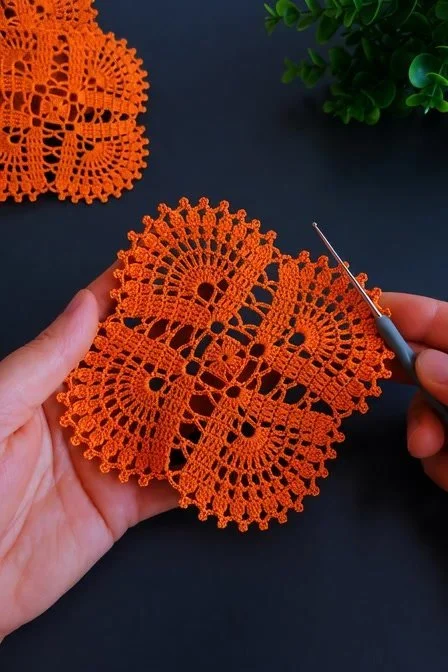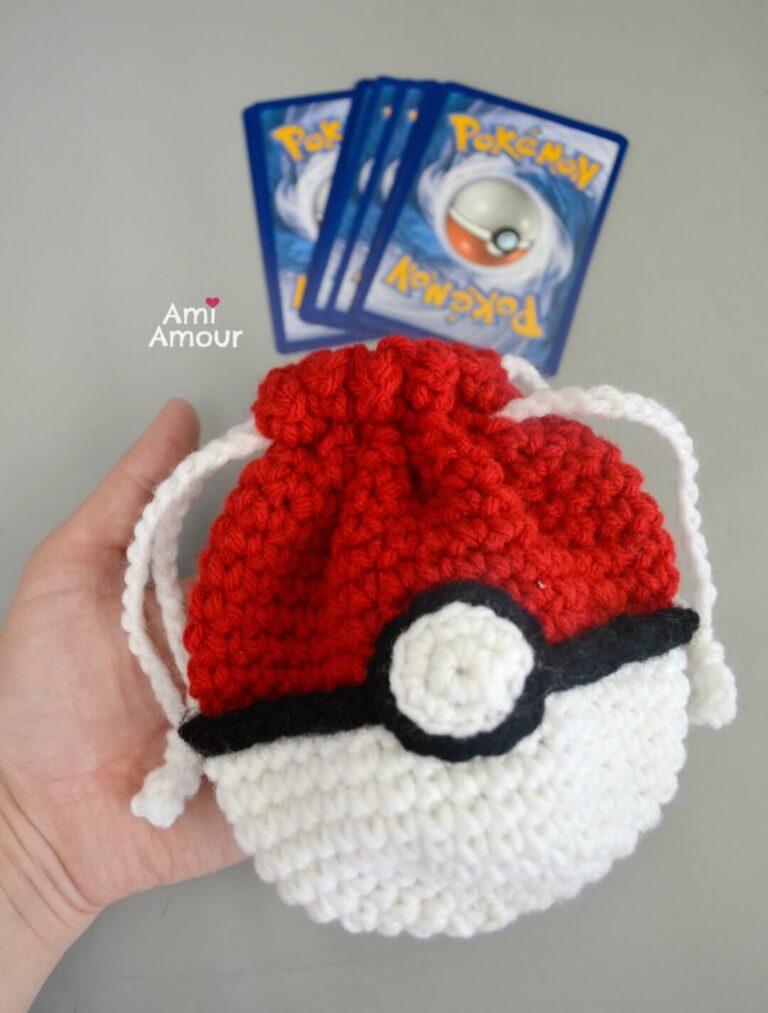
Crochet Flower Mesh Pattern for Delicate, Lacy Projects
Crochet Flower Mesh Pattern: Easy Design for Lacy Projects
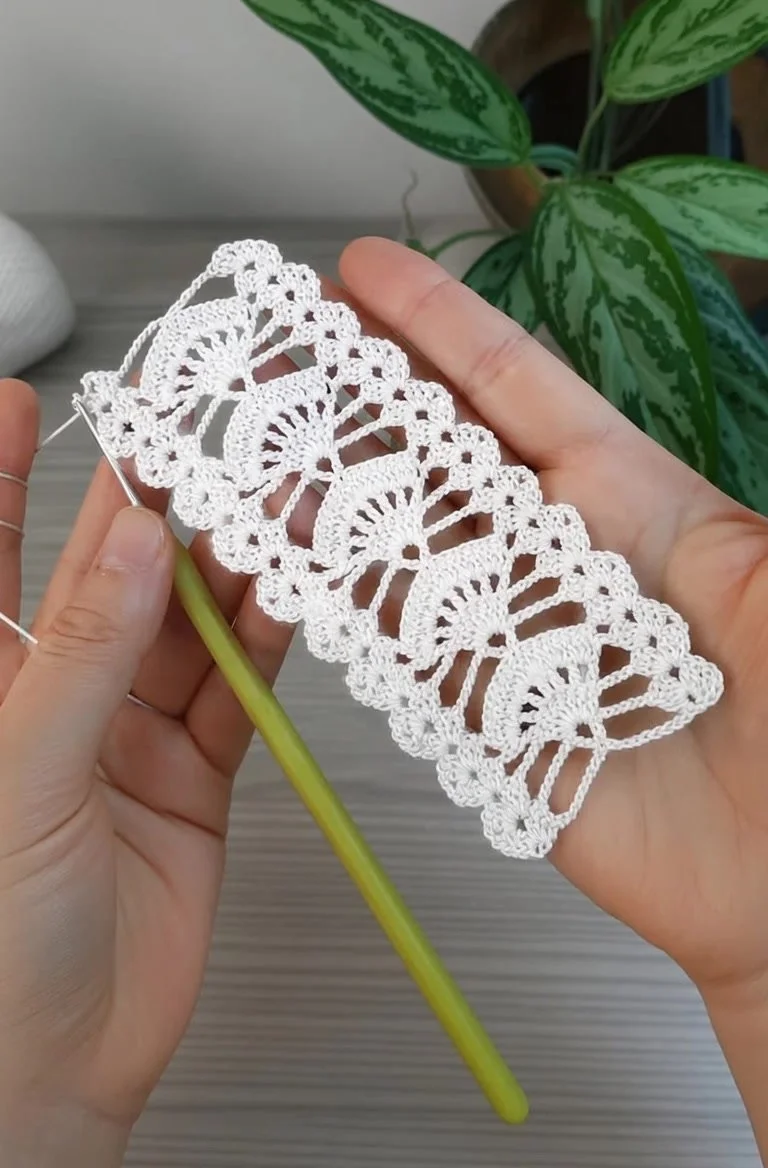
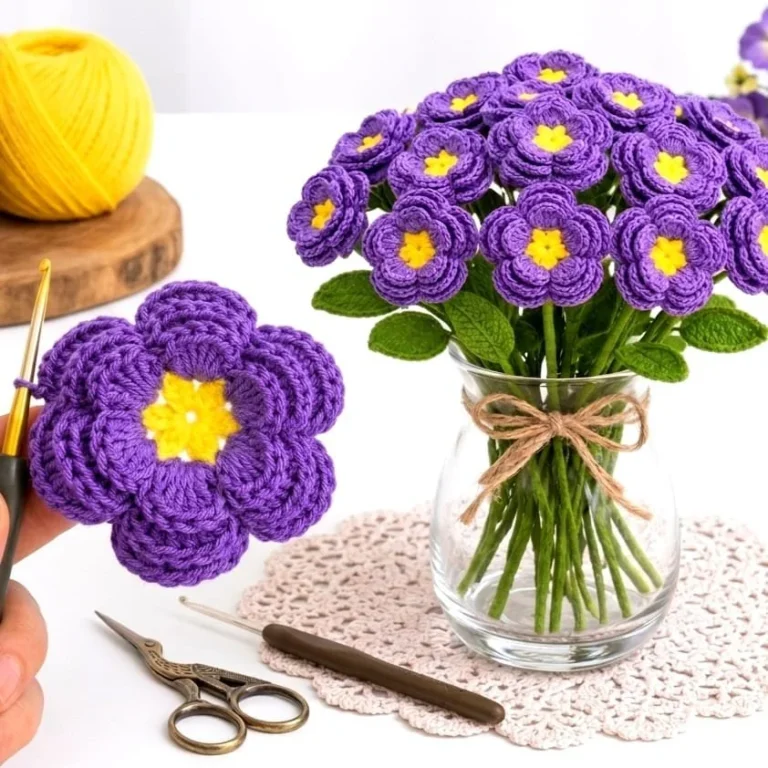
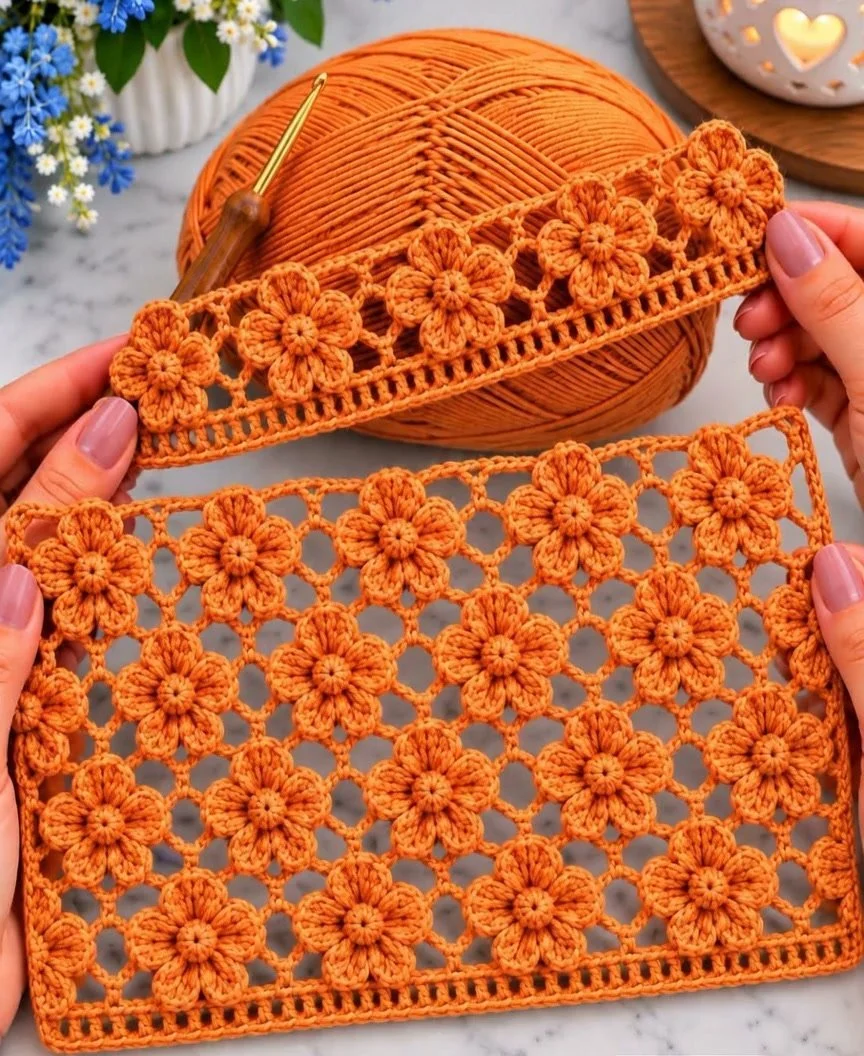
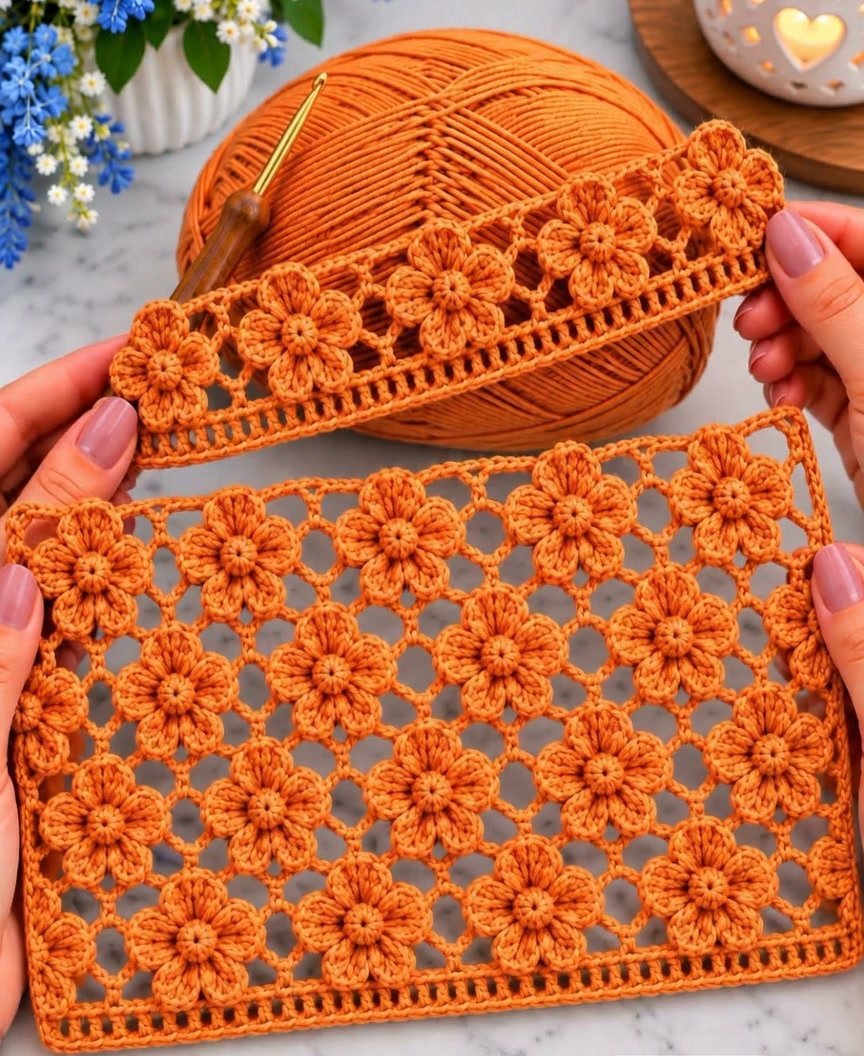
In this tutorial, you will learn how to create an easy crochet flower mesh pattern. This design is versatile, excellent for embellishments on bags, home decor items, or even as standalone decorative pieces. You will be guided through the necessary materials, crochet techniques, and assembly steps to create a beautiful flower motif.
Project Plan
The project focuses on a multi-layered flower created using a mesh pattern. The primary components include:
- Petals: Individual petals crocheted in rounds that will form the outer layer of the flower.
- Center: A separate piece crocheted to create the flower’s center, usually in a contrasting color.
- Joining: The petals will be attached to the center to form the completed flower.
Once assembled, the flower can be securely attached to various items or used decoratively on its own.
Materials and Tool Selection
Materials
-
Yarn: A lightweight yarn such as cotton or acrylic is ideal, especially in yarn weight number 3 (DK/light worsted). Suggested colors include bright hues for the petals (like yellow or pink) and contrasting shades for the center (like brown or green).
-
Crochet Hook: Choose a hook that corresponds with your yarn weight. A 4.0 mm (G-6) hook is commonly suitable for lightweight yarn.
-
Scissors: For cutting the yarn.
-
Yarn Needle: For weaving in ends after completing the project.
Suggested Starting Choices
While the exact amounts may vary, a general estimate is around 50-75 yards of yarn for a typical flower. It is wise to start with a small sample to ensure your tension and technique are correct.
Testing a Gauge Swatch
- Create a small swatch, approximately 10×10 cm (4×4 inches) in the flower mesh pattern.
- Measure the number of stitches and rows per inch. Adjust your hook size if necessary to achieve the desired gauge.
Terminology and Techniques
Abbreviations Used
- ch: chain
- dc: double crochet
- sl st: slip stitch
- sp: space
Techniques Explanation
Chain Stitch (ch)
- Insert the hook into the yarn and pull up a loop (2 loops on the hook).
- Yarn over and pull through both loops, leaving 1 loop on the hook.
Double Crochet (dc)
- Yarn over, insert the hook into the stitch, and pull up a loop (3 loops on the hook).
- Yarn over, pull through the first 2 loops (2 loops remain).
- Yarn over again and pull through the last 2 loops, leaving 1 loop on the hook.
Slip Stitch (sl st)
- Insert the hook into the stitch, yarn over, and pull through both the loop on the hook and the stitch (1 loop remains on the hook).
Joining Technique
Securely connect each piece together by using a slip stitch, ensuring the stitches are not too tight.
Measurements and Preparation
To achieve a beautifully crafted flower, ensure proper gauge by creating a sample swatch. After crafting your swatch, measure dimensions:
- Width: Across the base of the flower.
- Height: From the base to the peak of the petals.
If adjustments are necessary, consider changing your hook size or the weight of your yarn accordingly.
Detailed Working Method
Stage 1: Crocheting Petals
Component Required: Individual petals.
-
Foundation Chain: Chain 6 and join with a slip stitch to form a ring.
-
Round 1:
- Ch 3 (counts as the first dc).
- Crochet 11 more dc into the ring. You should have a total of 12 dc.
- Join with a sl st at the top of the starting ch 3.
- Stopping Condition: 12 dc total.
-
Round 2:
- For increased petal structure: Ch 3, dc in same stitch, ch 1, 2 dc in the next stitch, ch 1.
- Repeat this pattern until the end. You should have a total of 24 dc and 12 chain spaces.
- Join with a sl st.
- Stopping Condition: 24 dc and 12 chain spaces.
Stage 2: Crocheting the Center
Component Required: Flower center.
-
Foundation Chain: Chain 4 and join with a slip stitch to form a ring.
-
Round 1:
- Ch 3 (counts as the first dc).
- Crochet 9 more dc into the ring. You should have a total of 10 dc.
- Join with a sl st.
- Stopping Condition: 10 dc total.
-
Round 2:
- To finish the center: Ch 2, 1 dc in same stitch, and 2 dc in each of the next dc.
- Repeat until the end; then join with a sl st.
- Stopping Condition: 20 dc total.
Stage 3: Assembling the Flower
Component Required: Attach petals to the center.
-
Positioning Petals:
- Place the center on a flat surface.
- Evenly position the petals around the center.
-
Attaching Petals:
- Use your yarn needle and yarn to sew each petal securely to the center.
- Ensure the petals flare outward to create a full flower appearance.
-
Finishing Off:
- Once all petals are attached, weave in any loose ends using the yarn needle.
Assembly and Finishing
After ensuring all flower pieces are securely attached, check for misalignments or distortions.
- Alignment Check: View the flower from different angles to confirm it looks balanced.
- Secure Loose Ends: Weave in any leftover yarn tails using your yarn needle.
- Final Shape: If the flower does not sit flat, gently reshape it to your preferred form.
Troubleshooting
| Symptom | Likely Cause | Practical Correction |
|——————————–|————————————–|—————————————–|
| Petals are uneven or curled | Stitches are too tight | Loosen your tension |
| Flower is too floppy | Incorrect yarn weight used | Try using a stiffer yarn |
| Center is not round | Misaligned stitches | Reattach the center, ensuring even stitches |
Variations, Care, and FAQ
-
Variations: Experiment with different yarn colors or combine several flowers for a bouquet effect. You can also change the number of petals for a unique design.
-
Care: Hand wash in cold water and lay flat to dry to maintain the flower’s shape.
Frequently Asked Questions
-
Can I use different yarn types?
- Yes, but be mindful of how the fabric may drape or affect your flower shape.
-
How can I secure the flower to fabric?
- Use a needle and thread to sew it directly onto your fabric project.
-
What if I want a larger flower?
- Simply increase the number of chains in the petal rounds.
-
Can the flower be stiffened?
- Yes, consider using fabric stiffener for a more structured look.
Completion Checklist
- [ ] All petals crocheted and attached securely.
- [ ] Center completed and properly aligned.
- [ ] Ends woven in neatly.
- [ ] Flower checked for visual balance.
By following this guide, you’ll create a beautiful easy crochet flower mesh pattern in no time! Happy crocheting!