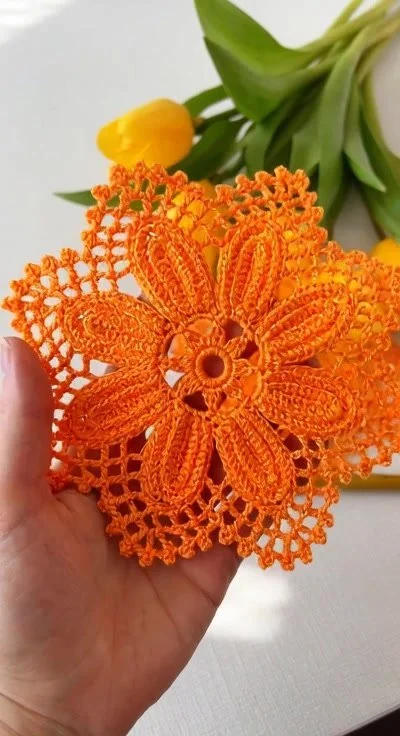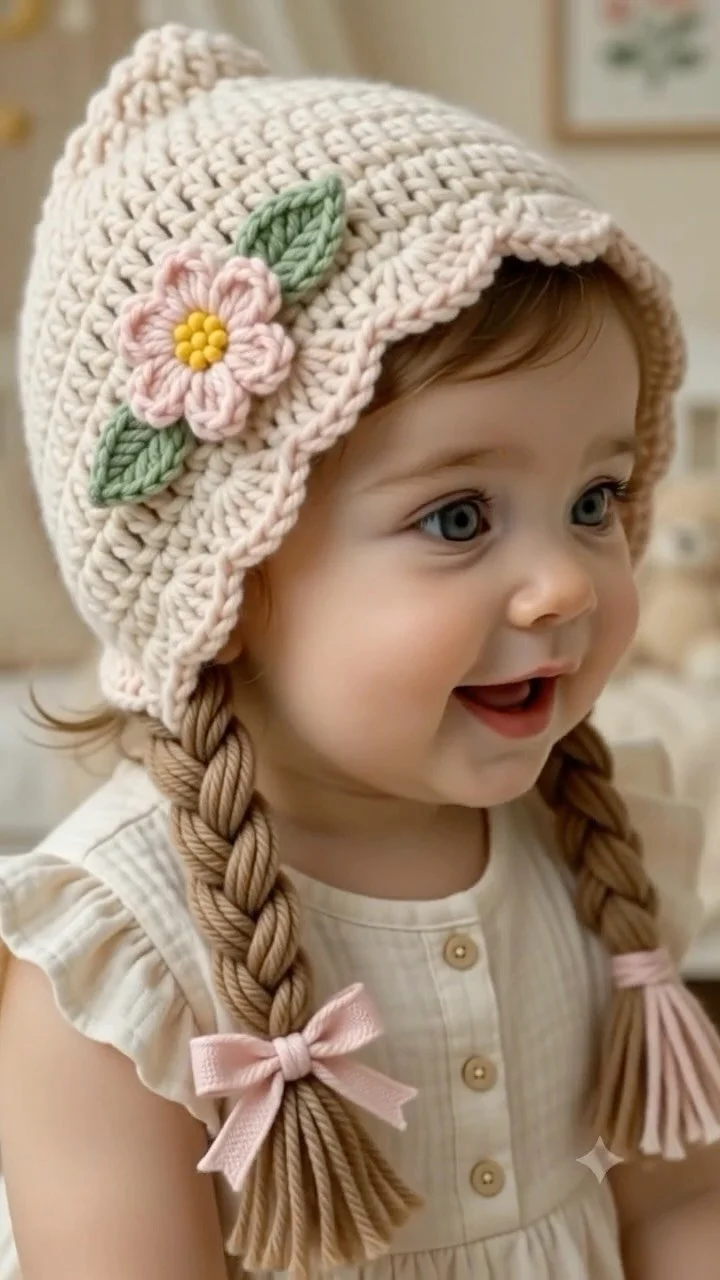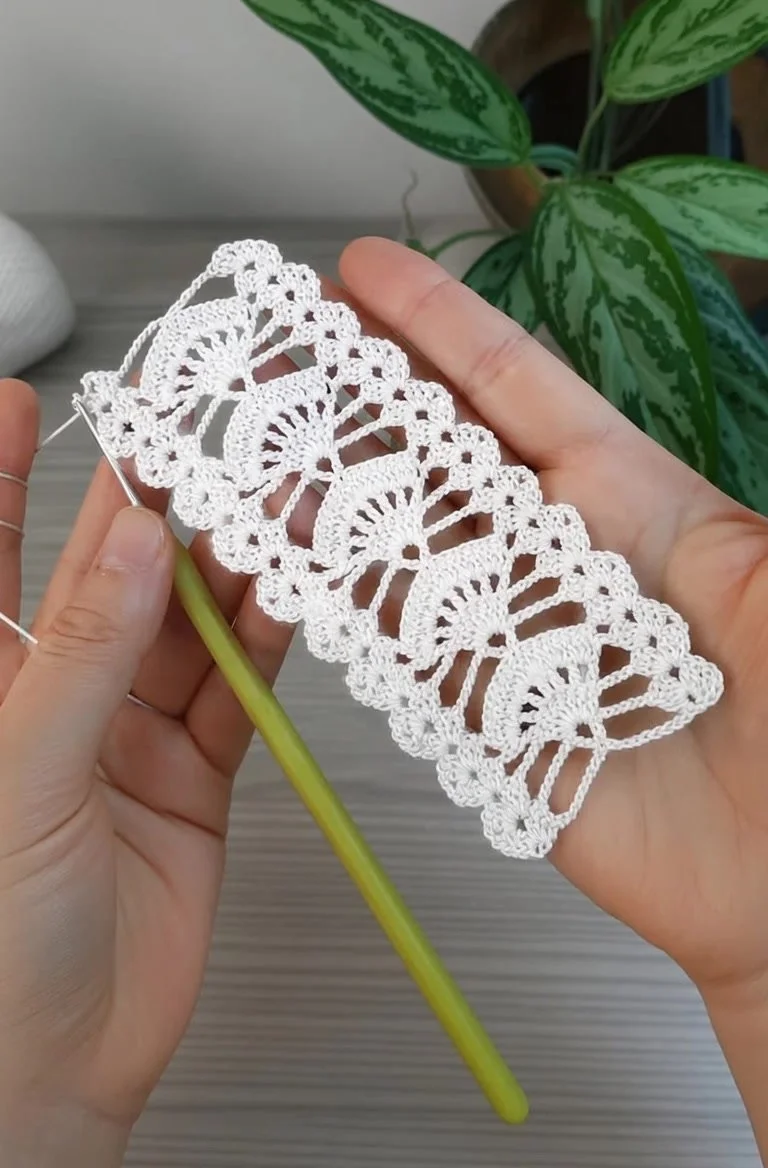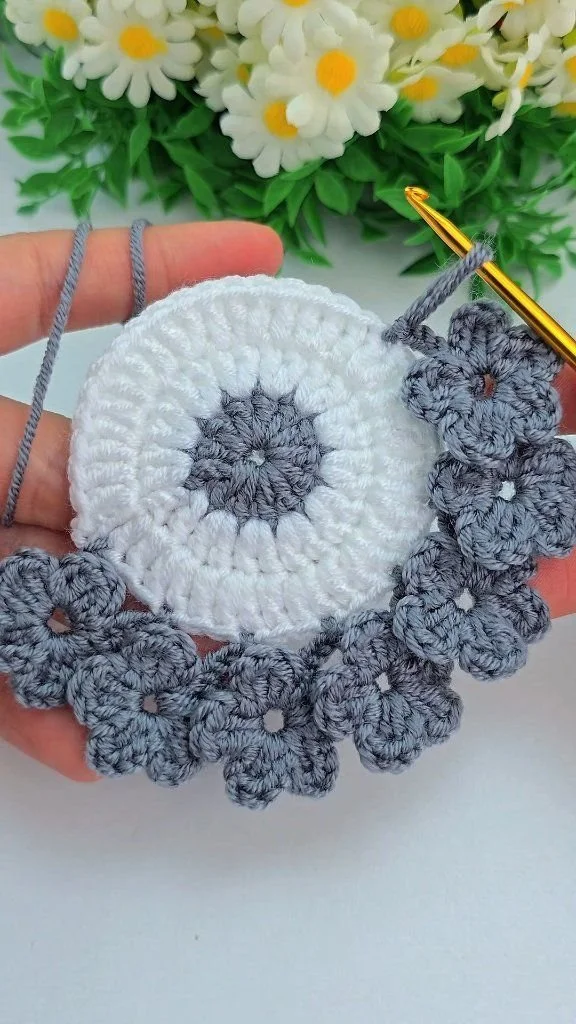
Crochet cardigan with openwork lattice and side pockets
Crochet Cardigan: Openwork Lattice, Floral Garland & Side Pockets
Welcome to this detailed crochet tutorial where you’ll learn how to create a beautiful cardigan featuring an openwork lattice design, a charming floral garland, and functional side pockets. We will provide you with actionable crochet techniques, step-by-step instructions for each component, and troubleshooting guidance to help you succeed in making this stunning piece. Let’s dive in!
Project Plan
The crochet cardigan consists of the following components:
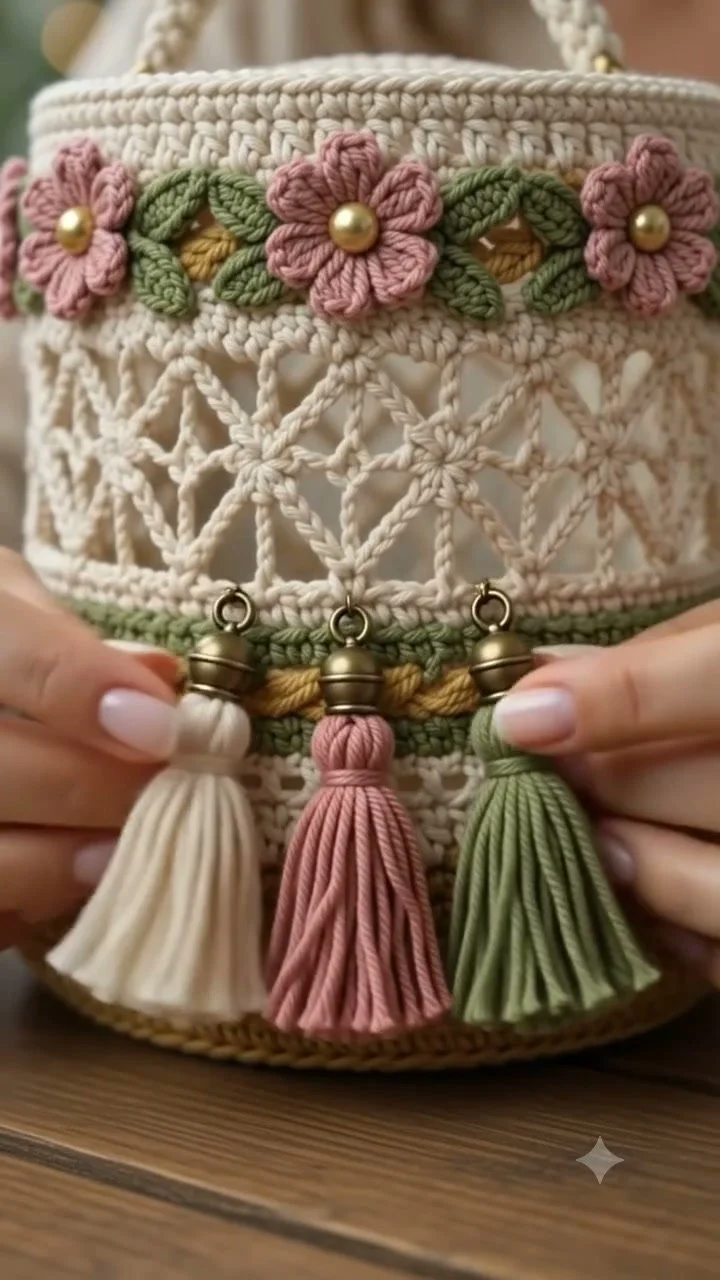
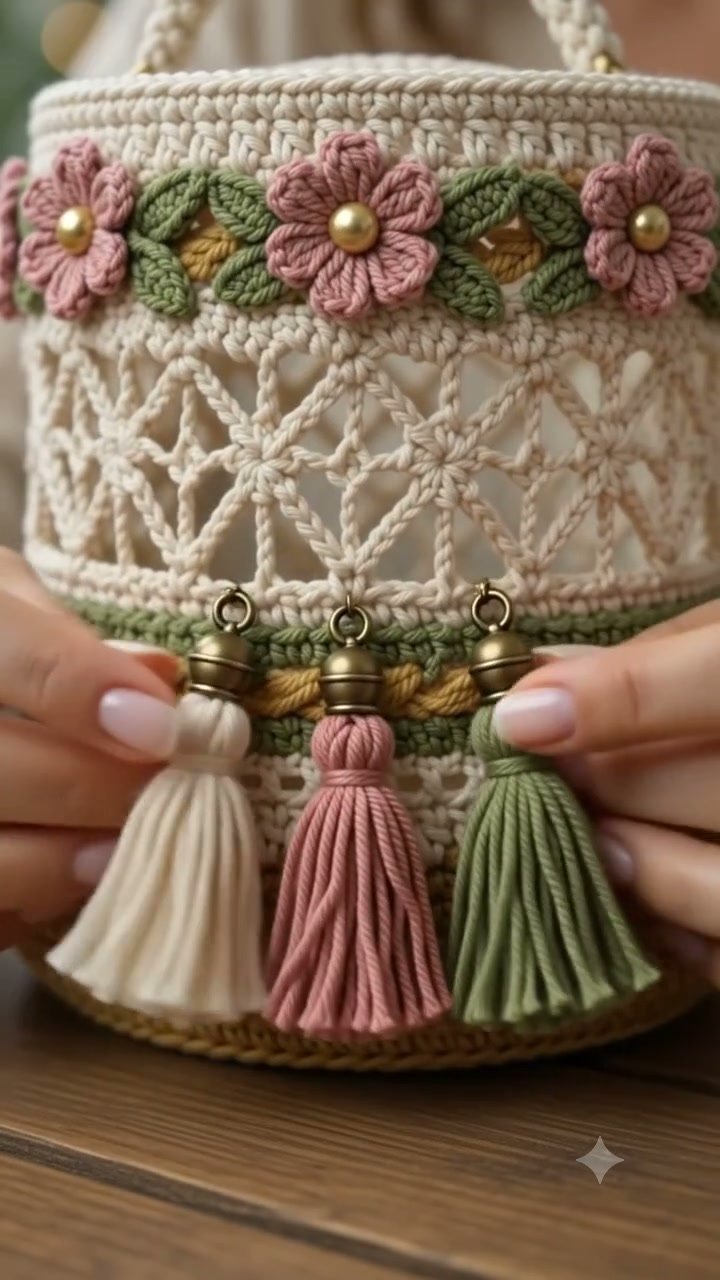
- Openwork Lattice: The main structure of the cardigan showcasing an intricate design.
- Floral Garland: Handcrafted flowers that add a decorative touch across the top.
- Side Pockets: Two small pockets that provide both style and functionality.
- Finishing Touches: To complete the look, we’ll also incorporate dangling tassels.
The assembly process will begin with the creation of the openwork lattice, followed by attaching the floral garland, sewing the side pockets, and finishing with the tassels.
Materials and Tool Selection
Materials
- Yarn: Light-weight cotton yarn is recommended for its durability and ease of use. Choose colors that align with your design vision.
- Crochet Hook: A size H (5 mm) hook is ideal, but feel free to adjust based on your yarn’s thickness and personal tension.
- Craft Needle: Needed for sewing components together and weaving in yarn ends.
- Scissors: Essential for trimming stray yarn ends.
- Stitch Markers: Helpful for tracking rounds and important stitch counts.
Yarn Fiber and Hook Selection
The choice of yarn fiber and thickness significantly influences the cardigan’s final appearance and drape. A lighter yarn promotes an airy feel, while a thicker yarn yields sturdiness. Before committing, crochet a small swatch of about 4" x 4" using your chosen hook. Measure the stitch count per inch to check if it aligns with your design expectations.
Terminology and Techniques
Familiarize yourself with the following crochet abbreviations and techniques necessary for this project:
- ch: chain
- sl st: slip stitch
- sc: single crochet
- dc: double crochet
- sp: space
Techniques
-
Chain Stitch (ch):
- Insert the hook into the yarn knot.
- Yarn over and pull through the loop on the hook.
- You’ll have one loop on the hook.
-
Slip Stitch (sl st):
- Insert the hook into the designated stitch.
- Yarn over and pull through that stitch, then through the loop on your hook.
-
Single Crochet (sc):
- Insert the hook into a stitch.
- Yarn over, pull through (you’ll have 2 loops on the hook).
- Yarn over again and pull through both loops.
-
Double Crochet (dc):
- Yarn over, insert the hook into a stitch.
- Yarn over and pull through (you’ll have 3 loops on the hook).
- Yarn over and pull through the first two loops (2 loops remain).
- Yarn over again and pull through the last two loops.
Turning Chains
For this project, a chain 3 will be used as a turning chain to indicate the start of rows. This is significant for maintaining stitch height consistency.
Measurements and Preparation
Before beginning your crochet cardigan, let’s ensure your measurements are accurate:
-
Swatch Measurement: After creating a 4” x 4” swatch, measure the number of stitches per inch for width and height. Aim for an even stitch count to facilitate working in rounds.
-
Component Measurements: Measure the dimensions for your openwork lattice to ensure it fits the desired space. Identify where pockets will be sewn based on the lattice’s shape.
By measuring meticulously, you can prevent issues with fit and alignment later in the process.
Detailed Working Method
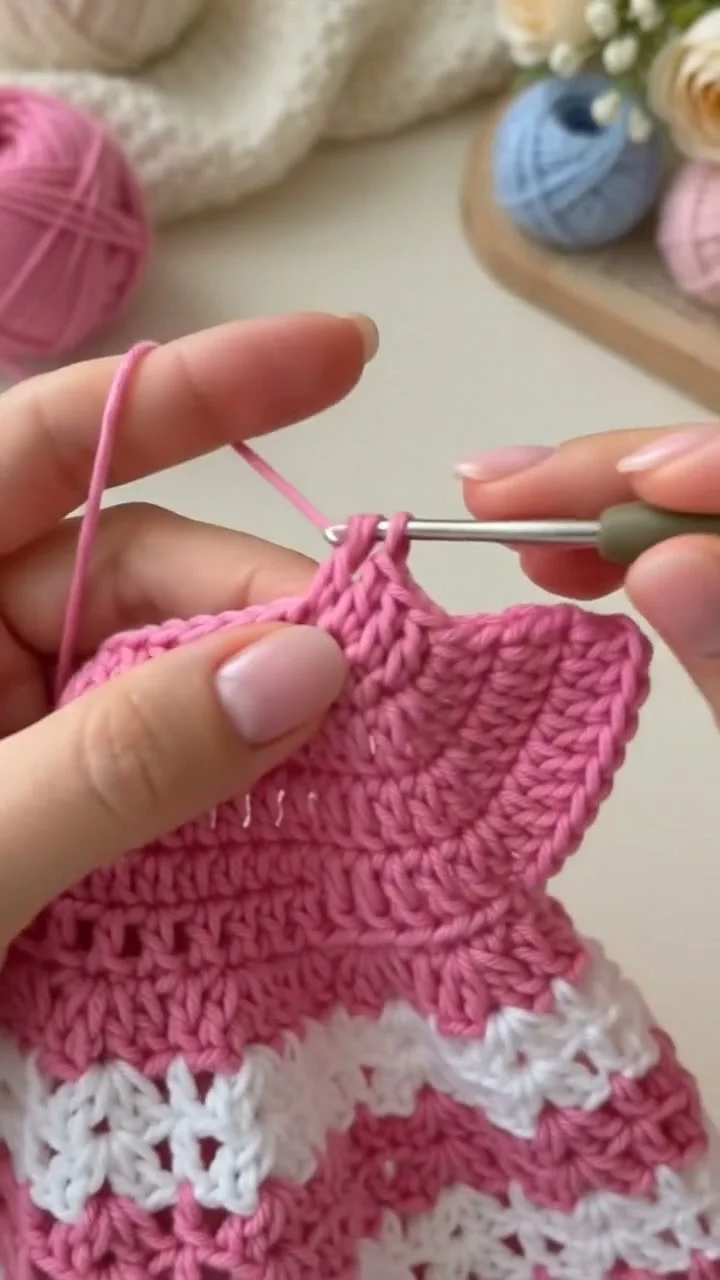
1. Creating the Openwork Lattice
Component Required: Openwork Lattice
-
Action: Start with a foundation chain of 42 stitches (adjust if necessary).
Row 1:
- DC in the 4th ch from the hook, ch 1, skip the next ch, and DC in the next ch.
- Repeat until the end of the row, ensuring to end with a DC in the last chain.
Stopping Condition: Your row should alternate between DC stitches and ch spaces with a total even stitch count.
2. Continuing with the Lattice
Row 2:
- Ch 3 (counts as the first DC), turn.
- DC into the next ch-1 space, followed by ch 1.
- Repeat to the end of the row, finishing with a DC in the top of the initial ch-3.
Visual Checkpoint: The lattice pattern should be clearly visible with alternating rows of DC and ch spaces.
3. Attaching the Floral Garland
Component Required: Floral Garland
- Action: Crochet three flowers (refer to the example below):
Flower Pattern:
- Start with a magic ring.
Round 1:
- Ch 2, work 10 DC into the ring, tighten it, and join with a sl st.
Round 2:
-
Ch 3, DC in the next stitch, ch 2, sl st in the next stitch—repeat around.
-
Attachment: Position flowers around the top of the openwork lattice and use sl st to secure them.
4. Sewing the Side Pockets
Component Required: Side Pockets
-
Action: Create a small rectangle for each pocket:
-
Chain 12 and sc across for 10 rows.
Attachment: Position pockets on either side of the lattice, pin temporarily, and use whip stitch to attach, ensuring the tops align with the top of the lattice.
5. Adding Dangling Tassels
Component Required: Tassels
- Action: Cut several strands of yarn about 8 inches long.
- Group strands together and fold in half, then tie securely using a piece of yarn about an inch from the top to form the loop.
Attachment: Securely attach the tassels to the bottom of the lantern using a sl st through the openwork spaces.
Assembly and Finishing
Now, let’s assemble each part:
- Lattice: Confirm that it’s shaped properly.
- Florals: Ensure even spacing around the top.
- Pockets: Properly align the pockets for a coherent look.
- Tassels: Evenly distribute the tassels for balance.
Sew components securely, weaving in ends as you proceed to maintain a clean appearance. Always double-check for alignment before finalizing your attachments.
Troubleshooting
| Symptom | Likely Cause | Practical Correction |
|——————————–|————————|—————————————|
| Uneven Lattice | Inconsistent tension | Relax your grip or adjust hook size. |
| Floppy Pocket | Too few stitches | Increase the number of sc rows. |
| Floral Garland Stiffness | Incorrect hook size | Change to a larger hook. |
Variations, Care, and FAQ
- Care: Hand wash your cardigan gently and allow it to air dry flat.
- Variations: Consider using different flower patterns or colors based on your preference.
Frequently Asked Questions
Can I use a different yarn?
Yes, just adjust your hook size as needed.
How do I store my finished cardigan?
Fold it carefully and keep it in a box to maintain its shape.
Can I modify the design?
Absolutely! Feel free to add elements or change colors according to your taste.
What’s a quick way to test my gauge?
Crochet a swatch that is 10 stitches wide by 10 rows high to quickly check for consistency.
Completion Checklist
- [ ] Openwork lattice completed
- [ ] Floral garland sewn securely
- [ ] Side pockets attached
- [ ] Tassels added
By following this detailed guide, you will create a beautifully crafted crochet cardigan full of intricate details. Enjoy your crochet journey, and happy stitching!