Crochet Pattern Crafts a Stunning Design for Creative Projects
Crochet Pattern: Stunning Design for Creative Projects
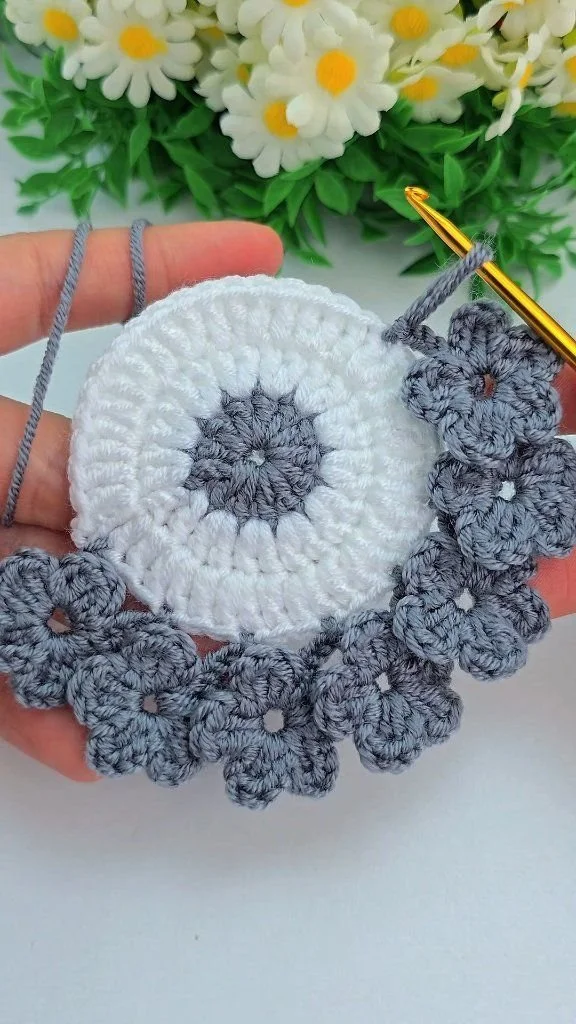
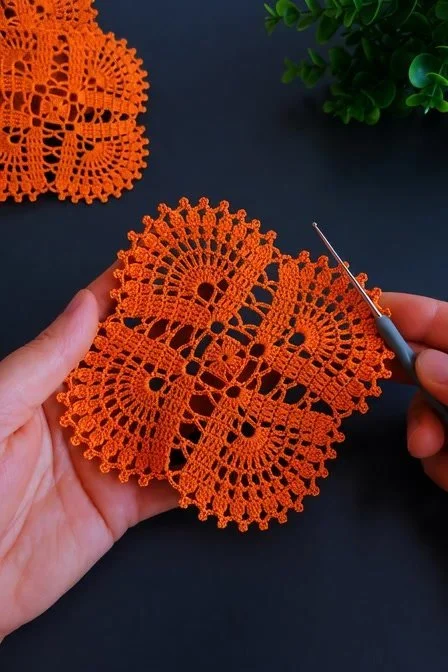
In this tutorial, you will learn how to create a beautiful crochet pattern comprising intricate motifs, connecting strips, and a decorative border. This adaptable guide will cover the essential crochet techniques, the correct materials to use, and the assembly steps required to help you achieve a stunning finished piece. Whether you’re a beginner or looking to enhance your skills, this project will empower you to craft an eye-catching item.
Project Plan
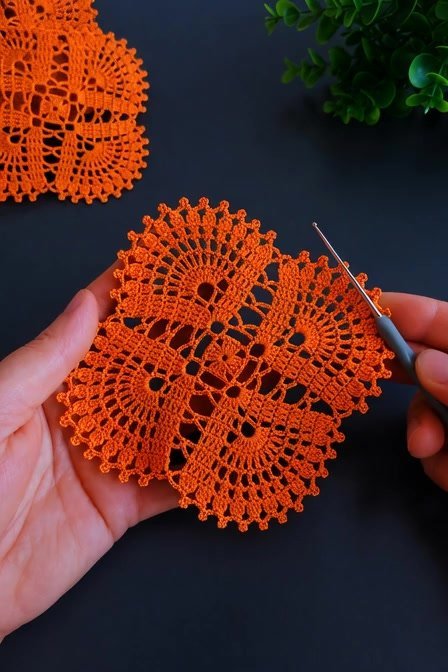
This project consists of three main components:
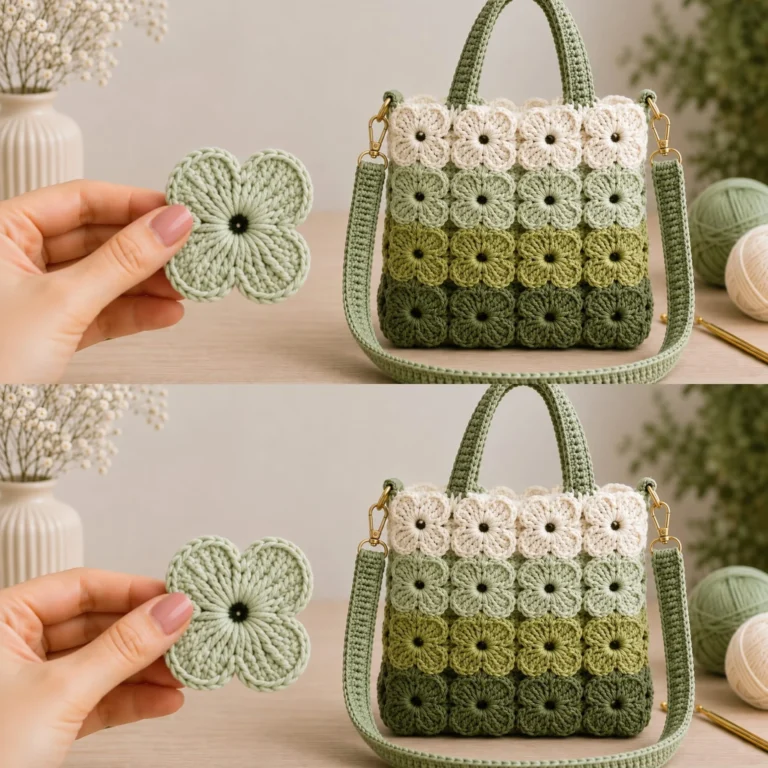
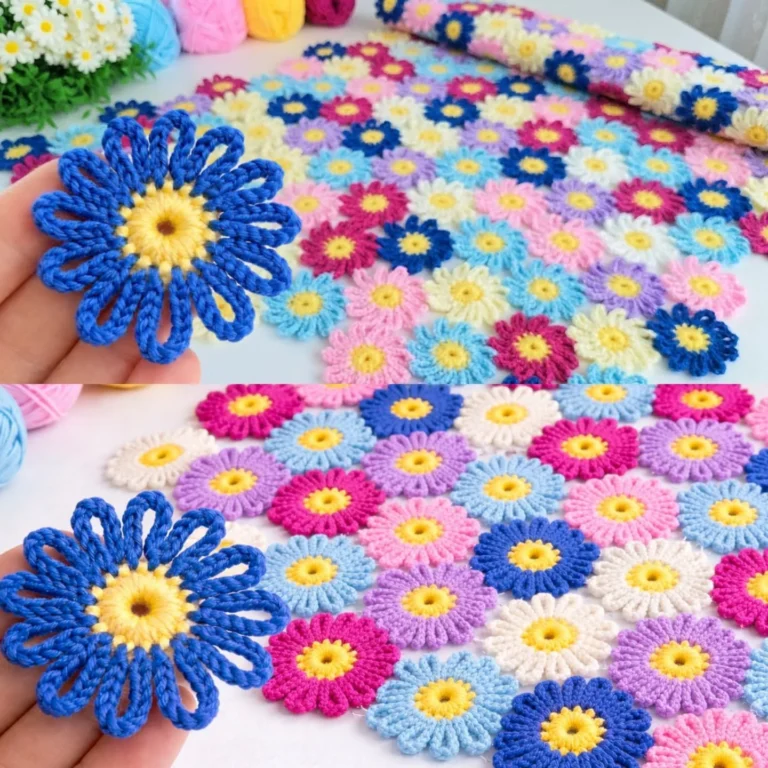
- Motifs: These decorative elements will form the core of your design.
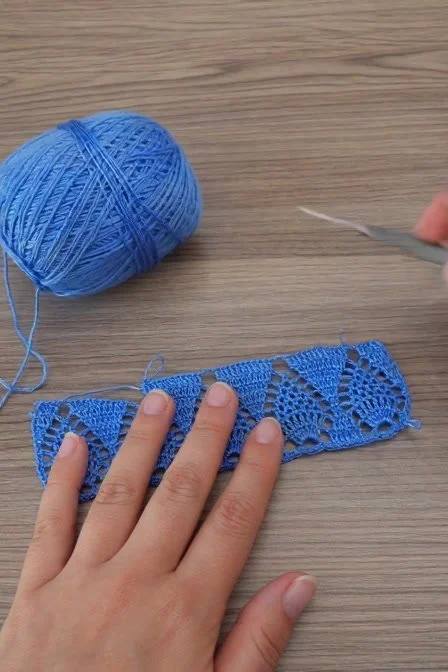
- Connecting Strips: These strips will connect the motifs together.
- Border: This will finish the outer edges of the project, providing a neat and polished look.
Assembly Order
- Create the individual motifs.
- Use connecting strips to attach the motifs.
- Finish with a decorative border around the entire piece.
Materials and Tool Selection
Materials Needed
-
Yarn: Choose a medium-weight (worsted) acrylic or cotton yarn for durability and easy washing. Select one main color for your motifs and a few contrasting colors for accents.
-
Crochet Hook: A size H/8 (5 mm) hook is recommended for worsted weight yarn, but it’s important to conduct a gauge test.
-
Tapestry Needle: Necessary for weaving in ends.
-
Stitch Markers: Useful for keeping track of stitch counts and rounds.
Suggested Starting Choices
-
Yarn Fiber: Acrylic or cotton blends are favored for their ease of use and care.
-
Hook Size: Start with the suggested size, adjusting based on gauge testing.
Yarn Preparation
Before starting your project, create a small swatch (4 inches x 4 inches) with your chosen yarn and hook to check your gauge. This step will ensure that your finished crochet piece fits as expected.
Terminology and Techniques
Common Abbreviations
- ch: chain
- sc: single crochet
- dc: double crochet
- sl st: slip stitch
Key Techniques
Chain Stitch (ch)
- Insert the hook into the starting loop.
- Yarn over and pull through to create one loop on the hook.
- Yarn over again and pull through both loops to complete the chain.
Single Crochet (sc)
- Insert the hook into the stitch.
- Yarn over and pull through (2 loops on the hook).
- Yarn over again and pull through both loops.
Double Crochet (dc)
- Yarn over, insert into the stitch.
- Yarn over and pull through (3 loops on the hook).
- Yarn over and pull through the first two loops (2 loops remain).
- Yarn over and pull through the last two loops.
Slip Stitch (sl st)
- Insert the hook into the stitch.
- Yarn over and pull through both the stitch and the loop on the hook.
Important Points
- Turning Chains: When starting a new row, chain 2 to replace the first dc.
- Join with Slip Stitch: When closing rounds, use sl st to connect the last stitch to the first.
Measurements and Preparation
Measurement Techniques
Before starting, measure your crochet swatch dimensions. Ensure that your stitches are uniform for optimal results.
Gauge Calculation
If your gauge swatch does not match the recommended size:
- Adjust your hook size: Use a larger hook for looser stitches, and a smaller hook for tighter stitches.
- Re-evaluate your yarn choice: If necessary.
Example: If your gauge swatch measures 3" x 3" with 10 sc = 4", increase your hook size to achieve the required 4".
Detailed Working Method
Stage 1: Creating the Motifs
Foundation: Start with a magic ring.
-
Working in Rounds:
- Round 1: Chain 3 (counts as dc), then work 11 dc into the magic ring (for a total of 12 dc).
- Slip stitch into the top of the first ch 3 to join.
Checkpoint: You should have 12 dc after Round 1. Each subsequent round should typically increase stitches by 1 per round.
-
Repeat: Continue to increase rounds as needed to reach your desired motif size.
Stage 2: Connecting Strips
Foundation Chain:
-
Create a foundation chain that spans the distance between the motifs.
-
Use a sl st to attach each motif along the chain.
-
Ensure all motifs are evenly spaced.
Common Error: If the motifs appear uneven, recount your stitches and ensure you’re adding them consistently.
Stage 3: Adding the Border
-
Attach yarn to any corner point and chain 2 (this does not count as a dc).
-
Work 1 dc in each stitch around and 2 dc in each corner.
-
Finish by joining to the beginning chain with a sl st.
Checkpoint: The border should lay flat without any ruffles or waves.
Assembly and Finishing
-
Align Motifs: Ensure that all motifs are neatly positioned before securing them.
-
Secure Strips: Use slip stitch along the edges to attach connecting strips securely.
-
Weave in Ends: Use a tapestry needle to hide and sew in the ends through the back of the work.
Visual Checkpoint: All components should remain flat without twisting or bulging.
Troubleshooting
| Symptom | Likely Cause | Practical Correction |
|——————–|—————————————-|————————————|
| Uneven stitches | Inconsistent tension | Adjust your hold and retrain stitch count |
| Motifs not aligning | Incorrect stitch count | Recount and adjust your connections |
| Ruffled edges | Hook size too small | Increase your hook size |
Variations, Care, and FAQ
Variations
-
Yarn Color Change: Experiment with ongoing gradients for a modern twist.
-
Stitch Change: Substitute sc with hdc for a denser finish.
Care
- Hand wash your finished crochet piece in cold water and lay it flat to dry.
FAQ
-
Can I use a different yarn?
Yes, just ensure it matches the gauge. -
What if my stitches are too tight?
Try using a larger hook size and practice your grip. -
Is blocking necessary?
Blocking is recommended to open the stitches and enhance the design. -
How do I store my crochet projects?
Store flat, away from direct sunlight to prevent fading.
Completion Checklist
- [ ] Completed swatches for gauge checking.
- [ ] All motifs and connecting strips attached.
- [ ] Border completed and ends woven in.
- [ ] Piece properly blocked and dried before use.