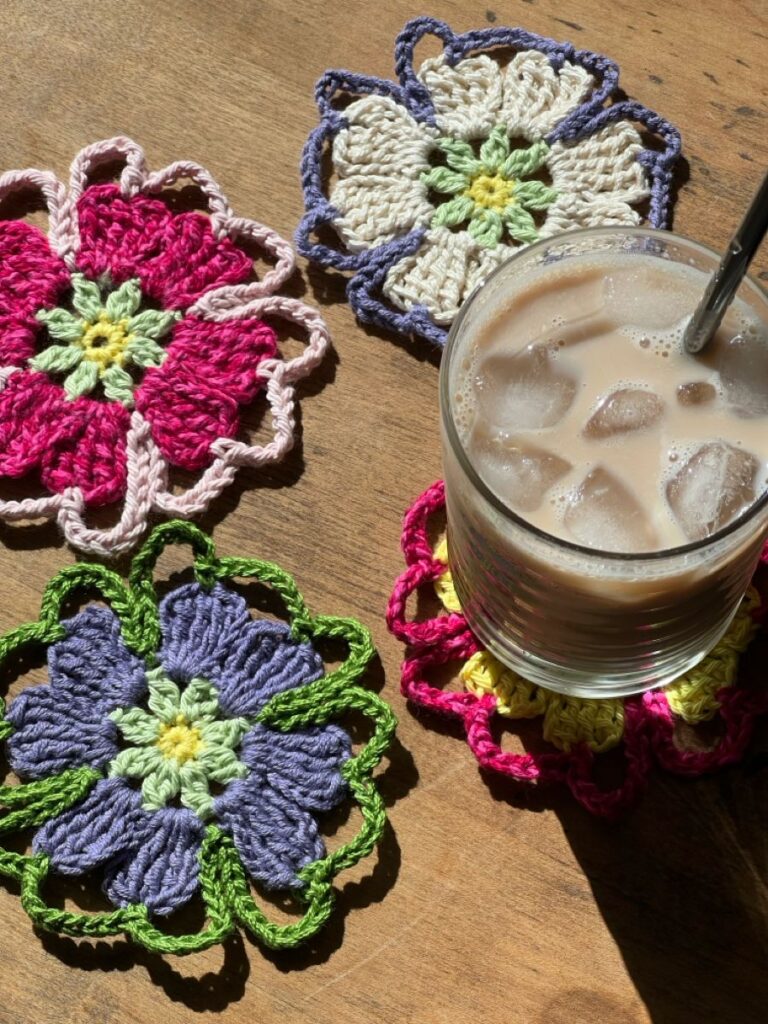
Crochet Floral Tablecloth with Charming Flower Motifs
Crochet Flower Tablecloth Pattern for Home Decor
Crocheting a flower tablecloth or blanket brings a whimsical touch to your home while allowing you to enhance your crochet skills. In this tutorial, you will learn how to create delightful floral motifs that can serve as both a beautiful tablecloth and a cozy throw blanket. We’ll cover everything from material selection and techniques to assembly and troubleshooting, ensuring you feel confident in crafting your unique piece.
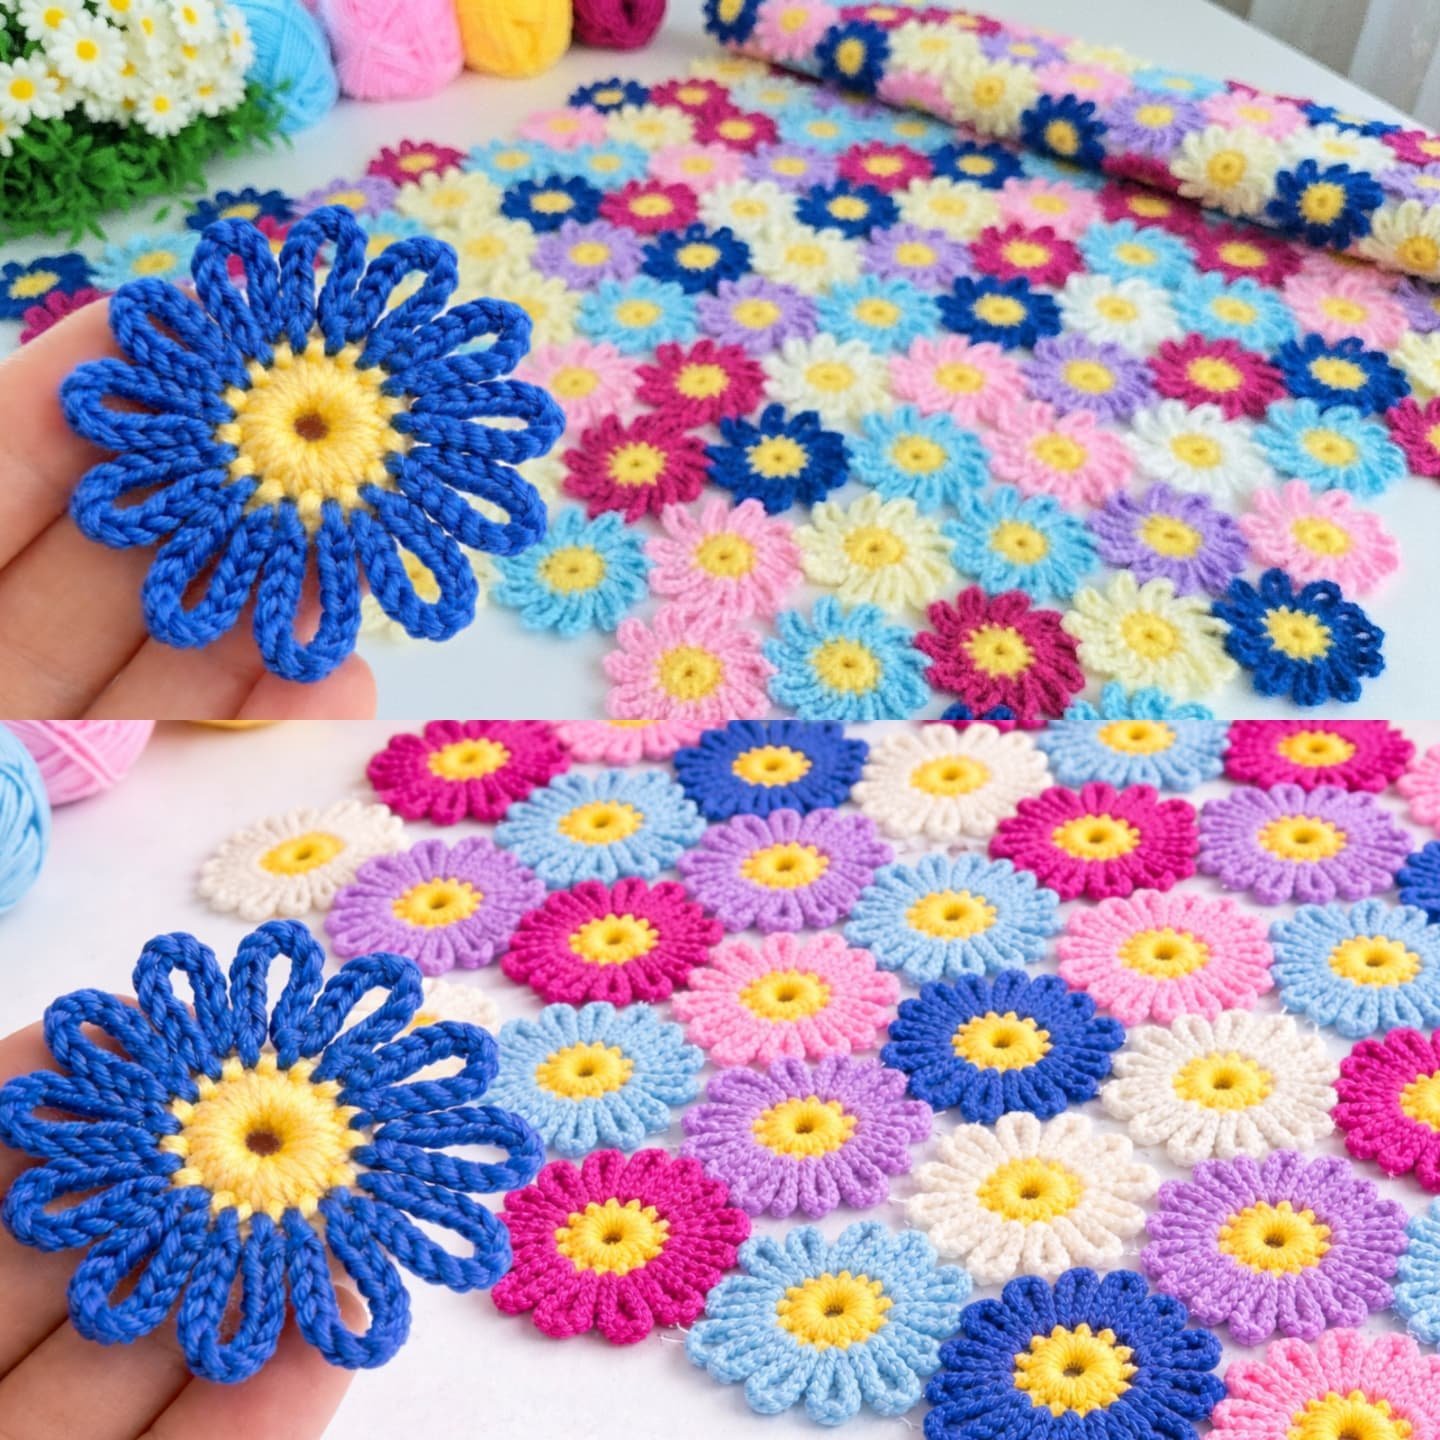
Project Plan
This project consists of several key components and assembly steps:
- Flower Motifs: You will create multiple crocheted flower motifs, focusing on variety in size and color.
- Base: Assemble the motifs into your desired shape, either rectangular for a tablecloth or square/rectangular for a blanket.
- Edging: Add a decorative edge to finish the piece and enhance durability.
- Finishing: Weave in ends and ensure the piece is ready for use or display.
Materials and Tool Selection
Verified Materials
- Yarn: 100% cotton yarn is recommended for its soft feel and breathability, perfect for functional use. You can also opt for acrylic blends for added durability.
- Crochet Hook: Typically, a G-6 (4.0 mm) or H-8 (5.0 mm) hook works well for worsted weight yarn.
- Tapestry Needle: Necessary for weaving in ends and adding finishing touches.
Suggested Alternatives
- Yarn Choices: For a more luxurious touch, consider silk or bamboo blends. If you want more thickness for a blanket, select a heavier yarn.
- Hook Size: Choose a hook size based on your tension; a larger hook will create a looser gauge, while a smaller hook will yield tighter stitches.
Sample Swatch Creation
Before diving into the project, it’s essential to create a swatch to assess your gauge. This ensures the final size of your tablecloth or blanket meets your expectations. To make a sample, crochet a small square of about 10” x 10” using the chosen yarn and hook. Count the stitches across and rows down to calculate your gauge. Adjust your hook size as needed to achieve the desired tension.
Terminology and Techniques
Familiarize yourself with the following crochet terminology and techniques, which are essential for this project:
- Chain Stitch (ch): The basic foundation stitch. To create a chain, form a loop with your yarn on your hook and draw the working yarn through that loop.
- Slip Stitch (sl st): Used to join rounds or pieces. Insert the hook into the stitch, grab the working yarn, and pull it through both loops on the hook.
- Double Crochet (dc): Yarn over, insert the hook into the stitch, pull up a loop (three loops on the hook), yarn over again, pull through two loops (two loops remaining), yarn over once more and pull through the last two loops.
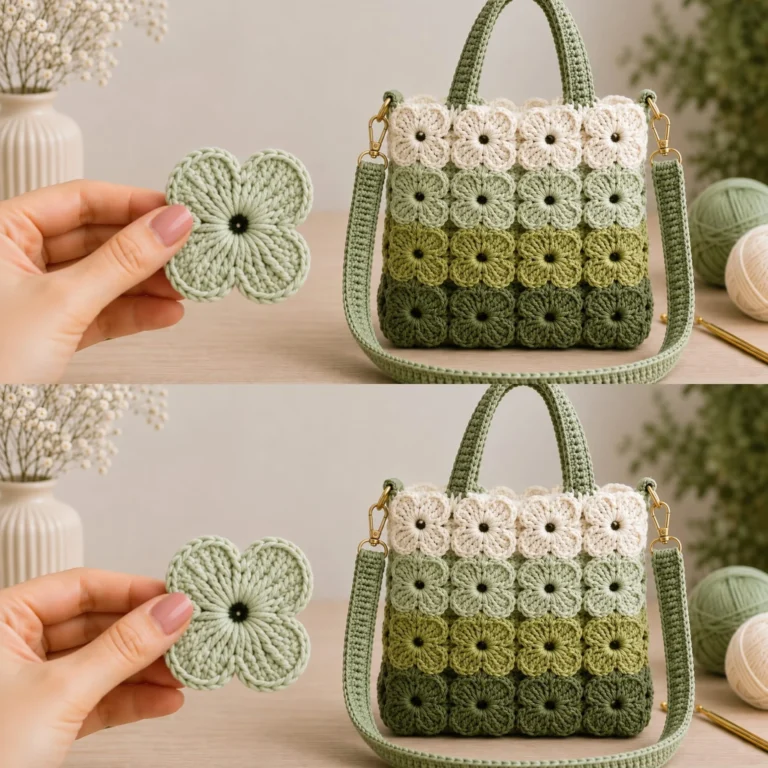
- Magic Circle: A method to start projects in the round. Create a loop with your yarn, insert the hook, yarn over, and pull up a loop. Then, crochet the required number of stitches into the circle.
Measurements and Preparation
Measuring for Gauge
To ensure your piece turns out as planned, measuring your gauge is vital:
- After completing your swatch, measure how many stitches you have per inch across the width and height.
- For example, if your swatch is 10 stitches across and 10 rows tall in a 4-inch square, your gauge is 2.5 stitches per inch.
- Keep in mind that your gauge may vary by technique, so practice before starting the main project.
Prepare Your Workspace
Set aside a dedicated area for your project to minimize distractions. Make sure you have all your materials close at hand.
Detailed Working Method
This section outlines the stages of construction that will lead you to create your crochet flower tablecloth or blanket.
1. Creating Flower Motifs
-
Start the Flower Center:
- Use a magic circle to begin.
- Work 6 single crochets (sc) into the circle. Pull the circle tight to close it.
-
Create Petals:
- For each petal, chain 3 (ch 3), yarn over, and double crochet in the same stitch.
- Repeat the process to create additional petals around the center. Aim for about 5-6 petals per flower.
-
Finish Off: After completing the last petal, slip stitch to the base to secure it, then fasten off.
Checkpoint: Each flower motif should be symmetrical with distinct petals. Aim for a finished diameter of about 3-4 inches.
2. Assembling the Base
-
Layout: Lay your flower motifs in your desired arrangement on a flat surface. Consider alternating colors for visual interest.
-
Joining Motifs:
- Use a slip stitch or whip stitch to connect the individual flowers. Align the edges closely to avoid gaps.
-
Secure With Sc: Once joined, work a round of single crochet around the outside edge to strengthen the connections.
Checkpoint: Ensure all motifs are tightly secure and are aligned appropriately.
3. Edging
-
Attach Edging: Choose a decorative stitch such as a shell or scallop stitch to create an elegant border.
- To create a shell stitch, [insert a hook into the stitch, yarn over, pull through, yarn over, pull through two loops, then yarn over, pull through the last two loops].
- Repeat this process evenly along the edges for added texture.
-
Complete the Edge: Slip stitch to join the last shell stitch seamlessly into the previous stitch.
Checkpoint: The edge should appear uniform and neatly finished.
4. Finishing Touches
- Weave in Ends: Use a tapestry needle to weave in all loose ends securely to avoid unraveling.
- Blocking (if needed): Lightly steam block your piece to set the stitches. This helps even out any irregularities in size and shape.
Checkpoint: The final piece should look polished and well-structured.
Assembly and Finishing
Ensure that your tablecloth or blanket maintains its shape and fits your intended use:
- Align Motifs: Temporarily position motifs to test the overall appearance. Make any adjustments before securing.
- Check for Gaps: Tension should be even throughout the piece—if you notice any gaps, carefully rejoin those sections.
- Secure All Connections: Use a lightweight approach to fasten off any working strands without tightening the fabric.
Troubleshooting
| Symptom | Likely Cause | Practical Correction |
|——————————-|————————————|———————————————|
| Stitches too tight or loose | Incorrect hook size | Adjust to an appropriate hook size. |
| Gaps between motifs | Inconsistent tension | Ensure that stitches are tightly secured. |
| Yarn splitting | Using an unsuitable hook | Switch to a hook that suits your yarn. |
Variations, Care, and FAQ
Variations
- Different Motif Shapes: Experiment with leaves or geometric shapes for unique designs.
- Color Patterns: Try gradient effects or bold contrasts for a modern touch.
- Size Adjustments: Modify dimensions for various purposes—larger for a blanket, smaller for a tablecloth.
Care Instructions
- Washing: Hand wash in cold water and lay flat to dry to maintain shape.
- Storage: Store folded or rolled in a dry place to prevent stretching and dust accumulation.
Frequently Asked Questions
-
How long does it take to complete?
- Time varies based on skill level and size; beginners might take several days for a small project.
-
Can I use different yarn weights?
- Yes, but be aware that changing the weight will alter the size and drape. Adjust your hook size accordingly.
-
Is this suitable for gifts?
- Absolutely! Personalize it to match the recipient’s style.
-
What if I run out of yarn?
- Consider using contrasting yarn or check for more from the same dye lot.
Completion Checklist
- [ ] Create flower motifs following the instructions.
- [ ] Arrange and join the motifs securely.
- [ ] Finish with an edging and weave in all ends.
- [ ] Perform care as needed for maintenance.
Crafting your crochet flower tablecloth or blanket is a rewarding experience. Enjoy experimenting with colors and patterns, and take pride in creating a personalized piece for your home. Happy crocheting!