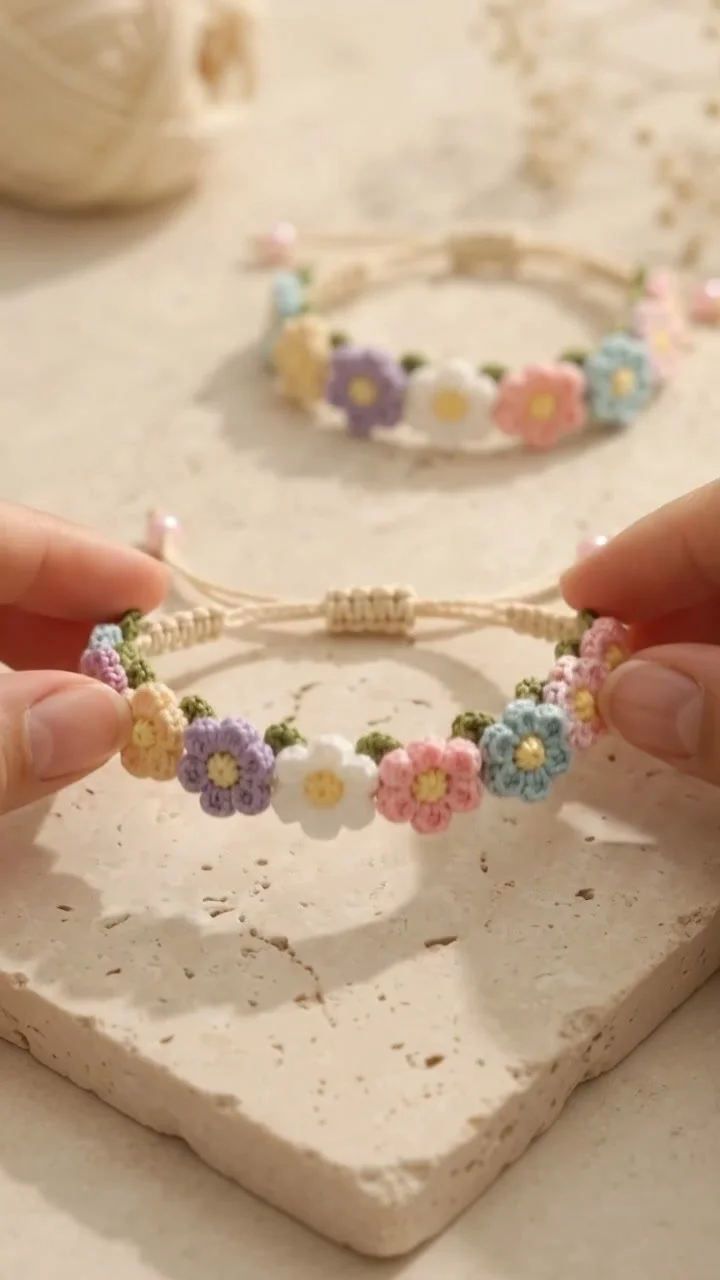
Crochet Flower Bracelet: A Playful Floral Accessory
Crochet Flower Bracelet: Would You Wear This Adorable Accessory
In this tutorial, we will guide you through the process of creating an adorable flower bracelet that will surely catch the eye. This project will teach you essential crocheting techniques such as creating flowers, assembling components, and adding finishing touches to make a beautiful piece of handmade jewelry. Whether you’re a beginner or have some crochet experience, you’ll find this project enjoyable and rewarding!
Project Plan
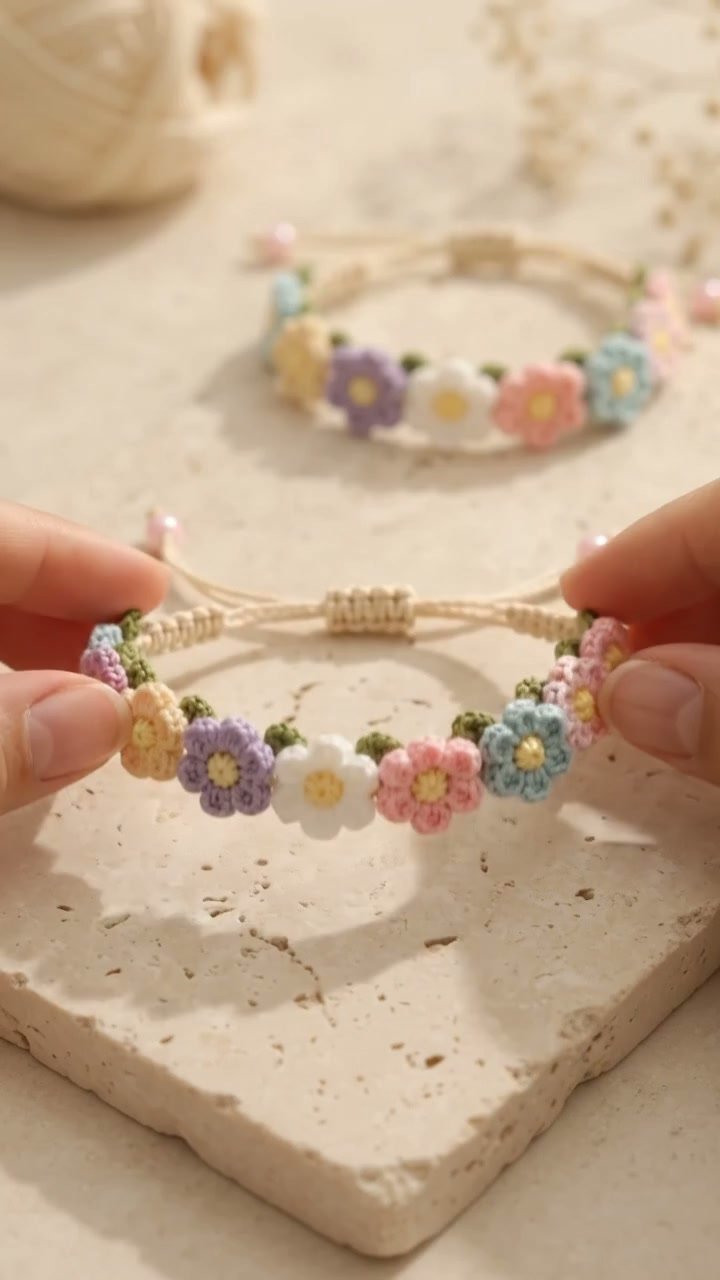
The flower bracelet consists of several crocheted flowers attached to a chain or cord. Each flower will be individually crocheted and secured onto the bracelet base. Here’s a breakdown of the project components:
- Crocheted flowers (3-5 depending on your desired style and width).
- A chain or cord for the bracelet base.
- Jump rings and a clasp for fastening.
- Optional: Beads or embellishments to enhance your flowers.
Here’s the assembly order:
- Crocheting the flowers.
- Preparing the bracelet base.
- Attaching the flowers to the base.
- Finishing with embellishments and the clasp.
Materials and Tool Selection
Materials
- Yarn: Use a cotton or acrylic yarn in pastel colors. A medium weight (like Worsted, Category 4) will provide a sturdy feel.
- Crochet Hook: A size H (5.0 mm) is generally suitable for medium weight yarn, but feel free to adjust based on your yarn and personal tension.
- Chain or Cord: Choose a length that fits your wrist (typically 6 to 8 inches).
- Jump Rings and Clasp: These are needed to finish the bracelet.
- Optional Beads: Small decorative beads can add extra charm to your flowers.
Tool Selection
Ensure your yarn is suitable for the chosen hook size. A larger hook will create looser stitches while a smaller hook yields tighter stitches. It’s advisable to create a sample swatch to determine your tension before beginning the bracelet.
Terminology and Techniques
Here are some common abbreviations and crochet techniques used in this tutorial:
Abbreviations
- Ch: Chain
- Sc: Single crochet
- Dc: Double crochet
- Sl st: Slip stitch
- St: Stitch
- Rpt: Repeat
Techniques
- Magic Circle: Start by creating a loop with the yarn wrapped around your fingers. Insert the hook into the circle, yarn over, and pull through.
- Single Crochet (sc): Insert the hook into the specified stitch, yarn over, pull through so you have two loops on your hook, yarn over again, and pull through both loops.
- Double Crochet (dc): Yarn over, insert the hook, yarn over again, pull through (you’ll now have three loops), yarn over, pull through two loops (two loops remain), yarn over, and pull through the last two loops.
- Slip Stitch (sl st): Insert your hook into the desired stitch, yarn over, pull through the stitch and the loop on your hook.
Measurements and Preparation
Before starting, measure around your wrist to determine the appropriate length of the chain or cord, ensuring to factor in the length added by the flowers. If you want to be precise, create a gauge swatch of about 4 inches square, counting your stitches to match the desired width of your bracelet.
Detailed Working Method
Stage 1: Crochet the Flowers
- Preparation: Start with your chosen yarn and hook.
- Action: Form a magic circle as explained above.
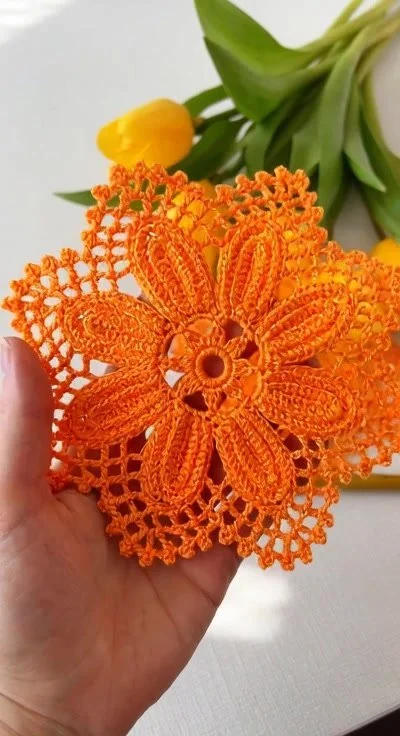
- Stitch Placement: Once in the magic circle, create 5 double crochets (dc). Pull the tail of the yarn to tighten the circle.
- Action: Chain 1, then make a single crochet (sc) in the top of your first dc for the first petal.
- Repeat: For the next petal, chain 3 and make a sc in the same stitch. Continue this until you have five petals around the center.
- Stopping Condition: Each flower should have 5 petals.
- Visual Checkpoint: Ensure the flower is symmetrical and has a clear center.
- Common Error: If petals are uneven, count your stitches; if you find more or fewer than five petals, adjust your count.
Stage 2: Prepare the Bracelet Base
- Preparation: Measure the necessary length of your chain or cord around your wrist.
- Action: Cut the chain/cord to size and prepare your jump rings and clasp.
- Stop Condition: Make sure your chain is the size of your wrist plus the clasp adjustments.
- Visual Checkpoint: Hold the chain against your wrist to check for a comfortable fit.
- Common Error: If it’s too tight or too loose, adjust accordingly.
Stage 3: Attach the Flowers to the Base
- Preparation: Decide where each flower will be placed on the chain.
- Action: Use jump rings to attach flowers to the chain. Open a jump ring, insert it through the center of each flower, and then through the chain. Close it securely.
- Stitch Placement: Aim for even spacing among the flowers, typically 1-2 inches apart.
- Stopping Condition: Flowers should be arranged in a pleasing manner.
- Visual Checkpoint: Hold the bracelet up; flowers should lie flat and not dangle awkwardly.
- Common Error: If flowers overlap, detach and rearrange as necessary.
Stage 4: Finishing Touches
- Preparation: Thread your clasp onto one end of the chain.
- Action: Use jump rings to secure the clasp to the other end of the chain.
- Stop Condition: Ensure that the clasp opens and closes properly.
- Visual Checkpoint: Test the bracelet for comfort and ensure it can be easily put on and taken off.
- Common Error: If the clasp is loose or tight, try different jump rings or adjusting placement.
Assembly and Finishing
After attaching all flowers, check that the arrangement is aligned correctly before securing everything. Make sure all flowers are firmly attached, and the clasp functions as intended. Don’t forget to weave in any ends neatly to avoid fraying.
Troubleshooting
| Symptom | Likely Cause | Practical Correction |
|—————————–|————————-|——————————————|
| Flowers too loose | Weak attachments | Reassess jump ring closures; tighten. |
| Bracelet too tight | Incorrect measurement | Re-adjust chain length; follow fit guide. |
| Flowers not uniform | Inconsistent tension | Revisit swatch and yarn choice. |
| Clasp won’t work | Misaligned jump rings | Reset and check all ring attachments. |
Variations, Care, and FAQ
Variations
- Experiment with different flower types or colors.
- Use a leather cord for a rustic look.
- Add beads to flower centers for added sparkle.
Care
Hand wash with mild detergent and lay flat to dry to preserve the yarn’s shape and color.
FAQ
-
Can I use any yarn?
Yes, but choose a medium weight for ease and sturdiness. -
What if my flowers are different sizes?
Adjust your tension or switch yarn as needed. -
Will this bracelet hold up?
Yes, as long as all connections are secure. -
How can I make this a gift?
Use a pretty box for presentation, possibly adding a personal note about the crafting process.
Completion Checklist
- [ ] Crocheted flowers completed and evenly spaced.
- [ ] Bracelet base prepared with a comfortable fit ensured.
- [ ] Flowers securely attached to the bracelet.
- [ ] Finishing touches applied with a functional clasp.
Now that you’ve completed this tutorial, you can proudly wear or gift this charming flower bracelet! Happy crocheting!