Crochet Bonnet: Braided Scalloped Edges with Tiny Flowers
Crochet Bonnet with Tiny Flowers and Braided Scalloped Edges Tutorial
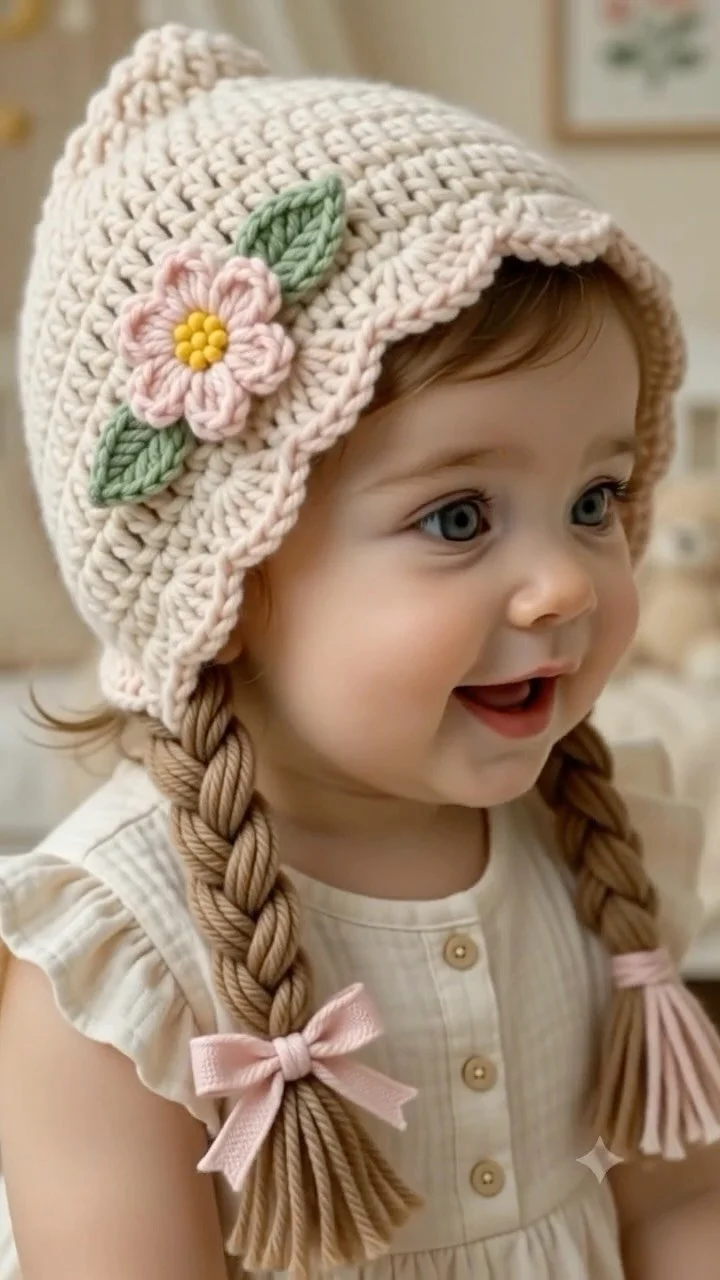
This tutorial will guide you through creating a delightful crochet bonnet adorned with tiny flowers and braided scalloped edges. Perfect for little ones, this project is not only charming but also allows you to enhance your crochet skills. You’ll learn how to assemble the bonnet from several components and finish it beautifully. Let’s dive into the details!
Project Plan
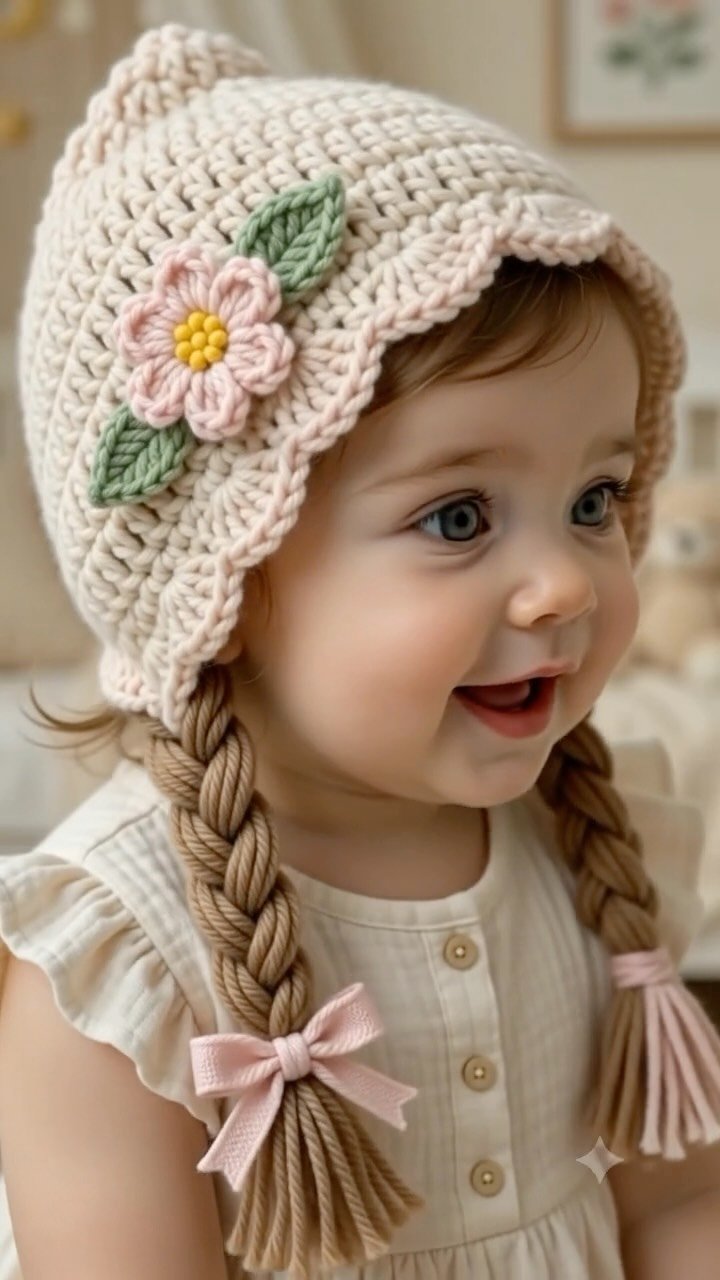
The bonnet consists of several key components that you will crochet separately before assembling. These components include:
- Bonnet Body: The main structure that forms the shape of the bonnet.
- Scalloped Edging: A decorative border that adds a final touch to the bonnet.
- Braided Ties: To secure the bonnet under the chin, ensuring it stays in place.
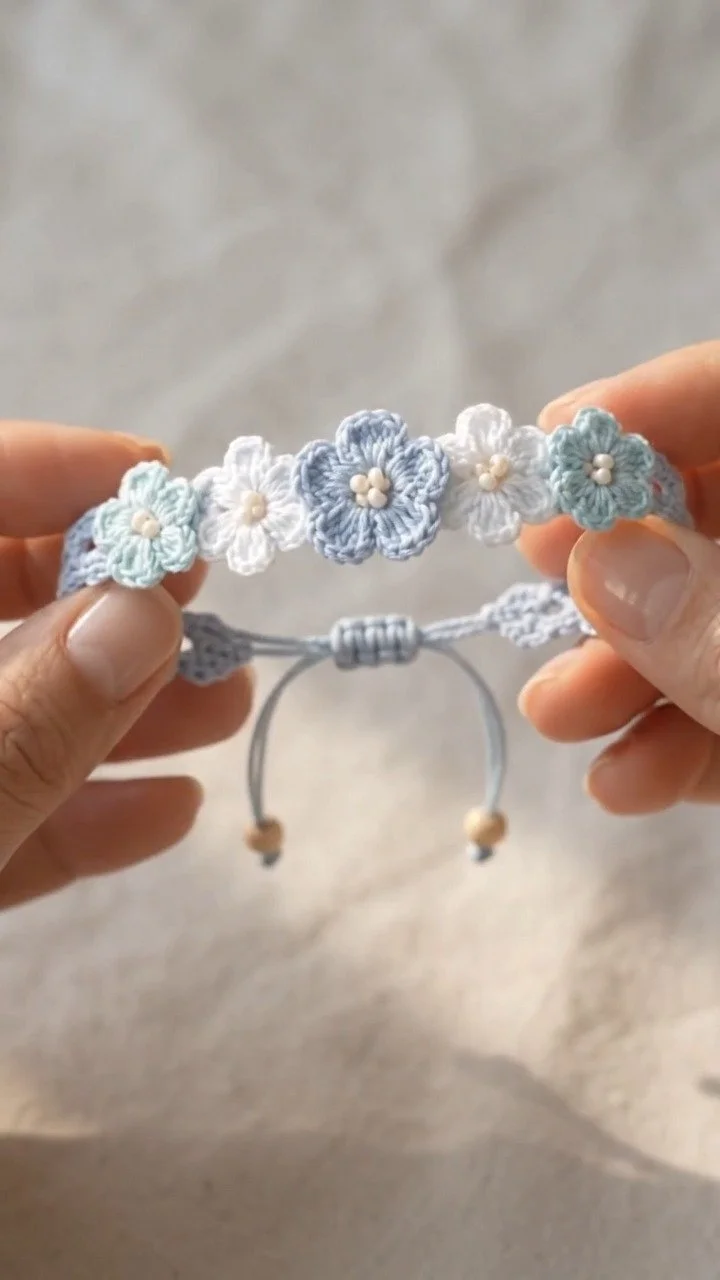
- Tiny Flowers: Adorable embellishments to enhance the bonnet’s overall cuteness.
You’ll create each part individually and then combine them to complete the bonnet.
Materials and Tool Selection
Materials
-
Yarn:
- Weight: Sport or DK weight is ideal for a smooth, cozy drape.
- Fiber: Opt for soft yarns such as cotton or acrylic, which are gentle against the skin, especially for infants.
-
Hook: A size G (4.0 mm) crochet hook should work well. Adjust this as necessary based on your chosen yarn.
-
Stitch Marker: Essential for tracking your rounds, helping maintain your place.
-
Tapestry Needle: For weaving in ends and securing various components.
-
Scissors: For trimming yarn ends.
Suggested Starting Choices
- For ease of visibility, start with a light-colored yarn, particularly if you’re new to crocheting.
- Always select yarn that is machine-washable for practicality in baby items.
Gauge and Preparation
Before starting your bonnet, crochet a gauge swatch. Create a square swatch measuring at least 4×4 inches. Count the number of stitches and rows, ensuring you have the necessary gauge for the bonnet to fit correctly. For instance, if your swatch shows 18 stitches across equals 4 inches, you might have an adequate gauge.
Terminology and Techniques
Familiarize yourself with these common US crochet terms and abbreviations used in this tutorial:
- ch: Chain
- sc: Single crochet
- dc: Double crochet
- sl st: Slip stitch
- rnd: Round
Key Techniques
Single Crochet (sc)
- Insert your hook into the stitch.
- Yarn over (yo) and pull up a loop (2 loops on hook).
- Yarn over again and pull through both loops (1 loop remains).
- Your completed sc will appear as a tidy “v” shape.
Double Crochet (dc)
- Yarn over and insert the hook into the stitch.
- Yarn over and pull up a loop (3 loops on hook).
- Yarn over, pull through the first two loops (2 loops remain).
- Yarn over again and pull through the last two loops.
- Your completed dc stitch will form a taller “v” shape than the sc.
Slip Stitch (sl st)
- Insert your hook into the stitch.
- Yarn over and pull through both the stitch and the loop on your hook to create a flat join.
By understanding these basic stitches, you will be well-prepared to tackle the bonnet project!
Measurements and Preparation
For a well-fitting bonnet, measure the following:
- Head Circumference: Measure around the largest part of the head.
- Bonnet Depth: Measure from the crown of the head to the nape of the neck.
When making your gauge swatch, ensure you measure a washed or blocked piece if your yarn requires it for an accurate fit.
Detailed Working Method
Stage 1: Crocheting the Bonnet Body
Foundation Chain:
- Create a slip knot and chain 40.
- Join with a sl st to the first ch, ensuring the chain is not twisted.
First Round:
- Ch 2 (counts as your first dc).
- Work 39 dc into the ring (total of 40 stitches).
- Join with a sl st to the top of the Ch-2.
Subsequent Rounds:
- Continue working in rounds, increasing every third round as needed to fit your measurements. Be mindful of even spacing.
- Use a stitch marker to denote the start of each round.
Checkpoint: By the end of this stage, your bonnet body should be approximately 5–6 inches in depth.
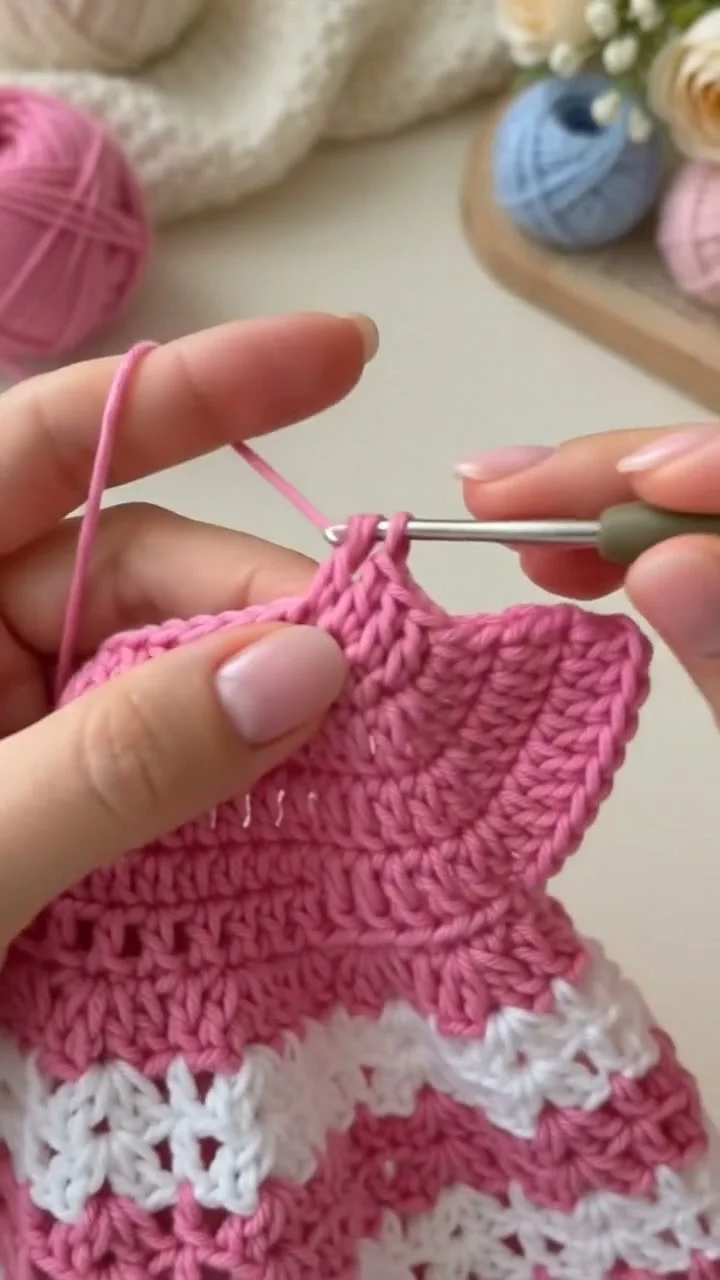
Stage 2: Adding Scalloped Edging
Edging:
- Ch 2 to begin the round again.
- In the same stitch, work (dc, ch 1, dc) to create a scallop.
- Skip one stitch and repeat (dc, ch 1, dc) in every alternate stitch around the bonnet opening.
Checkpoint: Ensure you have a series of scallops that are evenly spaced around the bonnet’s edge.
Stage 3: Braided Ties
Ties:
- Chain 45 for each tie.
- Fasten off and braid the three chains together, securing the ends.
- Attach a braided tie to either side of the bonnet.
Stage 4: Crocheting Tiny Flowers
Flower Base:
- Start with a magic ring.
- Work (ch 3, 2 dc, ch 1, 3 dc) into the circle, then close the ring tightly.
Forming Petals:
- Work additional sc around the circle (for example, 10 sc).
- Slip stitch to close.
Finishing Flowers:
- Secure loose ends and trim excess yarn.
Assembly and Finishing
Now that all components are crocheted, it’s time to assemble your bonnet.
Attaching Flowers
- Position the flowers on the bonnet as desired.
- Use your tapestry needle to sew them securely in place.
Finishing Off
- Weave in all loose ends with your tapestry needle, ensuring a clean finish.
- Check that there are no visible loose ends around the seams or flowers.
Check Alignment
Before securing all elements, make sure that ties and flowers are evenly aligned on both sides of the bonnet. Adjust as necessary for symmetry.
Troubleshooting
| Symptom | Likely Cause | Practical Correction |
|————————-|——————-|——————————————-|
| Bonnet too big | Incorrect gauge | Adjust hook size or yarn |
| Scallops uneven | Skipped stitches | Count stitches and redo the round |
| Flowers not lying flat | Incorrect tension | Re-evaluate floral stitches |
Variations, Care, and FAQ
Variations
Explore different fibers for seasonal designs or use color patterns to reflect themes.
Care
Hand wash and air dry to maintain the longevity of your bonnet. Avoid harsh detergents that may affect the softness of the yarn.
Frequently Asked Questions
-
What is the best yarn for baby items?
- Cotton or soft acrylic yarns are perfect for their gentleness and ease of washing.
-
Can I make this bonnet bigger?
- Yes, adjust the foundation chain and the number of rounds accordingly for larger sizes.
-
Can I crochet flowers in different styles?
- Absolutely! Feel free to modify the flower pattern to suit your design preferences.
-
How do I ensure a tighter fit?
- Consider selecting a thinner yarn or a smaller hook to scale down your gauge slightly.
Completion Checklist
- [ ] Crochet bonnet body and complete rounds
- [ ] Add scalloped edges and secure ends
- [ ] Create and attach braided ties
- [ ] Craft and attach tiny flowers
- [ ] Weave in all ends
Congratulations on completing this adorable crochet bonnet! Enjoy its endless cuteness and the joy of presenting it as a gift to a little one. Happy crocheting!