Crochet Tiny Flower Bracelet: A Charming DIY Accessory
Crochet Tiny Flower Bracelet: A Cute DIY Accessory
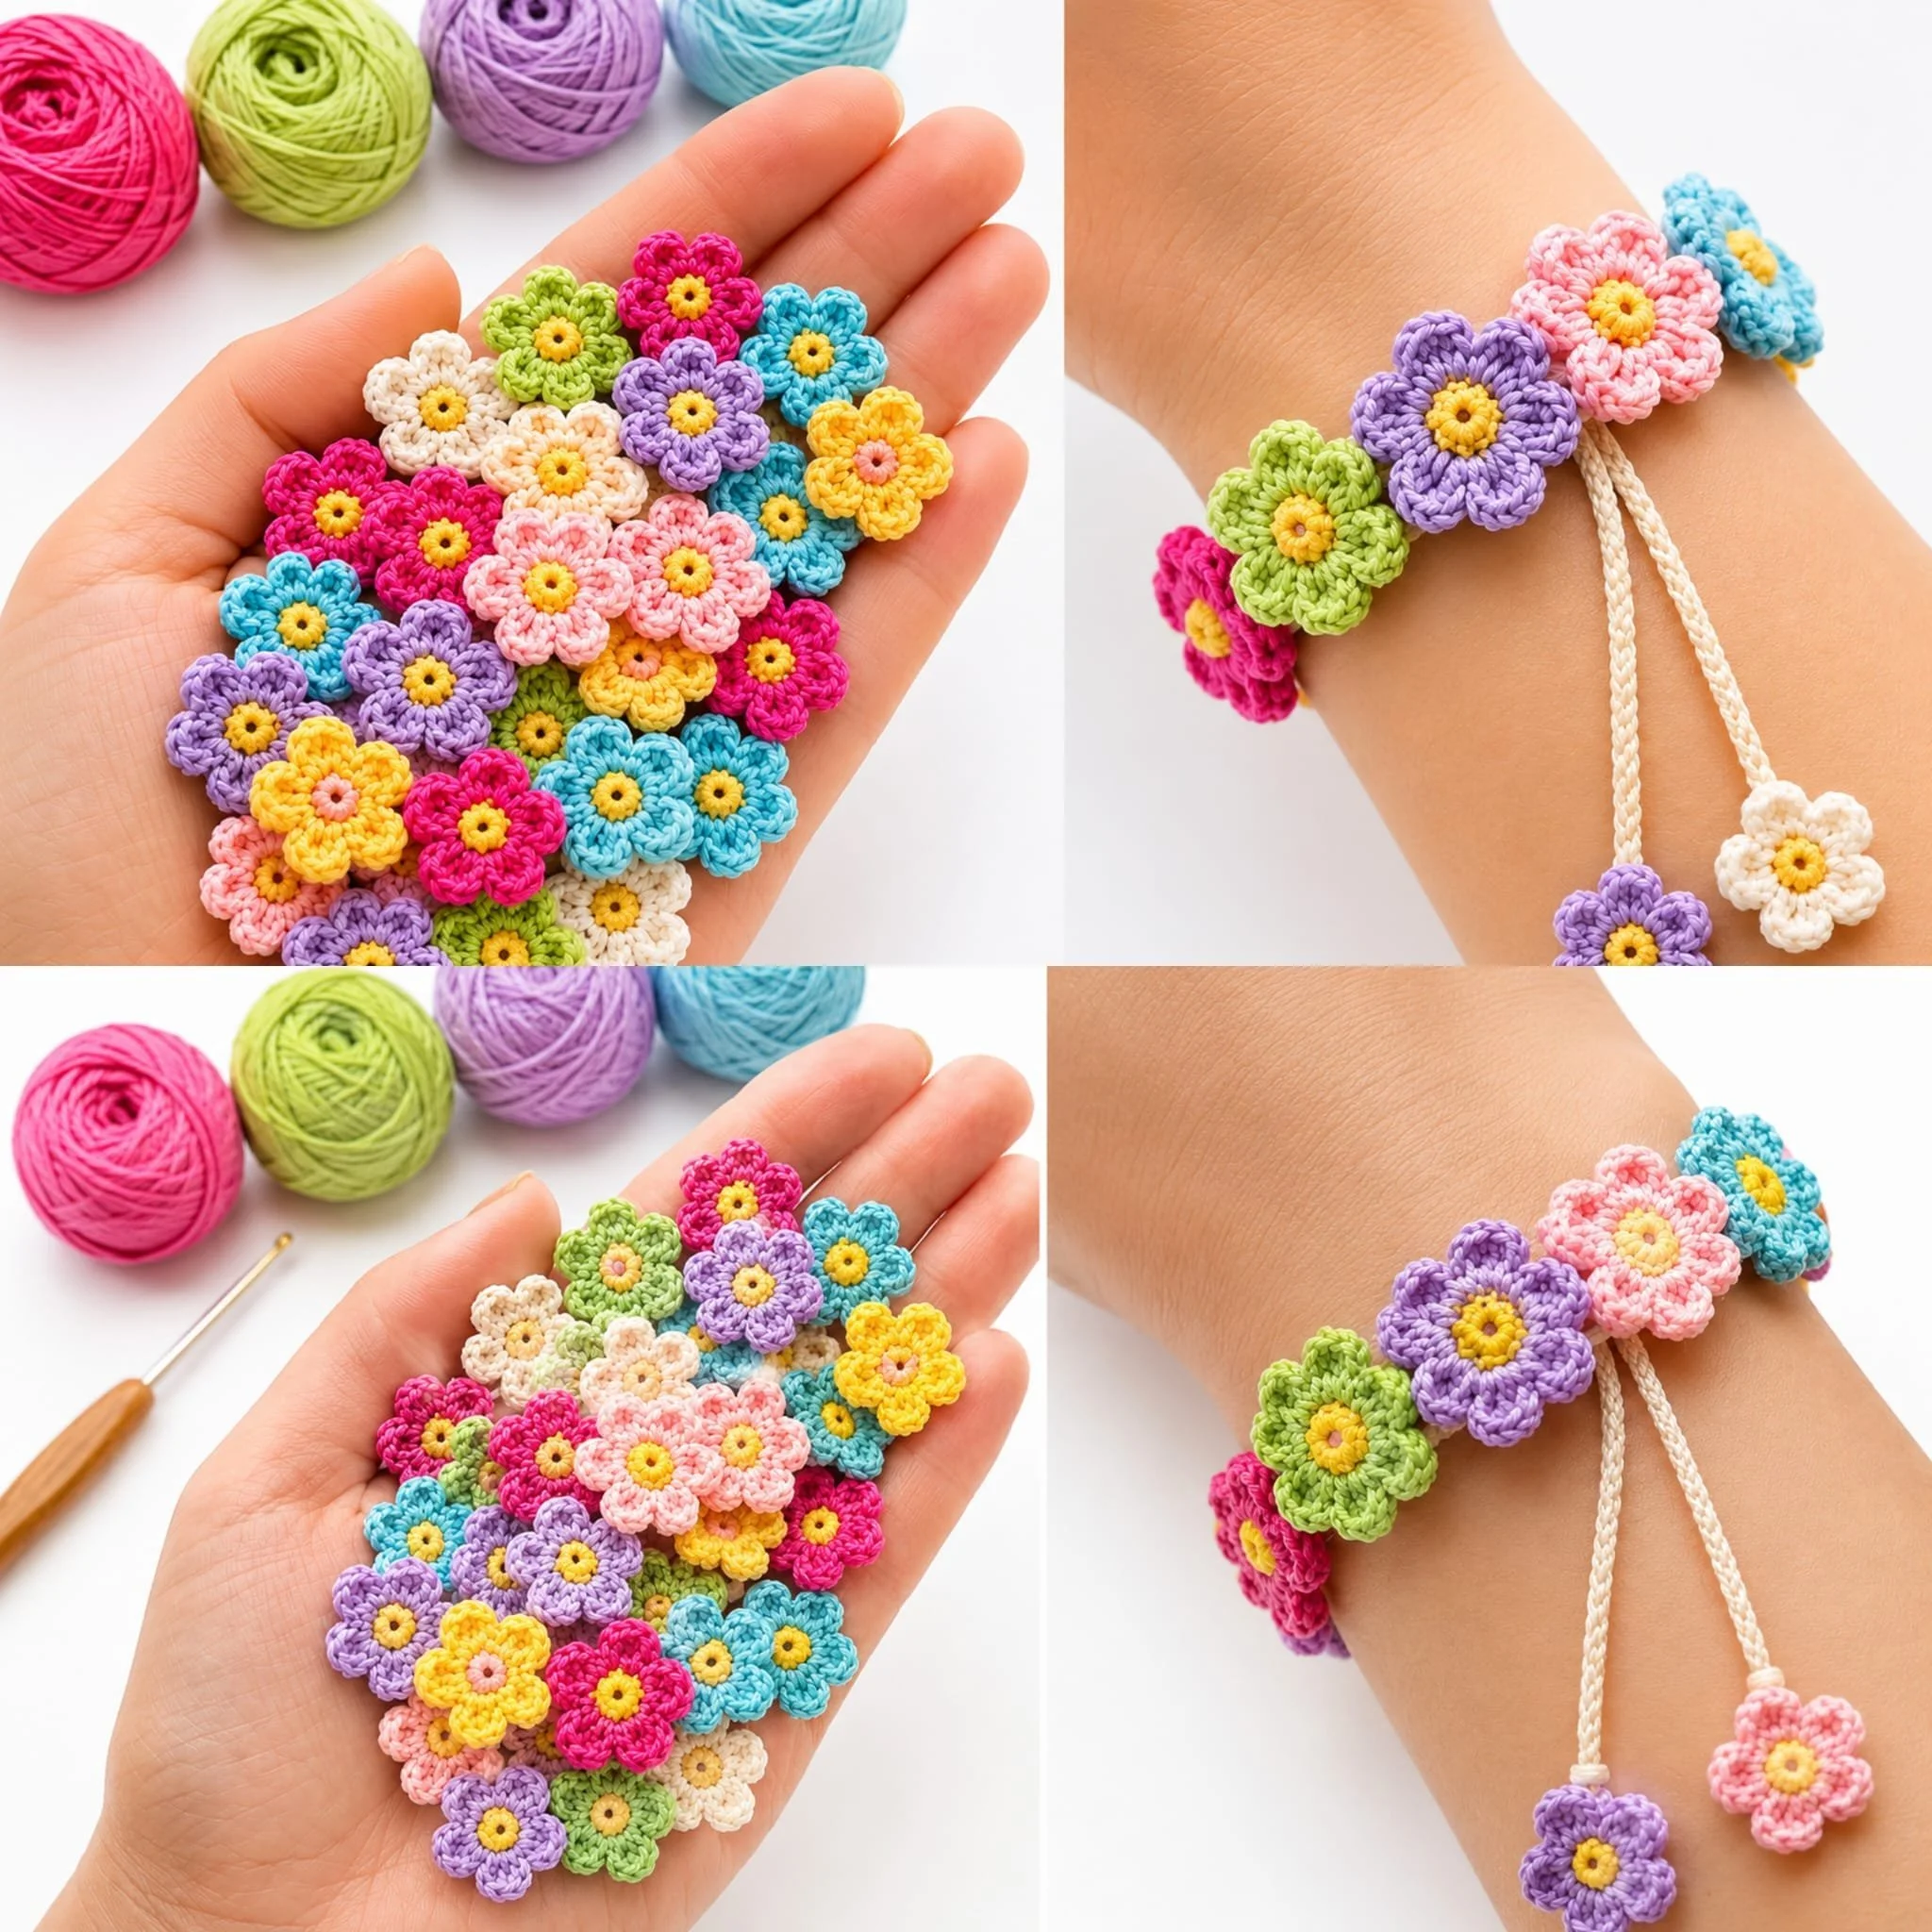
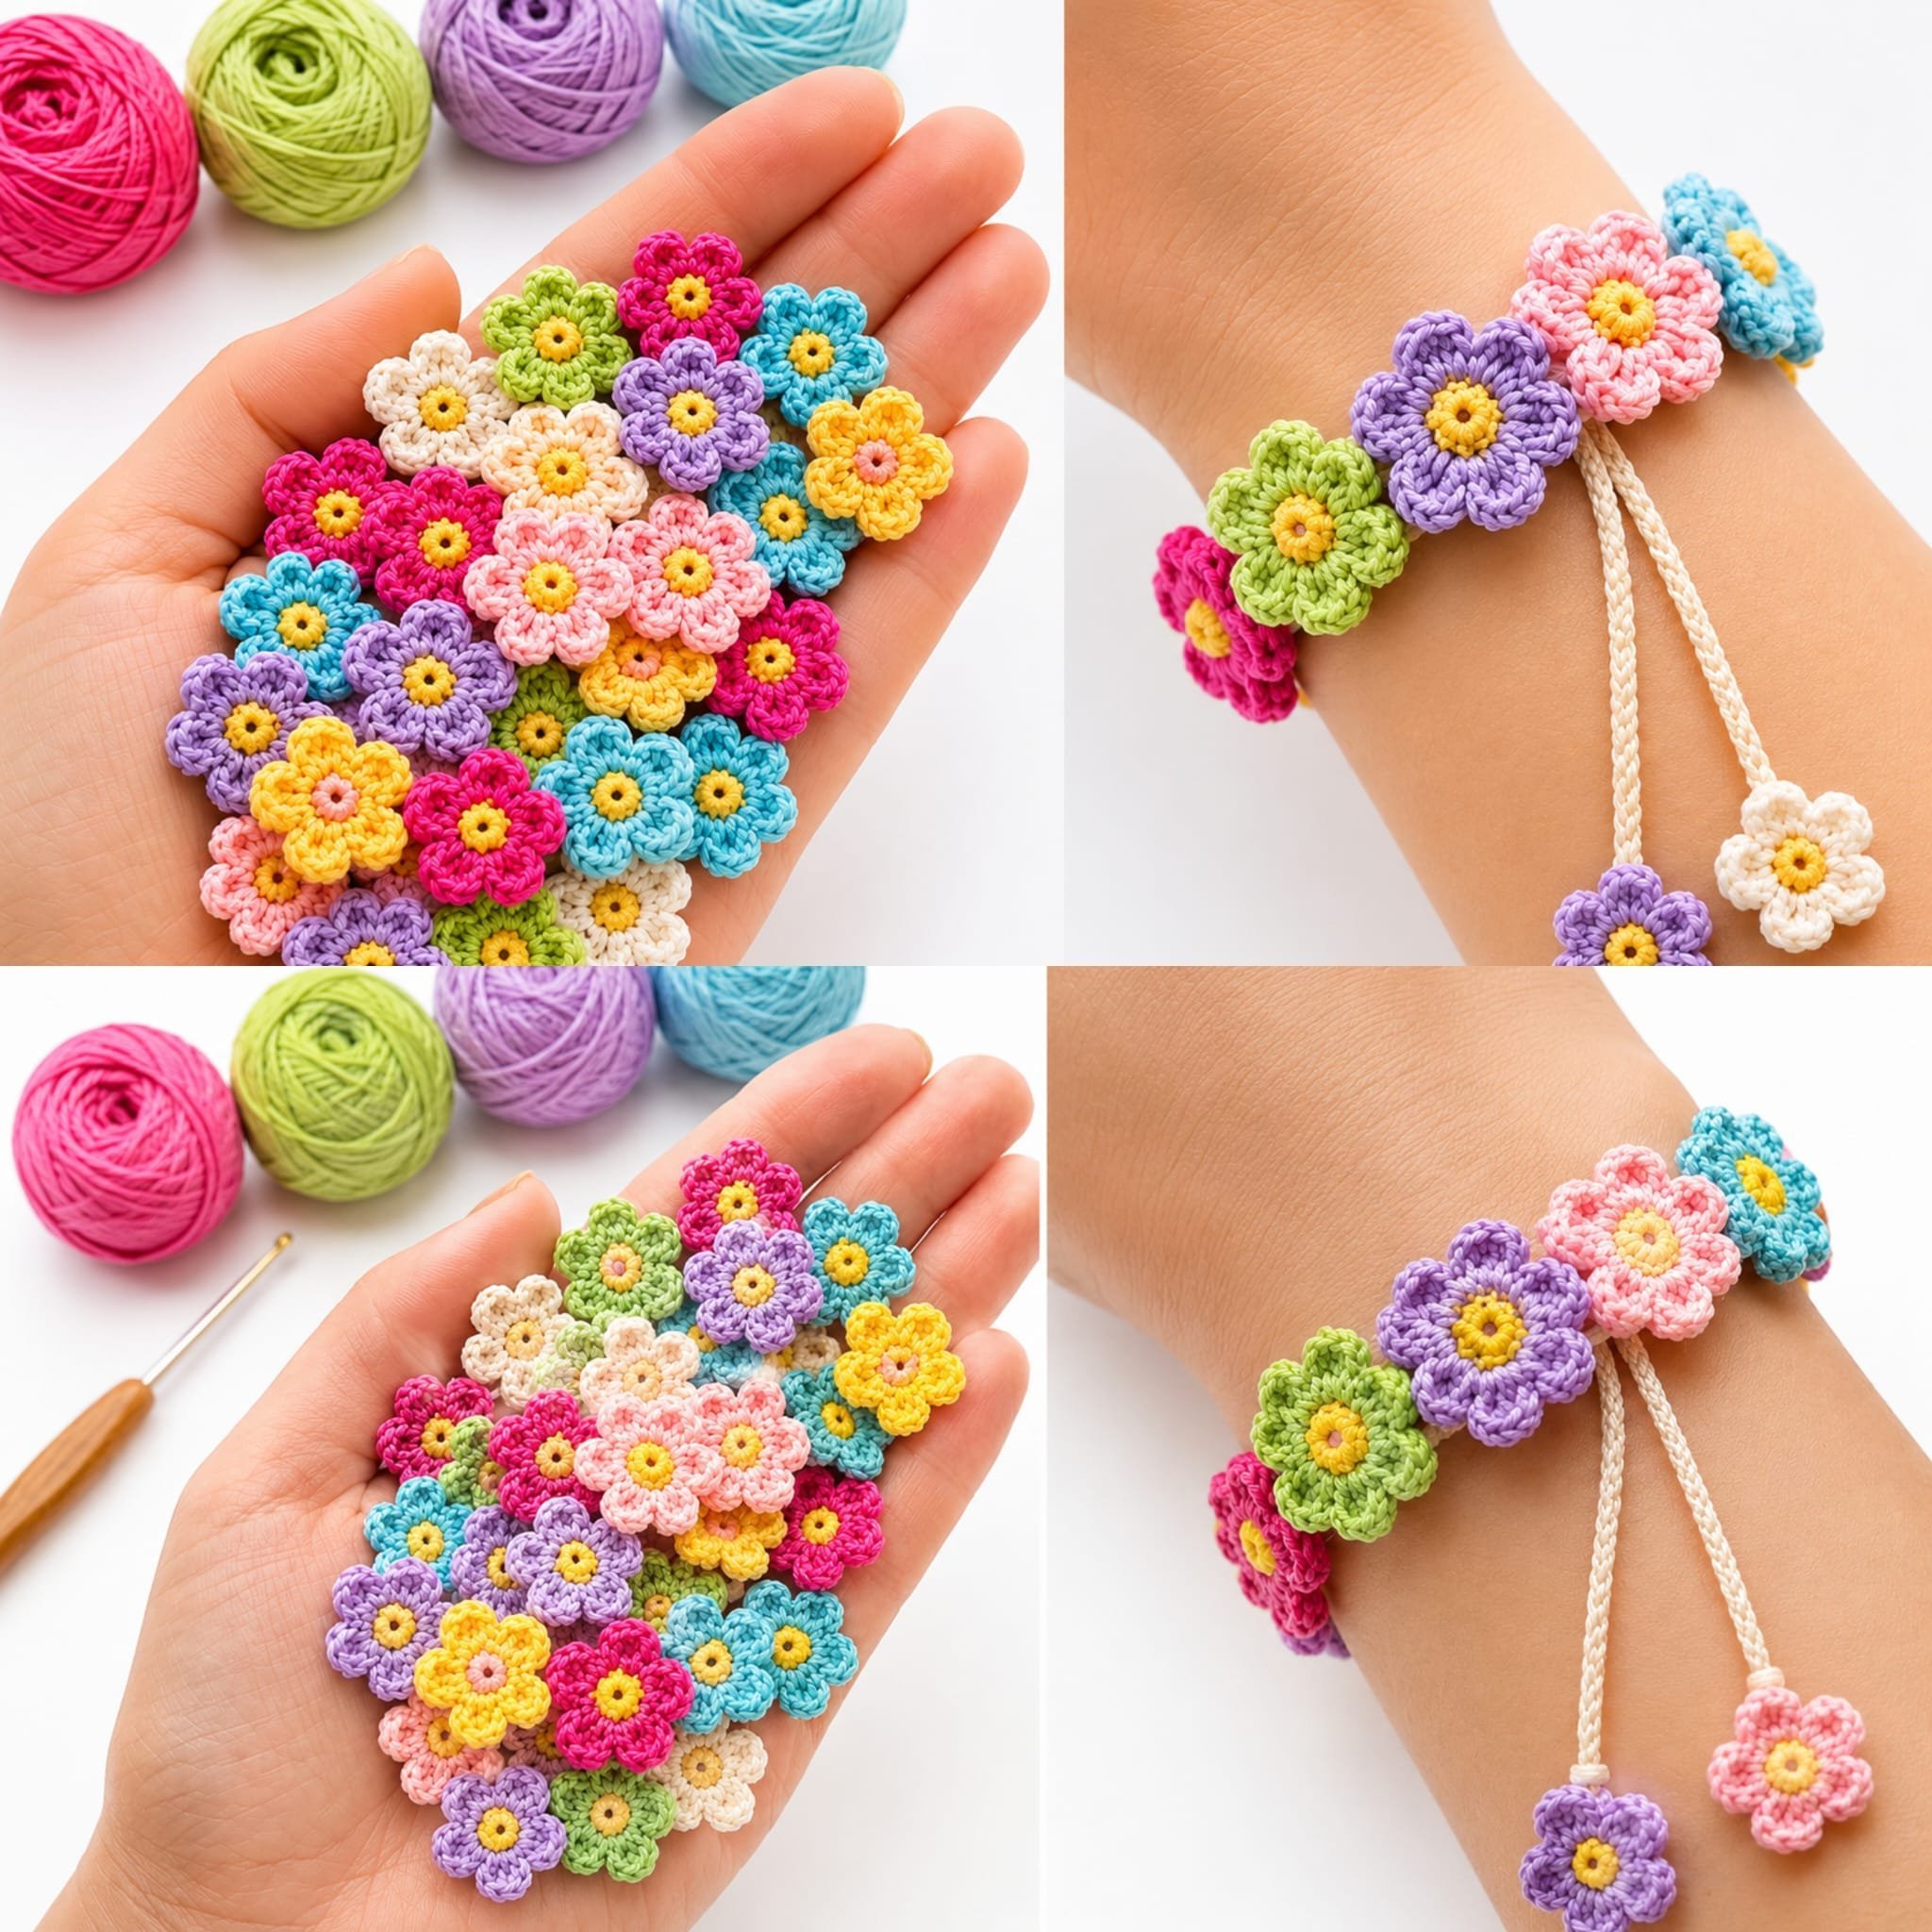
Creating handmade accessories is both a rewarding experience and a wonderful way to express your creativity. The Crochet Tiny Flower Bracelet is a delightful project that combines beauty and simplicity, making it perfect for gifting or enhancing your own jewelry collection. In this tutorial, you will learn how to craft this charming bracelet, including necessary materials, techniques, assembly steps, and tips for customization.
Project Plan
This project consists of two main components: the bracelet base and the tiny flowers that will be attached to it. The complete process involves:
- Crocheting the bracelet base.
- Creating the tiny flowers.
- Attaching the flowers to the bracelet base.
- Finishing edges and securing loose ends.
By following these steps, you will create a lovely accessory that can be tailored to your style or that of the recipient.
Materials and Tool Selection
Verified Materials
To create the Crochet Tiny Flower Bracelet, you will need:
- Cotton Yarn: This type of yarn is ideal due to its durability and rich color saturation. It offers a nice drape and is easy to manipulate.
- Crochet Hook: A size D or E (3.25 mm to 3.5 mm) crochet hook is suitable for most cotton yarns and provides a comfortable grip for detailed work.
Suggested Alternatives
If you’re looking to experiment, consider the following alternatives:
- Wool or Acrylic Yarn: These materials can offer a softer feel or a shiny finish, respectively.
- Beads: Small beads can be added to the center of each flower for additional sparkle or dimension.
- Adjustable Cord: Use an adjustable cord for fastening instead of a fixed chain for versatility in sizing.
When choosing your materials, keep in mind that different fiber types can influence the aesthetic, drape, and overall feel of your bracelet.
Terminology and Techniques
Before starting, familiarize yourself with the following crochet terminology and techniques:
- Chain Stitch (ch): The foundational stitch for starting chains.
- Single Crochet (sc): A simple stitch used to create the flowers and the bracelet base.
- Slip Stitch (sl st): Used for joining rounds and creating edges.
Technique Details
-
Chain Stitch:
- Insert your hook into the slip knot on the yarn.
- Yarn over and pull through; you now have one loop on your hook.
- Yarn over again and pull through the single loop to create a chain.
-
Single Crochet:
- Insert your hook into the stitch where you want to work.
- Yarn over and pull through; there are two loops on your hook.
- Yarn over again and pull through both loops to complete the stitch.
-
Slip Stitch:
- Insert your hook into the stitch.
- Yarn over and pull through both loops on the hook to join.
Practice these techniques before beginning the project to build familiarity.
Measurements and Preparation
To start, measure your wrist size (typically between 6 to 8 inches) for the bracelet. Create a sample swatch using the chosen yarn and hook size to assess your tension. Make sure to keep your tension consistent throughout the project.
If you’re using cotton yarn, washing and lightly blocking your swatch can provide a more accurate measurement for your final piece. Aim for a slightly tight tension to ensure the bracelet holds its shape.
Detailed Working Method
Stage 1: Create the Bracelet Base
-
Foundation Chains:
- Begin by making a chain of your desired length, based on your wrist size. For example, 6 to 8 inches typically works for most.
- Stopping Condition: Chain approximately 30 to 35 stitches to achieve a comfortable length.
-
Forming the Base:
- Turn your work and begin a single crochet in the second chain from the hook.
- Continue to sc in each chain until you reach the end of the row.
- Visual Checkpoint: You should have a straight line of single crochets.
Stage 2: Create the Tiny Flowers
-
Flower Base:
- Start with a slip knot, and chain 4.
- sl st into the first chain to form a ring.
-
Building the Petals:
- Round 1: Chain 3 (count as first dc), work 4 doubles in the ring, and sl st to join.
- This should create a flower shape with 5 petals.
-
Repeat for Desired Number of Flowers:
- Make 3 to 5 flowers, depending on how many you want to attach.
- Stopping Condition: Each flower should have a consistent shape.
Stage 3: Joining the Flowers to the Base
- Attach the Flowers:
- Position the flowers evenly spaced on the bracelet base.
- Use slip stitches or single crochet to secure, maintaining equal distance between flowers.
- Check Alignment: Ensure that the flowers sit flat against the base.
Stage 4: Add Edging
-
Finish the Bracelet:
- Work a round of single crochet around the entire edge of the bracelet for a neat finish.
- Stopping Condition: Complete the round and slip stitch to close.
-
Secure Ends:
- Weave in any loose ends using a tapestry needle.
- Give a gentle tug to ensure the stitches hold firm.
Assembly and Finishing
Before finalizing your bracelet, check all connections and tension. Ensure the flowers are securely attached.
- Weaving in Ends: Use a tapestry needle to weave through the stitches, ensuring they are hidden.
- Blocking: If any flowers appear misshapen, lightly steam to help retain their shape.
- Final Check: Confirm that all components are attached securely and with even spacing.
Troubleshooting
| Symptom | Likely Cause | Practical Correction |
|—————————–|—————————————|——————————————|
| Flowers are unevenly spaced | Misalignment during joining | Use stitch markers to ensure spacing |
| Tension issues | Grip is too tight or loose | Relax grip or practice on a separate piece |
| Flowers appearing misshapen | Incorrect tension or blocking | Lightly block with steam for shaping |
Variations, Care, and FAQ
Variations
- Color Combinations: Experiment with multiple color shades to create unique patterns.
- Beads Incorporated: Add beads to the center of flowers for sparkle.
- Layering: Create a multi-strand bracelet for a more complex look.
Care
- Washing: Hand wash in cool water with a mild soap.
- Drying: Lay flat to dry, avoiding direct sunlight.
FAQs
-
How long does it take to make the bracelet?
- Expect 2 to 3 hours depending on your crochet skill level.
-
Can I adjust the size of the bracelet?
- Yes, simply adjust the initial chain length to fit your wrist.
-
Can the same flower pattern be used for other accessories?
- Absolutely! Consider using the flower motif for earrings or hair accessories.
-
Can children wear this bracelet?
- Yes, as long as non-toxic materials are used.
Completion Checklist
- [ ] Gather materials.
- [ ] Make initial measurement adjustments.
- [ ] Create the base and flowers.
- [ ] Assemble and finish.
- [ ] Weave in all ends securely.
Creating your own Crochet Tiny Flower Bracelet not only allows you to make a unique statement piece but also delivers the joy of handcrafting a gift. Enjoy your crocheting!