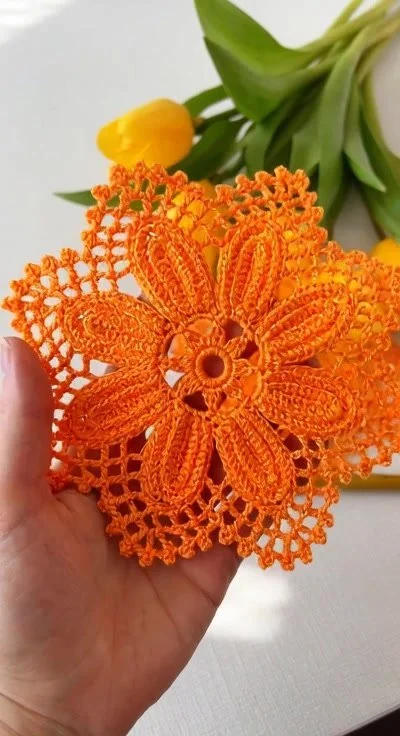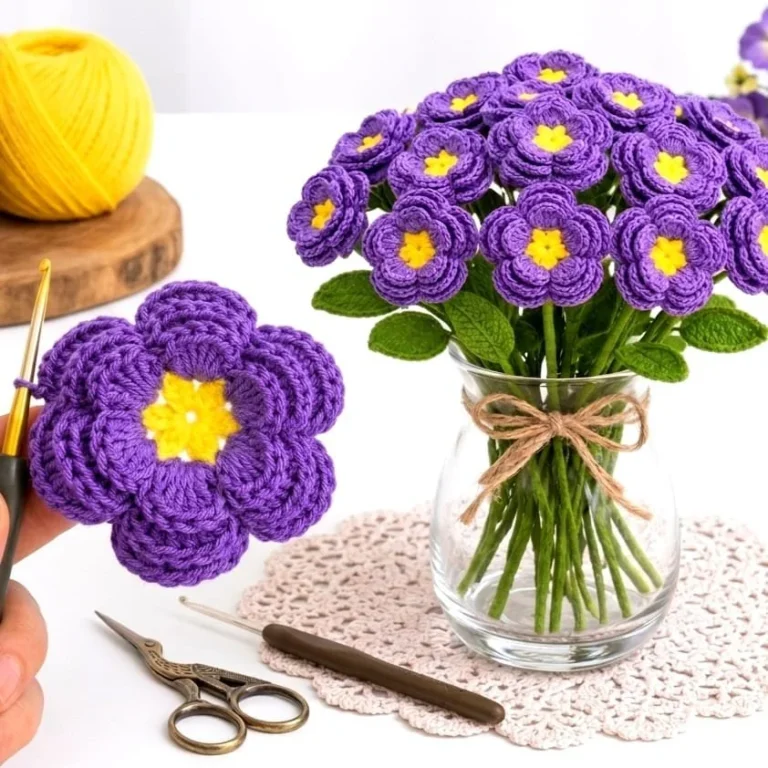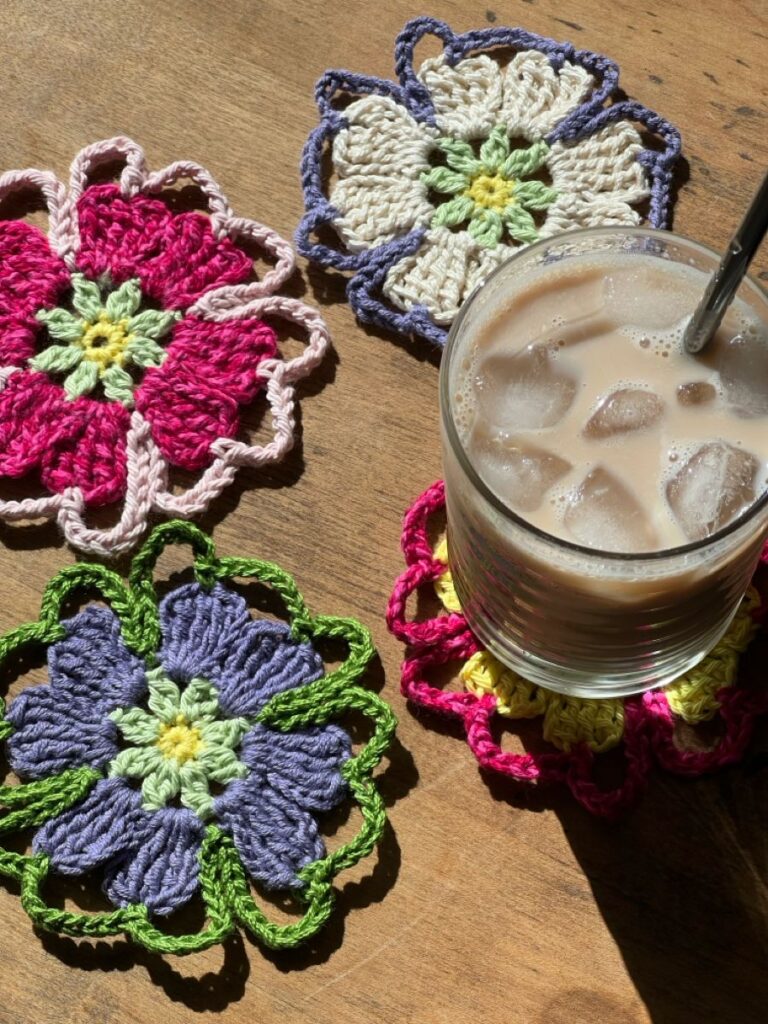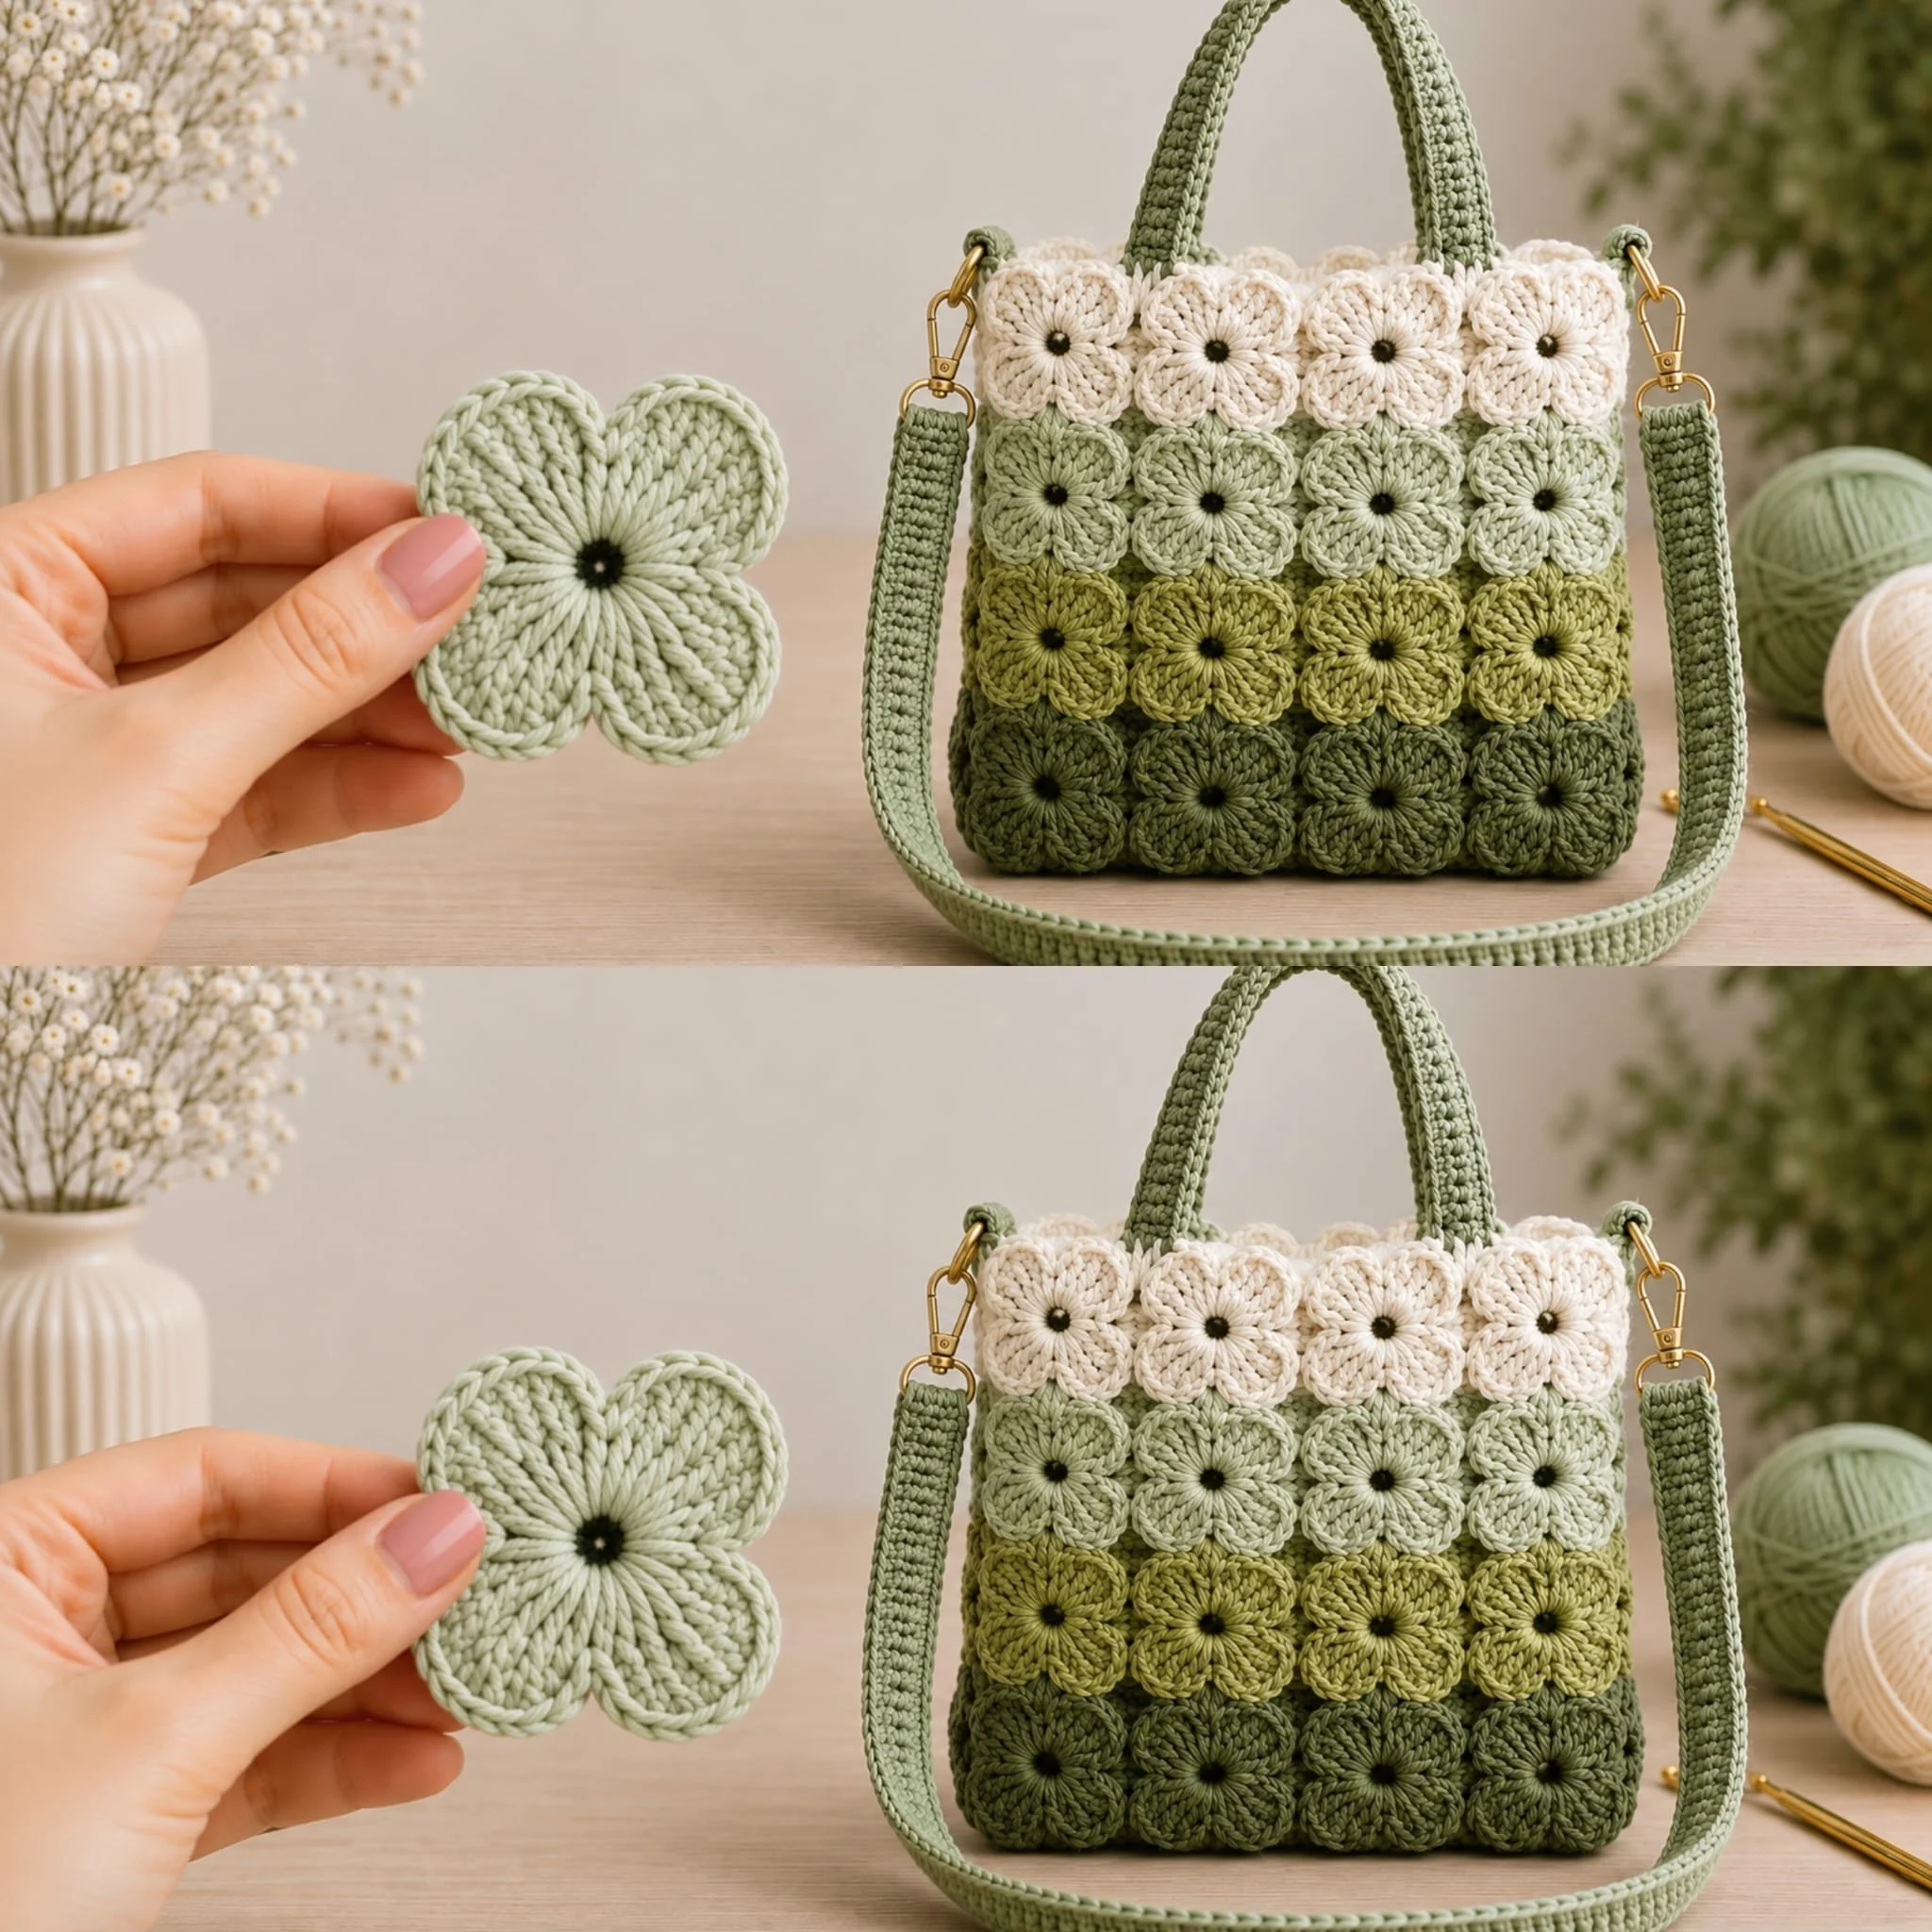
Crochet Tote Bag Featuring a Flower-Square Motif
Crochet Flower Square Tote Bag Pattern
If you’re looking for a fun and practical crochet project that brightens your day, the crochet flower square tote bag is the way to go. This guide will walk you through how to create a functional bag adorned with beautiful floral motifs, providing techniques, tips, and assembly instructions for a successful project. Whether you want to keep it for yourself or gift it to someone special, you’ll love showing off your crochet skills in this vibrant accessory.
Project Plan
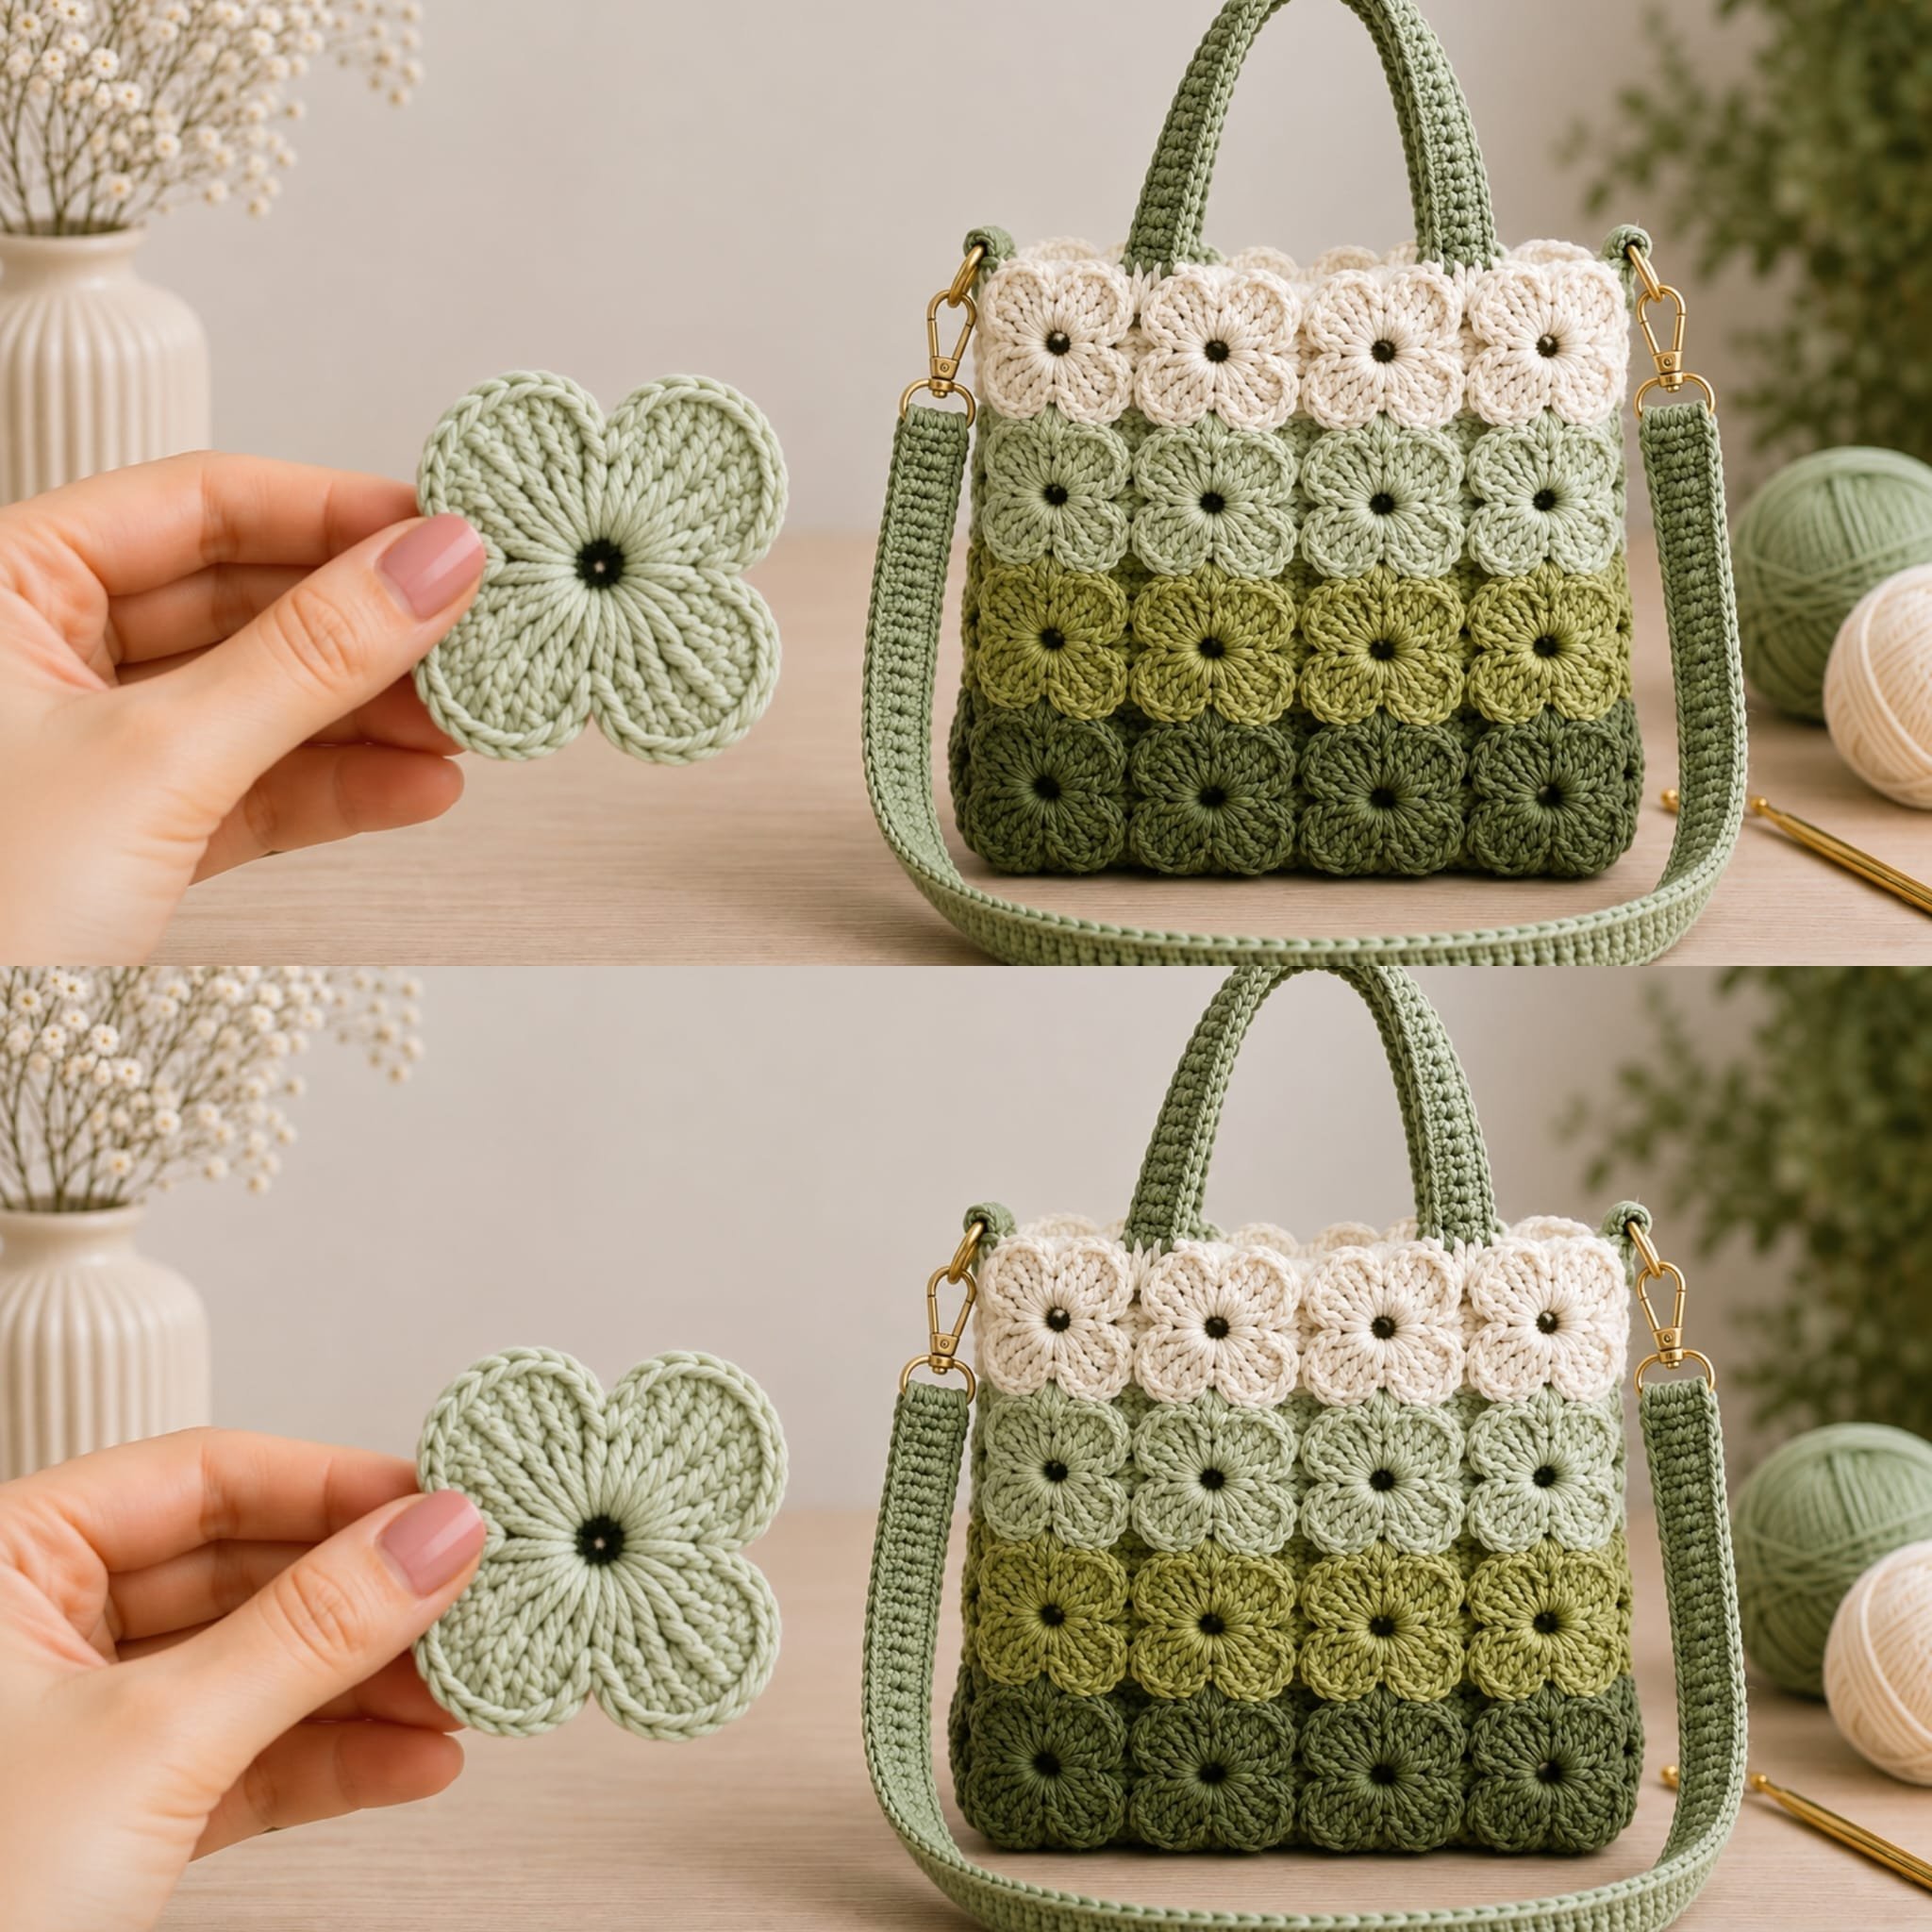
The crochet flower square tote bag consists of multiple components that come together to form a delightful tote. Here’s a breakdown of the essential pieces:
- Flower Squares: The main decorative elements of the bag. You will crochet several of these floral motifs.
- Bag Body: Formed by a combination of flower squares sewn or joined together.
- Straps: Handles for carrying the bag, which you can customize based on your preference.
- Edging: A decorative finish around the top of the bag to enhance its appearance.
- Optional Lining: Fabric can be added for extra structure and durability.
Materials and Tool Selection
Verified Materials
- Yarn: Cotton yarn is recommended for its durability and low stretch, making it ideal for bags. A worsted weight (size 4) is typically used to provide the bag with a firm structure.
- Hook Size: Use a G-6 (4.0 mm) or H-8 (5.0 mm) crochet hook. Your choice may depend on your yarn and tension.
- Notions: Scissors, a yarn needle for weaving in ends, and stitch markers, especially useful for keeping track of your motifs.
Suggested Alternatives
- Fiber Blends: If you prefer a softer feel, consider using acrylic or wool blends, but they might stretch more, which can affect the bag’s structure.
- Color Change: Experiment with ombre yarns or variegated yarn for a unique look.
Terminology and Techniques
As you crochet your bag, you’ll encounter several techniques. Here are the key stitches and their instructions:
-
Chain Stitch (ch): Form the foundation for your project.
- Insert your hook into the slip knot on the hook.
- Yarn over and pull through to create one loop (total of 1 loop on hook).
- Repeat until you have the desired number of chains.
-
Single Crochet (sc):
- Insert hook into the stitch.
- Yarn over and pull through (total of 2 loops on hook).
- Yarn over again and pull through both loops (1 loop remaining on hook).
-
Double Crochet (dc):
- Yarn over, insert hook in the stitch.
- Yarn over and pull through (total of 3 loops on hook).
- Yarn over again and pull through the first two loops (total of 2 loops remain).
- Yarn over and pull through the last two loops (1 loop remaining).
-
Slip Stitch (sl st): Used for joining.
- Insert hook into the stitch.
- Yarn over and pull through the stitch and the loop on your hook.
Turning Chains: When beginning a new row with double crochet, often a chain of 3 is used as a substitute for the first double crochet.
Measurements and Preparation
Before beginning, measure your gauge to ensure that your flower squares will fit together correctly. Complete a gauge swatch using the same yarn and hook you plan to use for the bag.
Example Gauge Measurements
- Make a swatch of at least 4 inches square.
- Count the number of stitches per inch to determine your gauge. Aim for a specific stitch count (e.g., 12 dc = 4 inches) for accurate size adjustments.
Detailed Working Method
Stage 1: Create Flower Motifs
- Crochet Flower Square:
- Start with a magic ring and chain 3 (this counts as your first dc).
- Work 11 more dc into the ring (total of 12 dc).
- Tighten the ring and slip stitch to the top of your beginning chain 3.
Stopping Condition: When you have 12 double crochets in your flower square, slip stitch to close.
Stage 2: Assemble the Bag
- Layout Flower Squares:
- Decide on the arrangement of your flower squares before joining.
- Lay out your squares on a flat surface to create your desired design (e.g., alternating colors).
Stage 3: Join the Motifs
- Joining Squares:
- Using the whip stitch or slip stitch method, begin joining the squares from the back side.
- Insert the yarn needle from the back into the front of the stitches, making sure to keep the squares aligned.
Tension Check: Ensure that stitches aren’t too tight or loose, which can result in distortion.
Stage 4: Shape the Bag
- Constructing the Body:
- Once you have joined all your squares, fold the bag body and join the ends together.
- Optionally line the bag with fabric by cutting the fabric to shape and sewing it along the top edge.
Stage 5: Attach the Edging
- Crochet Top Edging:
- To finish the bag, create an edging around the top for a polished look. You can use a contrasting color or add decorative stitches like scallops for flair.
- Use a slip stitch or single crochet to create this finish.
Final Check: Make sure that all parts are well attached and seams are secure.
Assembly and Finishing
- Weaving in Ends: Carefully weave in all loose ends using a yarn needle to maintain a neat appearance.
- Blocking: If your motifs are uneven, consider blocking them to ensure they lie flat. Lightly steam or wet block the motifs, stretching as needed and allow to dry.
- Adding Lining (optional): To improve structure, consider sewing a fabric lining. Cut fabric large enough to cover the interior of the bag with a pocket if desired.
Troubleshooting
| Symptom | Likely Cause | Practical Correction |
|—————————|—————————|———————————————-|
| Uneven motifs | Inconsistent tension | Practice maintaining even tension; use a swatch to check. |
| Bag sagging | Stretched yarn used | Switch to a firmer yarn or add a lining to support weight. |
| Joining errors | Misalignment of squares | Pin motifs in place before joining to ensure correct alignment. |
| Loose edges | Inadequate edging | Rethread with tighter stitches when adding edging or repeat edging process. |
Variations, Care, and FAQ
Variations
- Change flower patterns for different looks.
- Use seasonal color themes to adapt your bag for various times of the year.
- Experiment with strap designs and different textures.
Care
- Hand wash in cold water and allow to air dry.
- Store the bag flat to maintain its shape.
Frequently Asked Questions
Can I use any yarn for this project?
While you can use any yarn, cotton is preferred for durability.
What is the best way to clean my crochet bag?
Hand washing in cold water with gentle detergent is recommended.
How do I make the bag more structured?
Consider adding a fabric lining or using firmer yarn.
Is this pattern suitable for beginners?
This guide is beginner-friendly, but basic crochet skills are recommended.
Completion Checklist
- Ensure all components are completed (flower squares, straps, edging).
- Check for any loose ends and securely weave them in.
- Review the finished assembly for consistency in shape and alignment.
Happy crocheting!