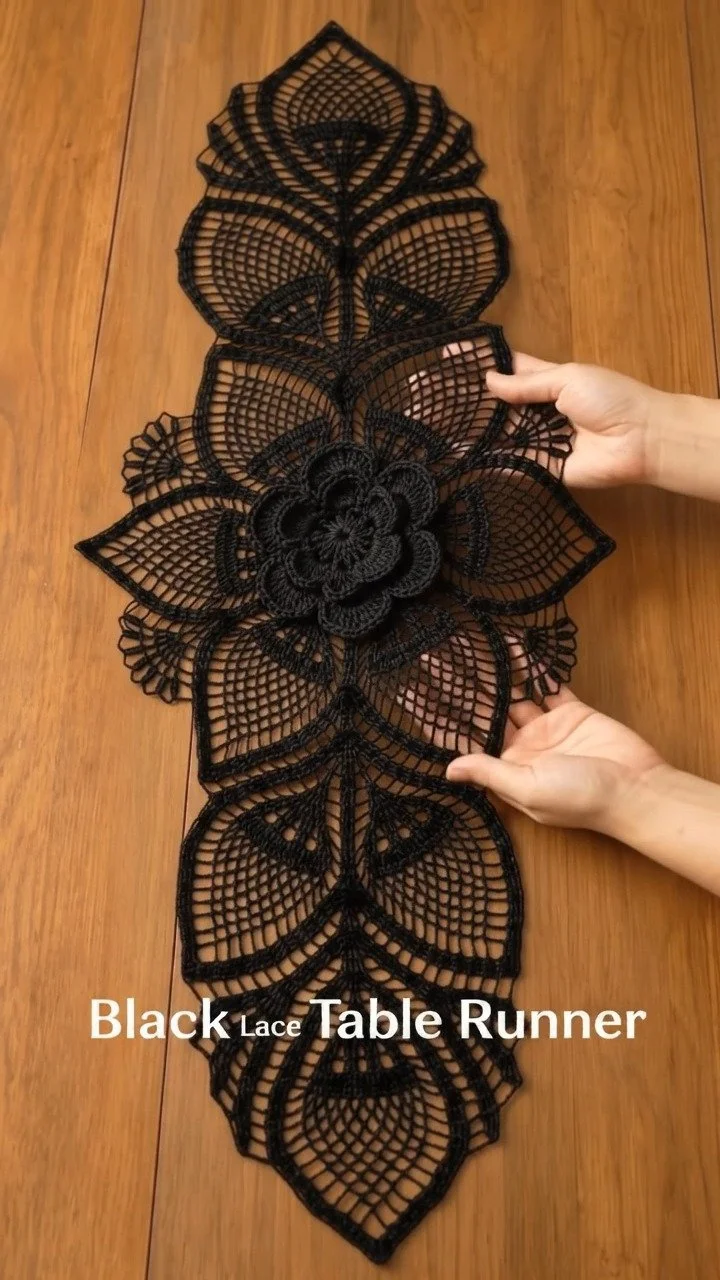
Crochet Black Lace Floral Table Runner for Sophisticated Decor
Crochet Black Lace Floral Table Runner for Elegant Decor
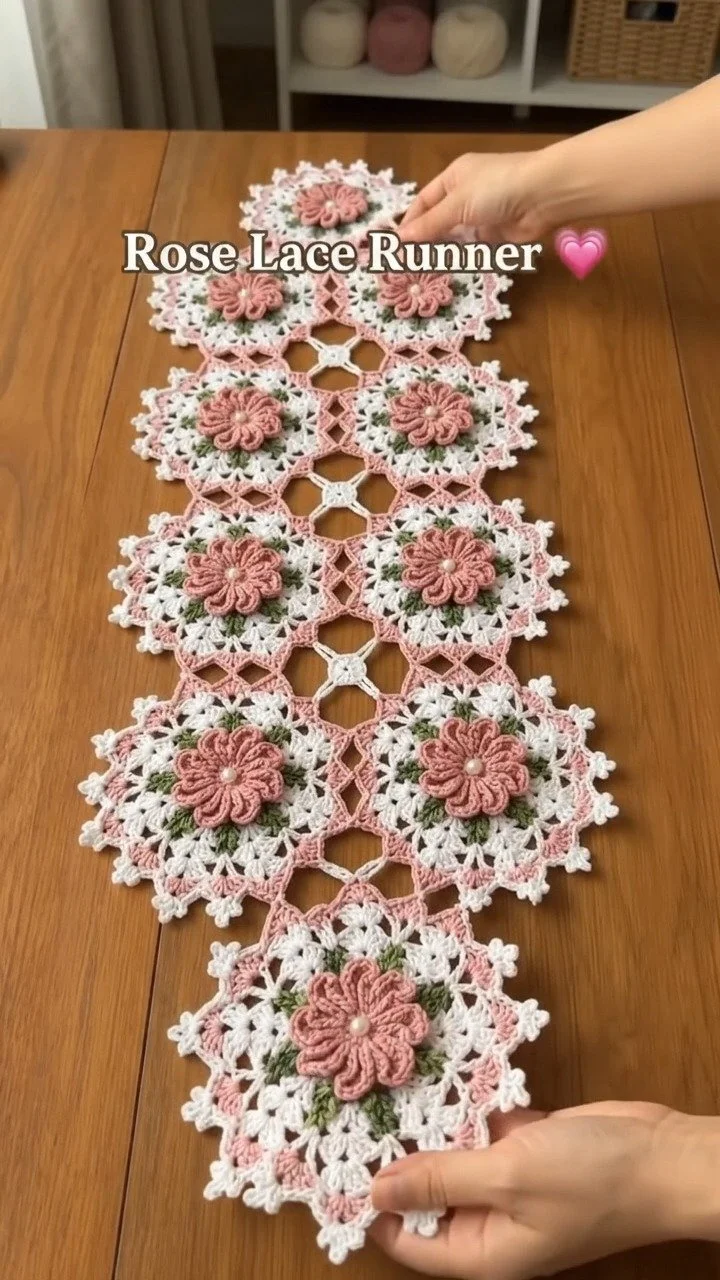
In this tutorial, you will learn to create a stunning black lace floral table runner that enhances the elegance of any table setting. We will cover essential crochet techniques, required materials, and detailed step-by-step instructions to turn this beautiful project into a reality. Whether you’re a beginner or an experienced crocheter, this project is sure to challenge your skills and produce a lovely addition to your home decor.
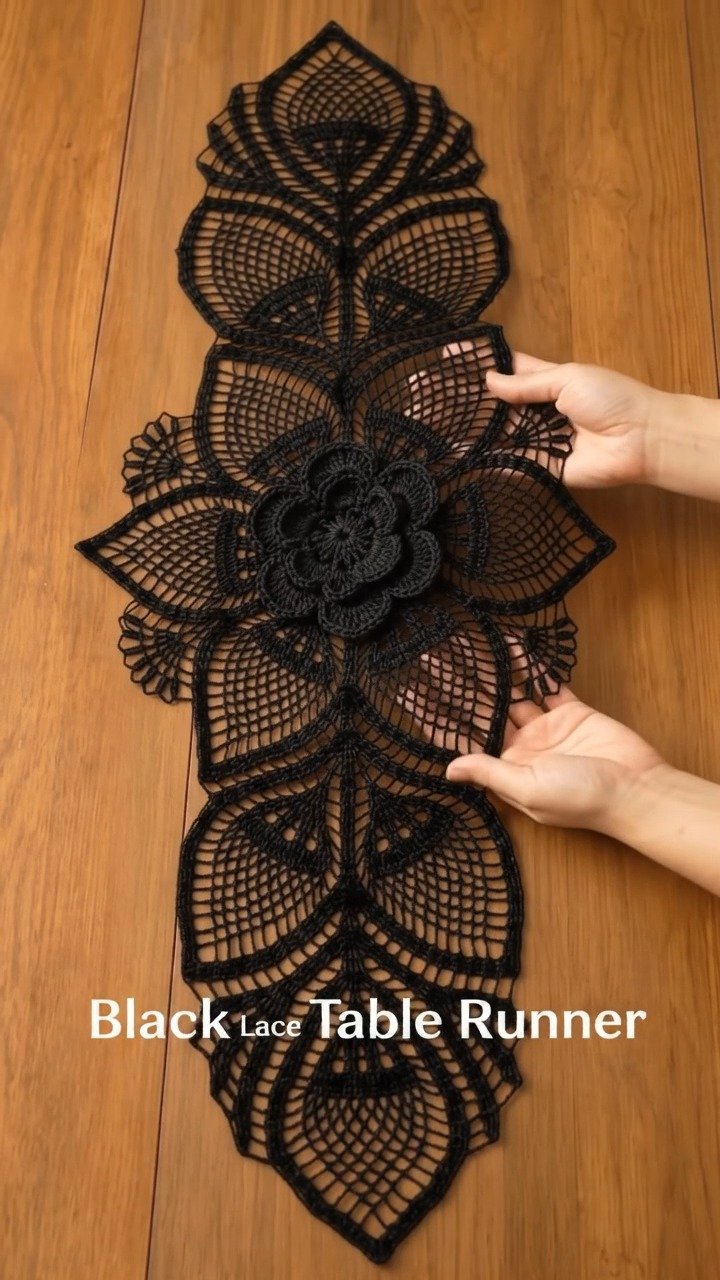
Project Plan
This table runner consists of several crocheted components assembled together in a defined order:
- Floral Motifs: These create the primary decorative elements of the runner.
- Lace Edging: This embellishes the outer edges for a refined finish.
- Base Piece: The foundation on which floral motifs and lace will be attached.
Assembly Order:
- Create the floral motifs.
- Crochet the lace edging.
- Attach the floral motifs to the base piece.
- Add final touches, such as blocking and weaving in ends.
Materials and Tool Selection
Materials
-
Yarn: Black lace-weight yarn
Purpose: Provides the delicate and elegant look essential for lace motifs and bordering. -
Crochet Hook: Size G/6 (4.0 mm)
Purpose: Suitable for lace-weight yarn; adjust the hook size if needed based on your tension. -
Tapestry Needle: For weaving in ends.
-
Scissors: To cut the yarn.
Suggested Starting Choices
While this tutorial calls for black lace-weight yarn, feel free to experiment with different colors as long as you maintain similar characteristics to ensure the pattern’s integrity.
Yarn Fiber and Thickness
Choosing the right yarn affects the drape and appearance of your project. Using lace-weight yarn achieves the intricate lace effect, vital for this design. Make a gauge swatch to ensure you’re working with the ideal yarn and hook combination.
Gauge Sample
To determine your crochet tension:
- Create a sample square measuring 4 inches by 4 inches.
- Measure how many stitches and rows fit in this area.
- Adjust your hook size and yarn if necessary, based on your findings.
Terminology and Techniques
This project utilizes standard US crochet terminology. Below are important abbreviations and techniques required:
Abbreviations:
- Ch: Chain
- Sc: Single Crochet
- Dc: Double Crochet
- Sl St: Slip Stitch
- Sp: Space (referring to chain spaces)
Basic Techniques
-
Chain Stitch (Ch):
- Insert the hook into the desired place.
- Wrap yarn around the hook and pull through.
- Repeat for the needed number of chains.
-
Single Crochet (Sc):
- Insert the hook into the designated stitch.
- Yarn over and pull up a loop (2 loops on the hook).
- Yarn over again and pull through both loops (1 loop remaining).
-
Double Crochet (Dc):
- Yarn over, insert the hook into the stitch.
- Yarn over again and pull up a loop (3 loops on the hook).
- Yarn over and pull through the first two loops (2 loops remaining).
- Yarn over again and pull through the last two loops (1 loop remaining).
-
Slip Stitch (Sl St):
- Insert the hook into the stitch, yarn over, and pull through both the stitch and the loop on the hook.
Turning Chains
Turning chains are added at the beginning of rows to maintain stitch height, depending on the stitches used in the row.
Measurements and Preparation
For accurate results, it’s crucial to measure your swatch after washing or blocking. Focus on:
- Width and Length: Measure your gauge swatch after it has been blocked.
- Yarn Usage: While predicting yarn quantities can be tricky, maintain an approximate measure based on your gauge and the size of your table runner.
Detailed Working Method
Stage 1: Making the Floral Motifs
-
Create a Magic Ring:
- Ch 5, then join with a sl st to form a ring.
- Checkpoint: The ring should be adjustable yet snug.
-
Crochet the First Round:
- Ch 3 (counts as the first dc), then crochet 11 dc into the ring (total of 12).
- Join with a sl st to the top of the ch 3.
- Stopping Condition: Ensure you have 12 total dc around the ring.
-
Second Round (Petals):
- Ch 3, then (dc, ch 2, 2 dc) in the same stitch.
- Repeat this in each stitch around (total of 6 petals).
- Join with a sl st to close.
- Checkpoint: Petals should be clearly defined.
-
Finish Off: Leave a long tail for sewing the motifs onto the base piece.
Stage 2: Crocheting the Lace Edging
-
Start by Chaining the Foundation:
- Ch the length that matches the perimeter of your runner.
-
Begin First Round:
- Work sc into the second ch from the hook, ch 5, skip 2 ch, sc into 3rd ch. Repeat until the end.
- Join with a sl st.
- Checkpoint: Ensure spaces are uniform throughout.
-
Continue with Additional Rounds:
- Work more rounds using previous sc as a base, alternating between sc and ch spaces for a delicate finish.
- The final round should create a smooth edge.
- Stopping Condition: Verify that the lace has a symmetrical pattern.
Stage 3: Assembling Components
-
Prepare the Base Piece:
- Lay out the base piece flat. This can be rectangular or another shape suitable for your table.
-
Pin the Floral Motifs:
- Ensure even spacing between motifs.
- Checkpoint: Check that motifs are evenly spaced.
-
Sew the Motifs onto the Base:
- Use the long yarn tail from the motifs to sew. A straight stitch will secure them effectively.
- Checkpoint: Lift the runner gently to verify secure attachment.
-
Attach the Lace Edging:
- Align the lace edging with the table runner edges, pinning in place.
- Ensure you maintain even tension while sewing to avoid puckering.
- Stopping Condition: Check for evenness in attachment.
Assembly and Finishing
-
Ensure Alignment: Check the alignment of motifs and edges as you sew. Correct any distortion before securing.
-
Weave in All Ends: Carefully weave in all ends, ensuring the wrong side looks neat.
-
Block the Finished Piece:
- Lay it flat on a clean surface and adjust to desired dimensions.
- Lightly spray with water and pin down edges until dry.
Troubleshooting
| Symptom | Likely Cause | Practical Correction |
|——————————-|———————————-|——————————————|
| Uneven motifs | Inconsistent tension | Adjust tension while crocheting |
| Lace is too stiff | Incorrect yarn weight | Switch to a lighter yarn if necessary |
| Puckering edges | Too tight tension on seams | Loosen your grip, ensure uniform stitches|
Variations, Care and FAQ
Variations
- Use colored yarn for a whimsical touch.
- Substitute different types of lace patterns for the edging.
Care Instructions
- Hand wash gently in cold water, lay flat to dry.
- Avoid wringing or twisting your project to maintain its shape.
FAQs
-
Can I use a different yarn fiber?
- Yes, as long as you maintain a similar weight for the best effect.
-
How can I adjust the length?
- Simply increase or decrease the foundation chain.
-
What size should my motifs be?
- Aim for a diameter of about 4 inches.
-
How to display my finished runner?
- Place it on your dining table, a sideboard, or any flat surface as a decorative piece.
Completion Checklist
- Ensure all components are finished and assembled.
- Block the table runner.
- Weave in all loose ends.
- Verify the final appearance and dimensions.
You now have everything necessary to create your own Elegant Black Lace Floral Table Runner! Enjoy the process, and happy crocheting!