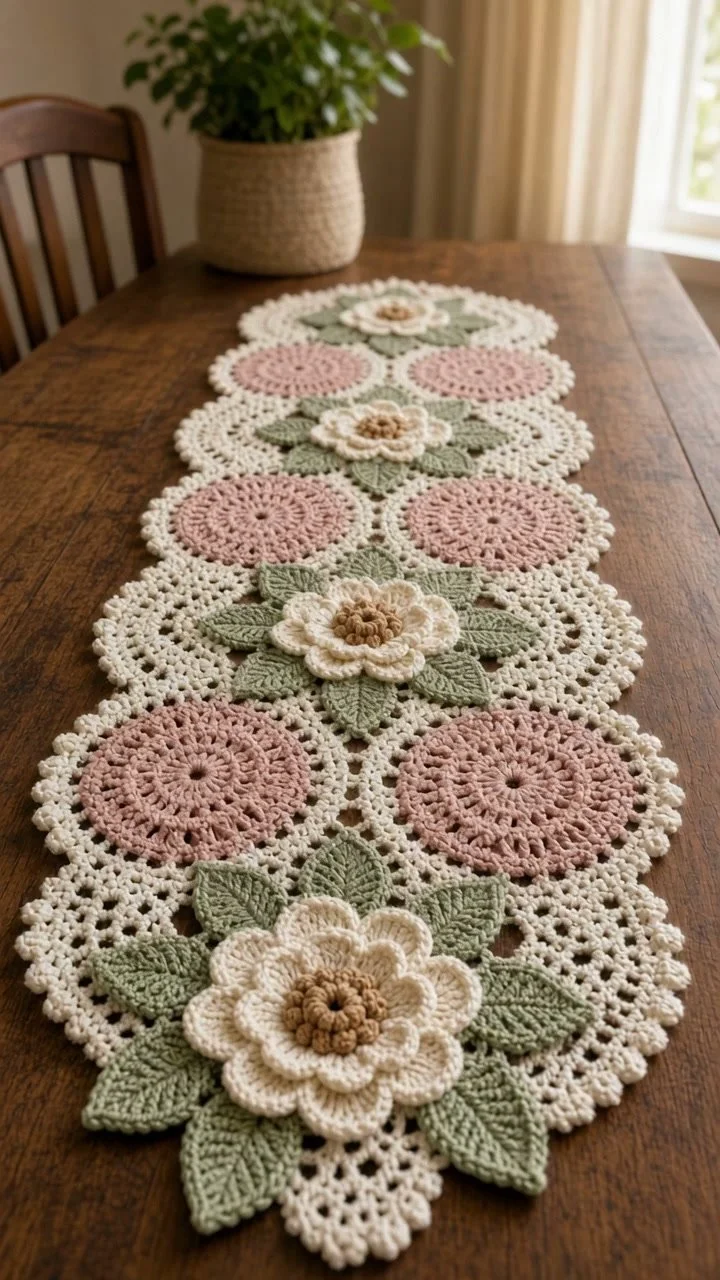
Crochet Table Runner with Rose Wave Design for Elegant Decor
Crochet Table Runner: Rose Wave Design for Elegant Decor
Creating a handcrafted table runner adds a personal touch to your home decor. In this tutorial, you’ll learn how to crochet a stunning Rose Wave Table Runner. You’ll explore essential crochet techniques, gather necessary materials, and follow detailed step-by-step instructions to make an elegant piece that showcases your skills. Let’s get started!
Project Plan
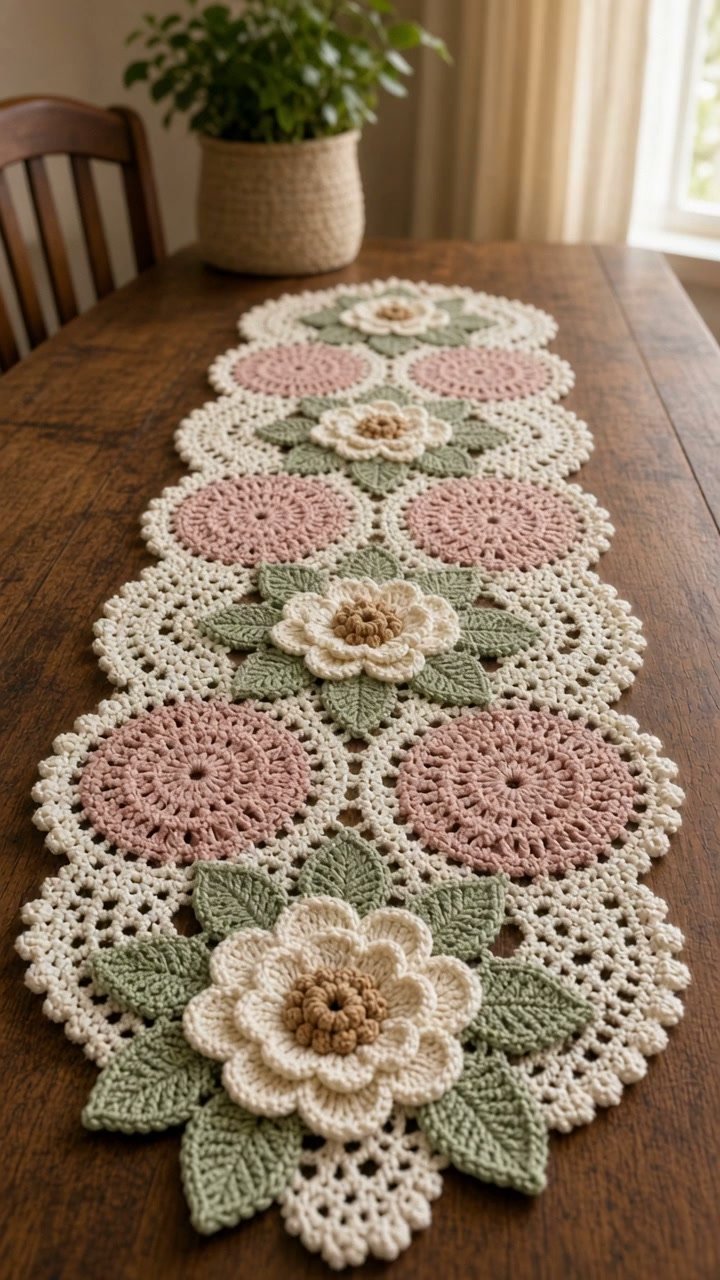
The Rose Wave Crochet Table Runner will be developed through the combination of several crochet components. Here’s a breakdown of the key elements involved:
- Base Rows: These foundational rows set the width of your table runner and provide a base for attaching motifs.
- Crochet Motifs: The eye-catching rose wave design is formed by floral motifs, which vary in shape and size.
- Assembly: This stage involves joining the motifs to the base rows, ensuring a seamless connection to create a cohesive look.
Materials and Tool Selection
Materials Needed
-
Yarn:
- Cotton or Cotton Blend: Opt for medium weight (4) yarn, known for its durability and washability, providing the perfect structure for your runner.
- Color Choices: Select a primary color for the base and one or two accent colors to craft the motifs.
-
Crochet Hook:
- Use a size H/8 (5 mm) crochet hook, though you should adjust according to your yarn label recommendations.
-
Scissors and Yarn Needle:
- Essential for snipping yarn and weaving in ends.
-
Measuring Tape:
- To confirm that your table runner fits the intended dimensions.
Considerations for Yarn Fiber and Thickness
The choice of yarn significantly influences the final appearance and texture of your crochet project. Cotton yarn offers a structured finish, while synthetic fibers like acrylic may create a softer drape. Ensure consistent yarn thickness to maintain even tension in your stitches throughout the project.
Sample Swatch
Before diving into the main project, create a sample swatch to determine your gauge. Crochet a small piece measuring approximately 4"x4" using your chosen yarn and hook. This allows you to check if your fabric’s drape aligns with your design goals and if any adjustments to your hook size are necessary.
Terminology and Techniques
Crochet Abbreviations Used
- ch: Chain
- sc: Single Crochet
- dc: Double Crochet
- sl st: Slip Stitch
Techniques You’ll Need
1. Chain Stitch
- Create a slip knot on your hook.
- Yarn over and pull through the loop on the hook – you now have one chain.
- Continue to yarn over and pull through for the desired chain length.
2. Single Crochet
- Insert the hook into the specified stitch.
- Yarn over and pull up a loop (two loops are now on your hook).
- Yarn over again and pull through both loops, finishing the stitch.
3. Double Crochet
- Yarn over, insert the hook into the specified stitch.
- Yarn over and pull up a loop (three loops on your hook).
- Yarn over and pull through the first two loops (two loops remain).
- Yarn over again and pull through the last two loops.
4. Slip Stitch
- Insert your hook into the specified stitch.
- Yarn over, pull through the stitch and the loop on your hook simultaneously.
Turning Chains
Common in rows, turning chains often count as the first stitch of the next row. When finishing with a double crochet, for example, your turning chain will typically consist of three chains.
Measurements and Preparation
Measuring
To ensure your table runner meets the desired size:
- Width: Measure the area where the runner will be placed. Standard widths range from 12-20 inches.
- Length: A typical table runner measures between 36 to 72 inches, depending on table size.
Sample Gauge
Using your gauge swatch, measure how many stitches and rows fit within a 4"x4" square. For example, if you find 10 stitches and 12 rows in 4 inches, this is your gauge.
Detailed Working Method
Stage 1: Creating the Base Rows
- Action: Chain to establish the desired width.
- Example: Chain 60 (this can be adjusted based on your design).
- Row Completion: Turn your work. Start the first row with either single crochet or double crochet, based on your gauge.
- Stopping Condition: End the row when you reach the designated stitch count. Ensure uniformity for a neat appearance.
Stage 2: Forming the Flower Motifs
- Action: Start with a magic circle.
- Create a loop and pull through.
- Work Initial Round: Chain 3 (counts as a double crochet) and complete 11 double crochets into the circle. Pull tight to close.
- Working the Petals: For each subsequent round, chain and join with slip stitches to shape the petals.
- Stopping Condition: Complete 5 rounds with 12 petals for each flower.
Stage 3: Joining the Motifs to the Base
- Action: Position your motifs over the base rows, ensuring even spacing.
- Joining Method: Use a slip stitch to attach each motif precisely where the petals meet the base.
- Stopping Condition: Confirm that your motifs are evenly joined without visible gaps.
Stage 4: Finalizing Ends
- Action: Thread a yarn needle with working ends.
- Weaving: Weave the ends back into your motifs and base to hide them from view.
- Stopping Condition: The edges of your runner should appear smooth and polished.
Assembly and Finishing
Placement and Attachment
- Lay your runner flat to check for alignment.
- Temporarily position pieces with pins if necessary before permanently securing them.
- For a secure connection between motifs, consider using a whip stitch.
- Adjust areas of uneven tension before fastening off.
Troubleshooting
| Symptom | Likely Cause | Practical Correction |
|—————————–|——————————–|————————————|
| Uneven stitches | Inconsistent tension | Practice uniformity, adjust grip |
| Gaps between motifs | Incomplete joins | Re-join or add a slip stitch |
| Runner curling at edges | Too tight crochet | Relax stitches or block finished runner |
Variations, Care, and FAQ
Variations
- Experiment with different yarn weights for varying textures.
- Consider adding beads or embellishments for an eye-catching finish.
Care Instructions
- Hand wash your table runner in cold water and lay it flat to dry.
- If needed, iron on a low setting.
FAQ
-
What is the best type of yarn?
- Cotton or cotton blends are recommended due to their durability and ease of cleaning.
-
How do I adjust the size of the runner?
- Modify the number of chains in the base row and adjust motifs accordingly.
-
Can I use a different stitch pattern?
- Yes, feel free to replace motifs with other crochet patterns that appeal to you.
-
How can I maintain stitch uniformity?
- Practice consistent tension and avoid holding the yarn too tightly.
Completion Checklist
- [ ] Created base rows.
- [ ] Finished all motifs.
- [ ] Joined motifs successfully.
- [ ] Wove in all ends.
- [ ] Checked for visual alignment and evenness.
By following this comprehensive guide, you’ll create a beautiful Rose Wave Crochet Table Runner that enhances your home decor. Happy crocheting!