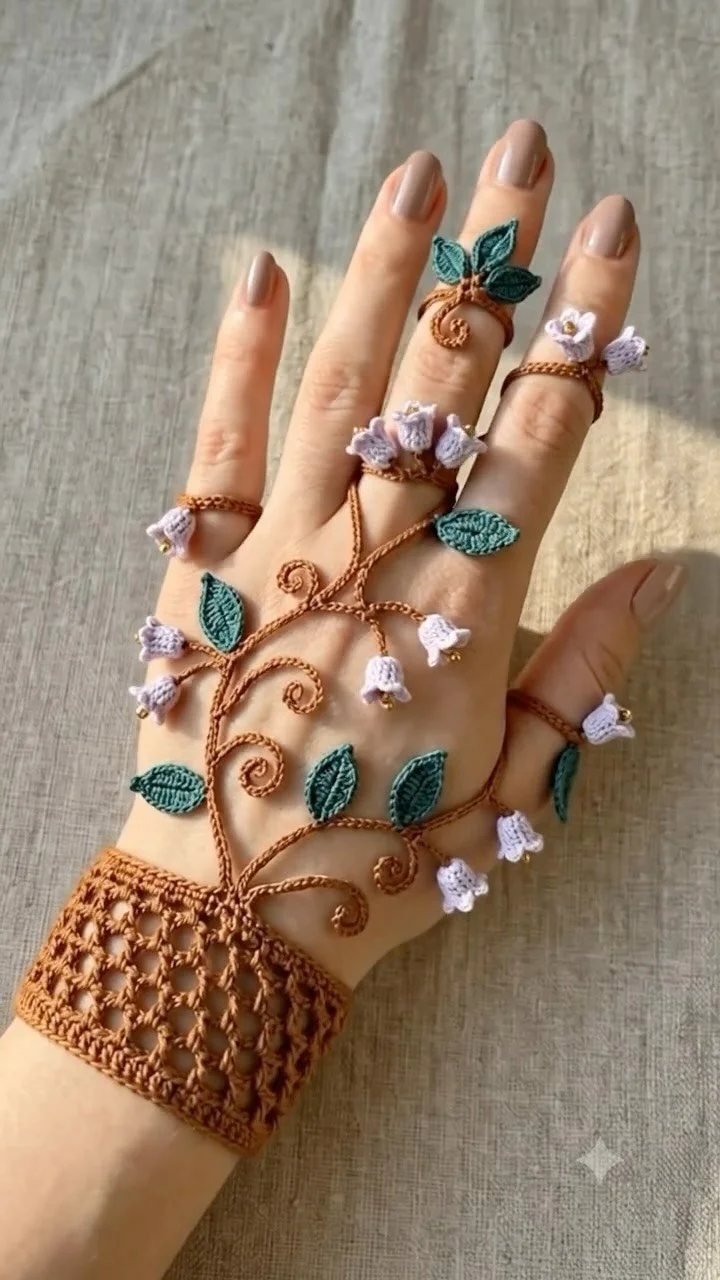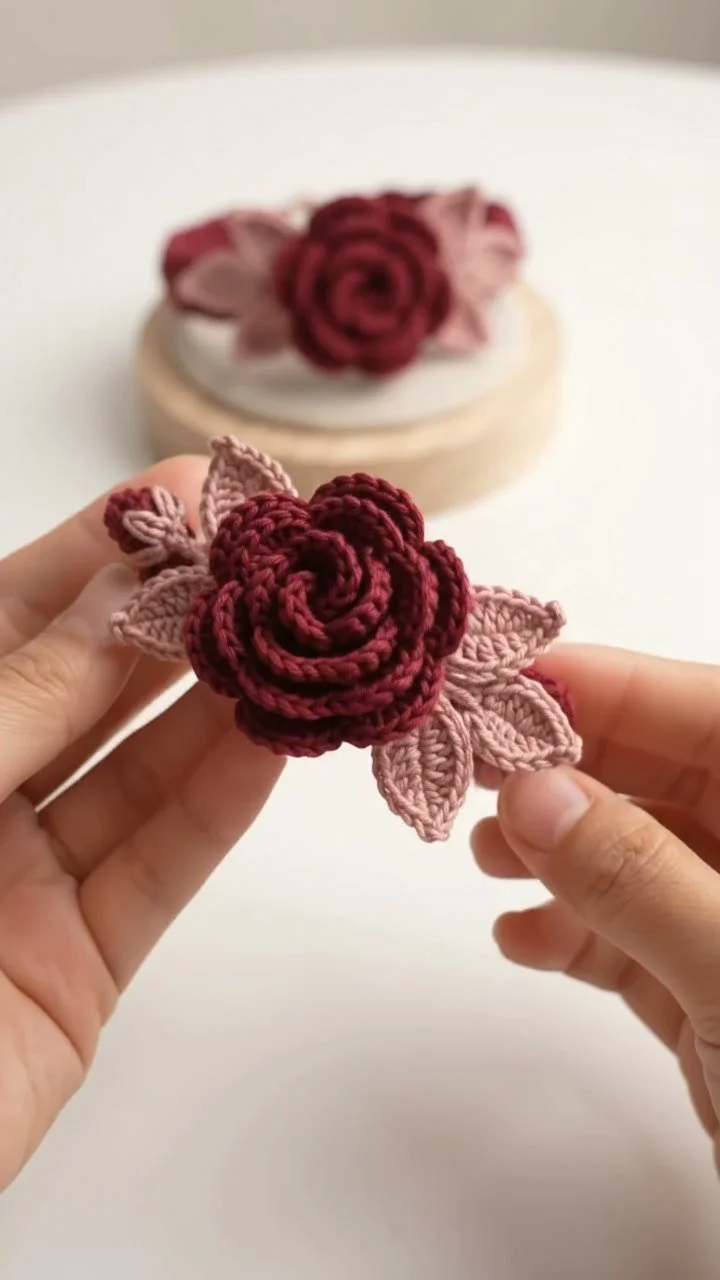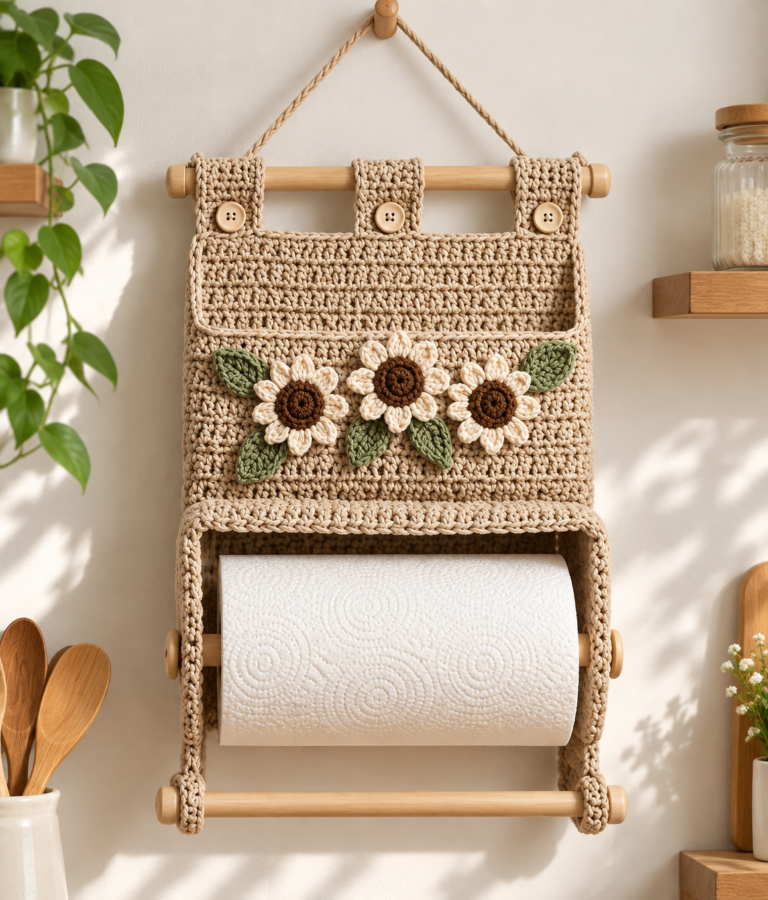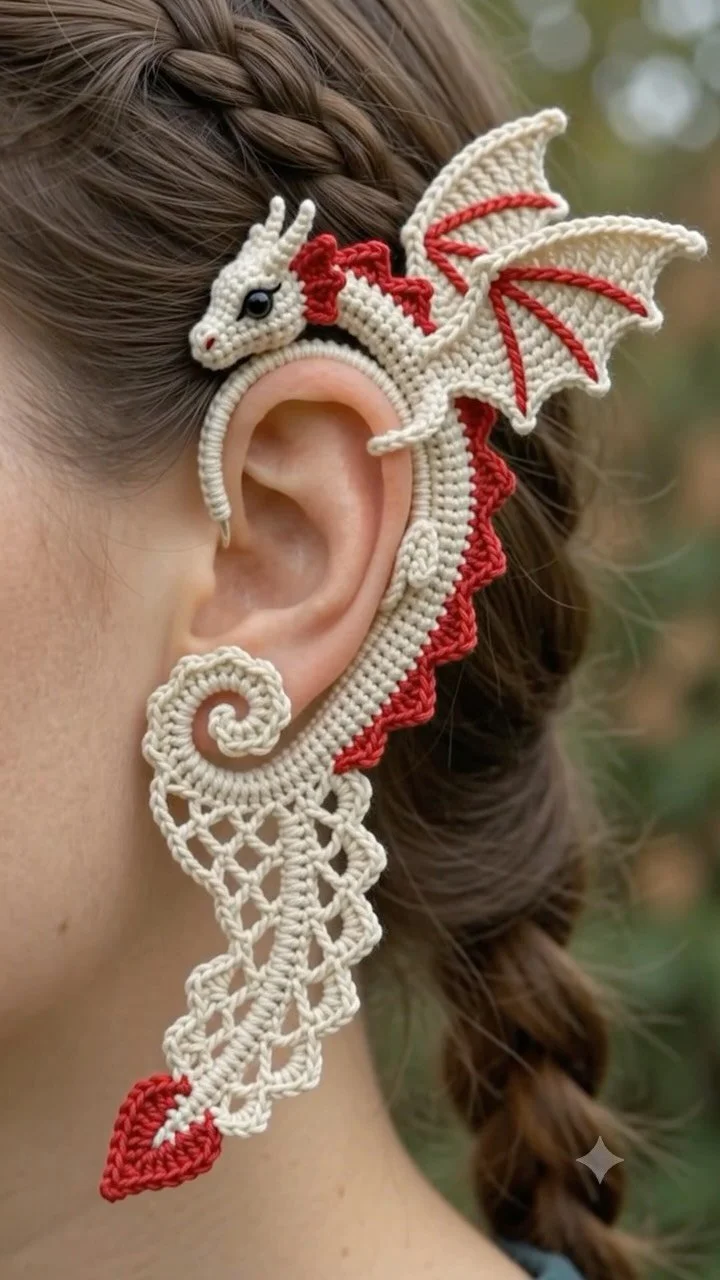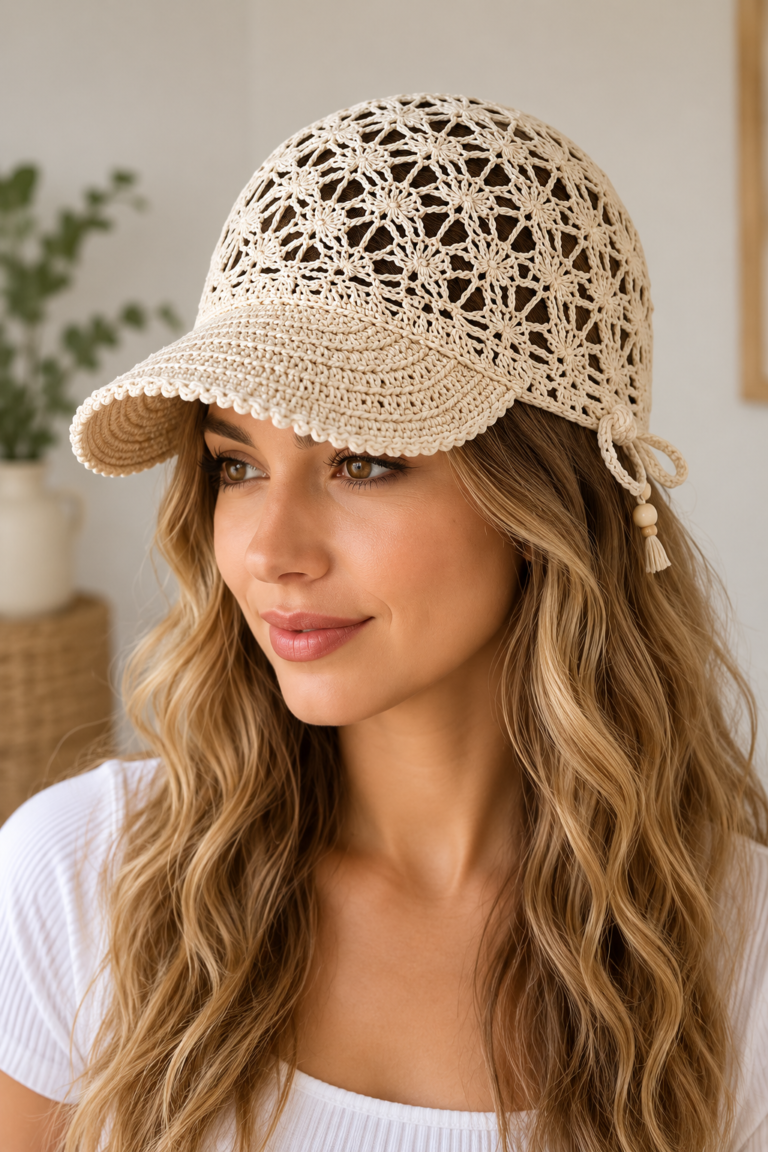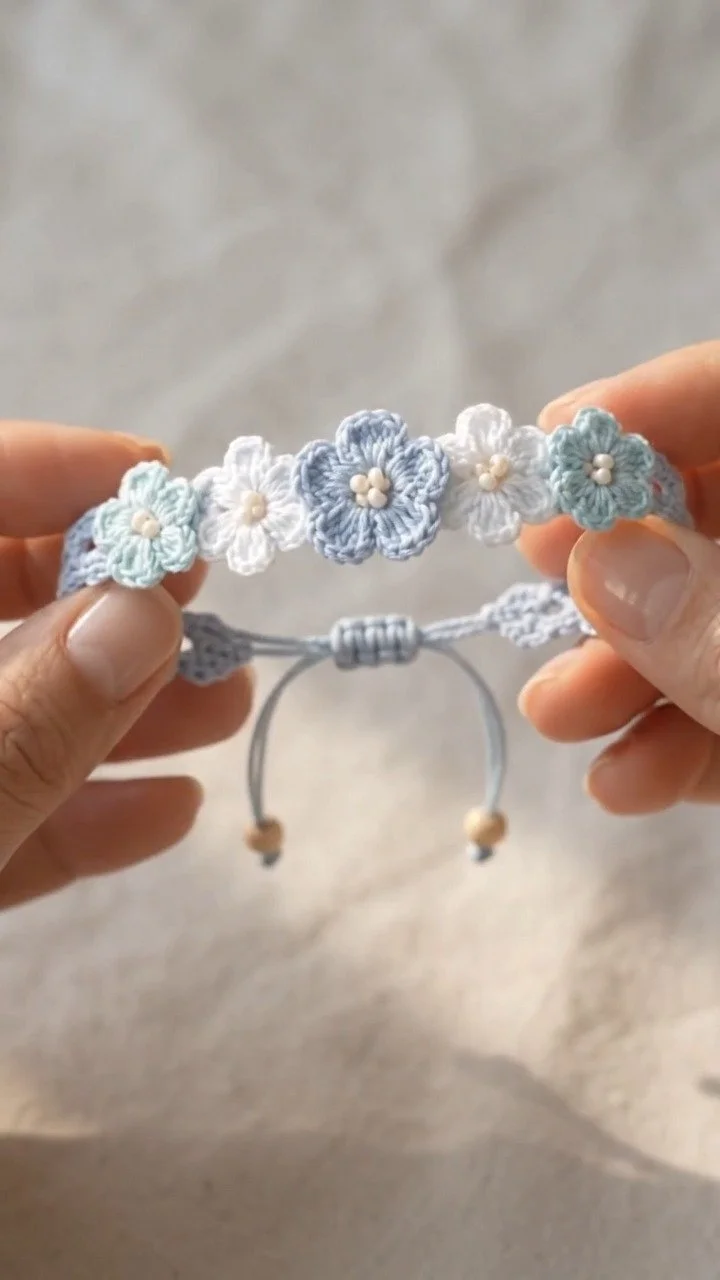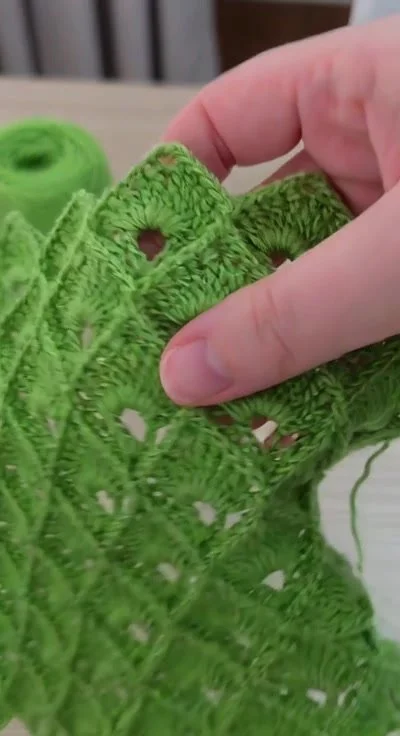
Crochet Project Spotlight: Stunning, Beautiful Craft Design
🎉 Absolutely Stunning! 🥰 Beautiful Crochet 💚
In this tutorial, we will guide you through creating a stunning crochet motif that can be used for various applications, such as shawls, blankets, or chic home decor. You’ll learn essential techniques, material selection, and detailed assembly methods that will elevate your crochet skills. This step-by-step tutorial is designed for both novice and experienced crocheters looking to expand their craft repertoire.
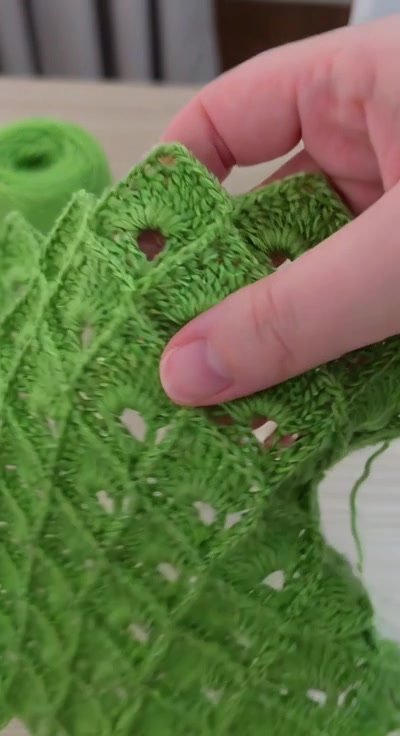
Project Plan
This project will focus on creating a crochet motif consisting of multiple stitched rounds. The main components of this project are:
- Motif (Crochet Piece): Created using various crochet stitches that define the overall design.
- Lining (Optional): Adds structure and additional style for certain applications, such as bags or decorative pieces.
- Assembly: Methods for connecting individual motifs to form larger pieces or attaching the crochet to a backing.
Assembly Order
- Crochet the Motif: Begin by making your crochet pieces.
- Prepare Any Additional Materials: This may include lining or connecting pieces.
- Assemble the Final Project: Join your components securely.
- Add Finishing Touches: Such as weaving in ends and blocking to achieve a polished look.
Materials and Tool Selection
Materials
- Yarn: Select a soft, medium-weight yarn (such as worsted weight). Cotton provides a sturdy finish, while acrylic yarn is softer and often more cost-effective.
- Crochet Hook: A size H (5.0 mm) hook is suitable for worsted weight yarn, but always check your gauge.
- Tapestry Needle: Necessary for weaving in ends and assembling pieces.
- Scissors: For cutting your yarn.
- Blocking Mats and Pins (Optional): Helpful for shaping and holding your finished piece.
Recommendations
When selecting your yarn, look at the label for information such as fiber content and washability. Since different fibers can affect stitch appearance, always create a gauge swatch to check your tension before starting the main project.
Terminology and Techniques
Here are some basic crochet stitches and techniques you’ll need to know:
-
Chain (ch): A foundational stitch where you create loops on your hook.
-
Single Crochet (sc):
- Insert the hook: Into the indicated stitch.
- Yarn Over: Pull up a loop (2 loops remain).
- Yarn Over Again: Pull through both loops.
- Completed Stitch: A tight, sturdy fabric.
-
Double Crochet (dc):
- Yarn Over: Before inserting your hook into the stitch.
- Insert Hook: Into the stitch.
- Yarn Over and Pull Up a Loop: (3 loops remain).
- Yarn Over: Pull through the first two loops.
- Yarn Over Again: Pull through the final two loops.
- Completed Stitch: Creates a taller, looser fabric.
Additional Techniques
- Join with Slip Stitch: To join pieces, insert your hook into the last stitch, yarn over, and pull through both loops on your hook.
- Turning Chain: Commonly, for double crochet, a chain of 3 at the start of a round will align the height of subsequent stitches.
Measurements and Preparation
Before starting your project, taking correct measurements is essential:
- Create a Gauge Swatch: Crochet a square measuring 4"x4" using the stitch pattern intended for your final piece.
- Measure the Swatch: Use a ruler to determine how many stitches and rows fit within that square. Aim for the correct stitch count based on your project specifications.
- Adjust Hook Size: If your gauge does not match, consider switching to a larger or smaller hook until your swatch is correct.
Detailed Working Method
Stage 1: Crochet the Motif
Foundation Chain
- Create a foundation chain of 6 (or adjust for your size).
- Join with a slip stitch to form a ring.
Round 1
- Inside the ring, work 12 single crochets (sc).
- Slip stitch to the first sc to close the round. You should have 12 stitches.
Round 2
- Chain 3 (this counts as your first double crochet) and make a double crochet in the same stitch.
- In each stitch, work 2 double crochets (dc).
- Slip stitch to join. You should have 24 stitches.
Continue this pattern by adjusting the number of increases until the motif reaches your desired size (for example, each additional round can increase by 6 stitches).
Stage 2: Add Texture (Optional)
If you want a more textured appearance, consider incorporating popcorn or cluster stitches during rounds.
Popcorn Stitch Example
- Yarn Over: Insert your hook into the designated stitch.
- Yarn Over and Pull Up a Loop: (4 loops on your hook).
- Yarn Over Again: Pull through all loops, and secure with a chain.
Stage 3: Blocking Your Motif
- Wet the Fabric: Soak your finished piece in lukewarm water for a few minutes.
- Pin: Lay the crochet piece flat on your blocking mat; pin the edges to maintain the intended shape.
- Dry Completely: Allow your project to dry before removing the pins.
Stage 4: Assembly
- Position Pieces: If using multiple motifs, lay them out in your desired pattern before securing.
- Join Motifs: Use a slip stitch to attach each motif at their edges, making sure to keep tension consistent.
- Weave in Ends: Use a tapestry needle to secure all yarn ends to prevent unraveling.
Assembly and Finishing
- Final Assembly: Ensure all pieces align correctly, temporarily pinning if necessary to check placement before stitching permanently.
- Tension Check: Inspect the tension in your stitches to prevent distortion during final assembly.
- Fasten Off: Cut the yarn, leaving a long tail to weave through and secure.
Troubleshooting
| Symptom | Likely Cause | Practical Correction |
|———————–|————————————|——————————————-|
| Stitches are uneven | Tension issues | Focus on maintaining consistent tension. |
| Fabric is curling | Gauge is too tight | Use a larger hook or a looser stitch. |
| Motifs aren’t fitting | Incorrect stitch count | Revisit the stitch counts on both motifs. |
Variations, Care and FAQ
Variations
You can try different yarn weights or stitches to achieve unique textures and effects. Incorporate color changes for an eye-catching design!
Care
Always refer to the yarn label for specific washing instructions. Hand washing and laying flat to dry are often the safest methods for maintaining integrity.
FAQs
-
Can I use a different yarn weight?
Yes, but ensure to adjust your hook size and check gauge correspondingly. -
Can this pattern be adapted for a blanket?
Absolutely! Simply keep adding motifs in your desired layout until you reach your desired blanket size. -
How do I prevent curling at the edges?
Make sure your stitches are consistently loose; utilizing a larger hook may help. -
What if I run out of yarn?
Always check your yarn supplies prior to starting, ensuring you have enough for your project’s needs.
Completion Checklist
- [ ] Assembled all pieces correctly.
- [ ] Wove in all ends securely.
- [ ] Blocked your finished piece as needed.
- [ ] Checked for any errors and corrected them.
Now you’re ready to create stunning crochet motifs! Take your time, refine your techniques, and most importantly, enjoy the craft of crochet. Happy crafting!