Crochet Baby Dress with Booties in Pink and White
Crochet Pink and White Baby Dress with Booties
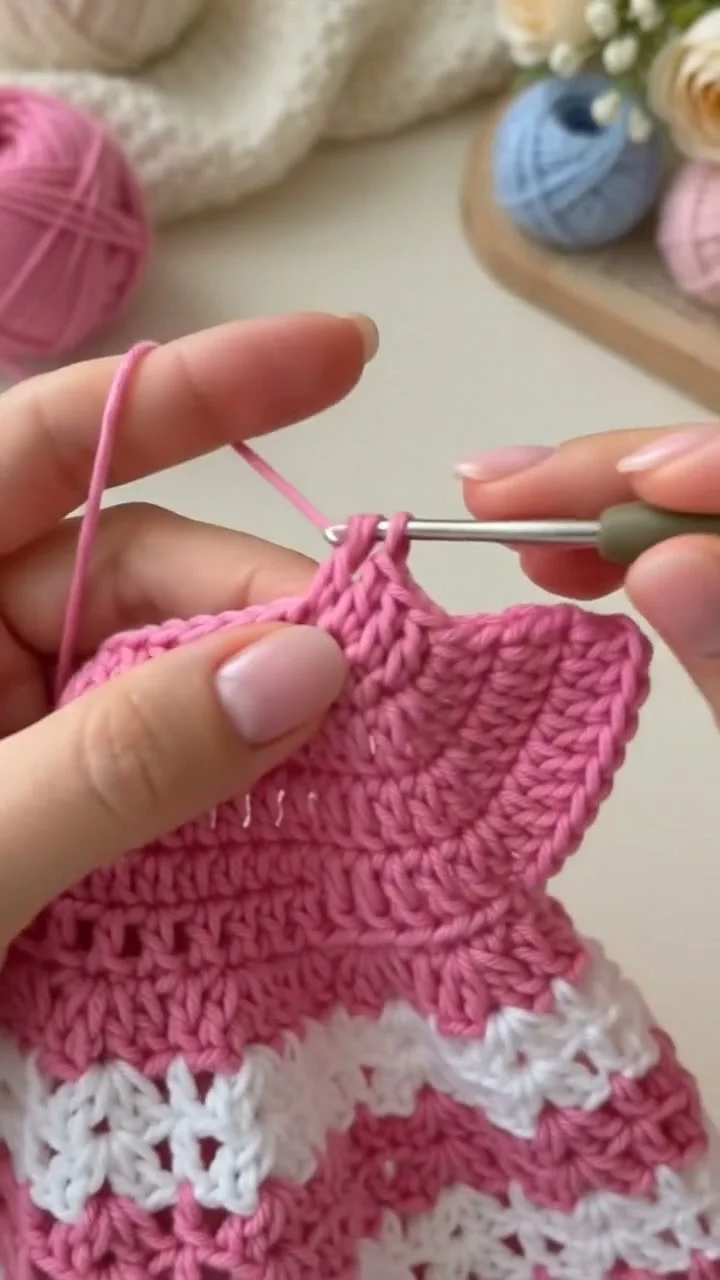
In this tutorial, we’ll guide you through creating an adorable pink and white baby dress, complete with matching booties. This step-by-step guide is designed to help both beginners and experienced crocheters understand the necessary techniques, materials, and construction methods to craft a charming ensemble suitable for special occasions or as thoughtful gifts.
Project Plan
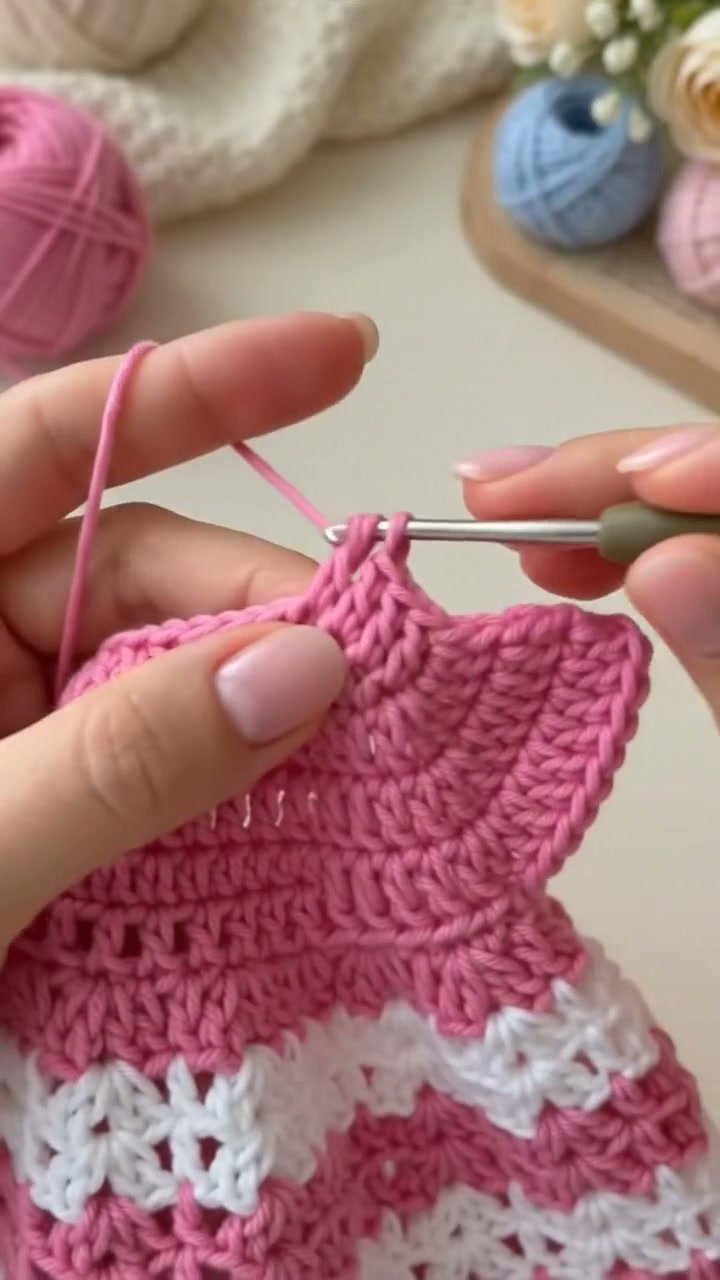
This project includes two main components: the baby dress and the booties. We will approach each piece separately, allowing you to concentrate on one item at a time:
- Baby Dress: The dress features a bodice in pink and a white skirt with adjustable sleeves.
- Booties: The booties consist of a sole, body, and decorative trim that matches the dress colors.
Once both components are completed, we’ll explore how to assemble them and add any finishing touches.
Materials and Tool Selection
To successfully complete this project, you will need the following materials:
Yarn
- Pink Yarn: Soft, baby-friendly yarn, preferably worsted weight (Medium #4).
- White Yarn: A similar texture and weight to the pink yarn for consistency.
Tools
- Crochet Hook: For worsted weight yarn, a size H/8 (5mm) or I/9 (5.5mm) hook is recommended. Be sure to check gauge before starting.
- Tapestry Needle: For weaving in yarn ends after finishing your pieces.
- Scissors: To trim any excess yarn.
- Stitch Markers: Useful for marking specific rounds and stitches.
Suggested Starting Choices
For beginners, acrylic yarn is a great choice due to its ease of use and forgiving nature. Cotton yarn offers a firmer structure but may be less stretchy, which is something to consider when choosing yarn for a baby’s outfit.
Yarn Fiber and Thickness
The type of yarn you select will affect the overall drape and comfort of the finished dress. A lighter, softer fiber is essential for a comfortable fit against the baby’s skin. Always crochet a sample swatch to check your gauge before starting your project.
Making and Assessing a Sample
To check your gauge:
- Crochet a Swatch: Create a square measuring approximately 4”x4” using your chosen yarn and hook.
- Count the Stitches: Measure the number of stitches across and rows down in your swatch to ensure it matches the recommended gauge for your pattern.
Terminology and Techniques
Throughout this tutorial, you’ll encounter several abbreviations. Here’s what they mean:
- CH: Chain
- SC: Single Crochet
- DC: Double Crochet
- SL ST: Slip Stitch
Important Techniques Explained
-
Chain Stitch (CH):
- Create a slip knot on your hook, yarn over, and pull through the loop on your hook. You now have one loop.
- Repeat until you have the desired number of chains.
-
Single Crochet (SC):
- Insert the hook into the stitch, yarn over, and pull up a loop (you should have two loops on the hook).
- Yarn over again and pull through both loops to complete the stitch.
-
Double Crochet (DC):
- Yarn over, insert the hook into the stitch, yarn over again, and pull up a loop (three loops on the hook).
- Yarn over and pull through two loops (two loops remaining), yarn over again and pull through the last two loops.
Turning Chains
When starting a new row of DC or SC, you will need to chain 2 or 1 respectively to raise the stitch height. Keep in mind that this does not count as a stitch but helps align your work correctly.
Measurements and Preparation
Before starting, take measurements for the dress based on your target size, typically for 0-3 months or 3-6 months. Here are key measurements to take:
- Chest Circumference: Measure around the widest part of the chest.
- Length: From shoulder to the desired hemline.
- Sleeve Length: From shoulder to wrist for a fitted look.
If you are concerned about the fit, consider making a washed and blocked swatch of the yarn since some fibers may alter their characteristics after washing.
Detailed Working Method
Stage 1: Crocheting the Bodice
-
Foundation Chain:
- Create a chain of 50 (example for size 0-3 months). This is the starting point for your bodice.
-
First Row:
- Work one SC in each chain across; you should have 50 SC.
- Turn your work.
-
Building Rows:
- Continue with SC for a total of 5 rows in pink.
- Checkpoint: The bodice should measure approximately 4 inches in height.
-
Join for Sleeves:
- In the next row, crochet 10 SC, chain 10 (this will create the sleeve space), then continue with 30 SC for the remaining stitches.
-
Continue Rows:
- For the next 5 rows, alternate between pink and white yarn while continuing with SC until the bodice measures about 6 inches wide.
-
Ending the Bodice:
- Fasten off the yarn and weave in any tails using a tapestry needle.
Stage 2: Creating the Skirt
-
Attach White Yarn:
- At the joining point of the bodice, attach your white yarn.
-
Start Skirt Rows:
- Chain 2, then DC in the same stitch and every stitch around (you should have 50 stitches).
- Checkpoint: A gathering effect should be visible at the bodice.
-
Build Skirt:
- Work in rounds of DC, increasing by two stitches every few rows until you achieve your desired skirt length (8-10 inches).
-
Finishing Skirt:
- Fasten off and weave in the remaining ends.
Stage 3: Crocheting the Booties
-
For Sole:
- Foundation Chain: Chain 15.
- Row 1: Work 1 SC in the second chain and continue until the end (14 stitches).
- Build Sole Shape: Increase and decrease as needed to shape the bootie while maintaining the total of 14 stitches.
-
For the Body:
- Attach Bootie Body Yarn: Attach pink yarn around the outer edge of the sole.
- Build Up: Work in a join-as-you-go manner up the sides while maintaining 14 stitches.
-
Adding Trim:
- Use white yarn for a decorative edge around the cuff of the booties.
Stage 4: Assembly
-
Align the Pieces:
- Lay the dress flat and align the skirt to the bodice snugly.
-
Pinning:
- Secure them together temporarily using safety pins.
-
Sewing:
- Stitch along the connecting points firmly, making sure the stitches are minimally visible on the outside.
-
Final Checkpoint:
- Ensure that the alignment is perfect before fastening off any loose ends.
Troubleshooting
| Symptom | Likely Cause | Practical Correction |
|———————–|————————|—————————|
| Bodice too small | Incorrect gauge | Adjust hook size or yarn type. |
| Uneven stitches | Tension issues | Relax grip on yarn; practice consistency. |
| Skirt curling | Too tight stitches | Loosen tension; block the piece properly. |
| Booties too large | Incorrect stitch counting| Re-assess your stitch count per row. |
Variations, Care and FAQ
Variations
- Customize the dress and booties with different colors or add delicate embellishments like ribbons or fabric flowers.
- Experiment with stitch patterns in the skirt to add texture and interest.
Care
It is advisable to hand wash the pieces and lay flat to dry to maintain their shape.
FAQ
-
Can I adjust the size?
- Yes, adjust the foundation chain and stitch counts accordingly to fit your desired size.
-
What yarn is best for a delicate baby outfit?
- A soft acrylic or cotton blend works best for ensuring comfort for the baby.
-
How do I ensure the booties stay on?
- Consider adding a small strap with a button for extra security.
-
Can I machine wash this?
- Hand washing is preferable to maintain the integrity of the crochet work as machine washing may cause felting or shape distortion.
Completion Checklist
- Ensure both the dress and booties are complete and properly aligned.
- Check and weave in any loose ends securely.
- Inspect the final fit and comfort before gifting your beautiful creation.
With this comprehensive guide, you’re now ready to crochet a beautiful pink and white baby dress with matching booties! Enjoy your crafting journey and the joy it brings to the little ones who will wear your creations!