Crochet Rose Bouquet: A Most Beautiful Floral Arrangement
Crochet Rose Bouquet: The Most Beautiful Floral Arrangement
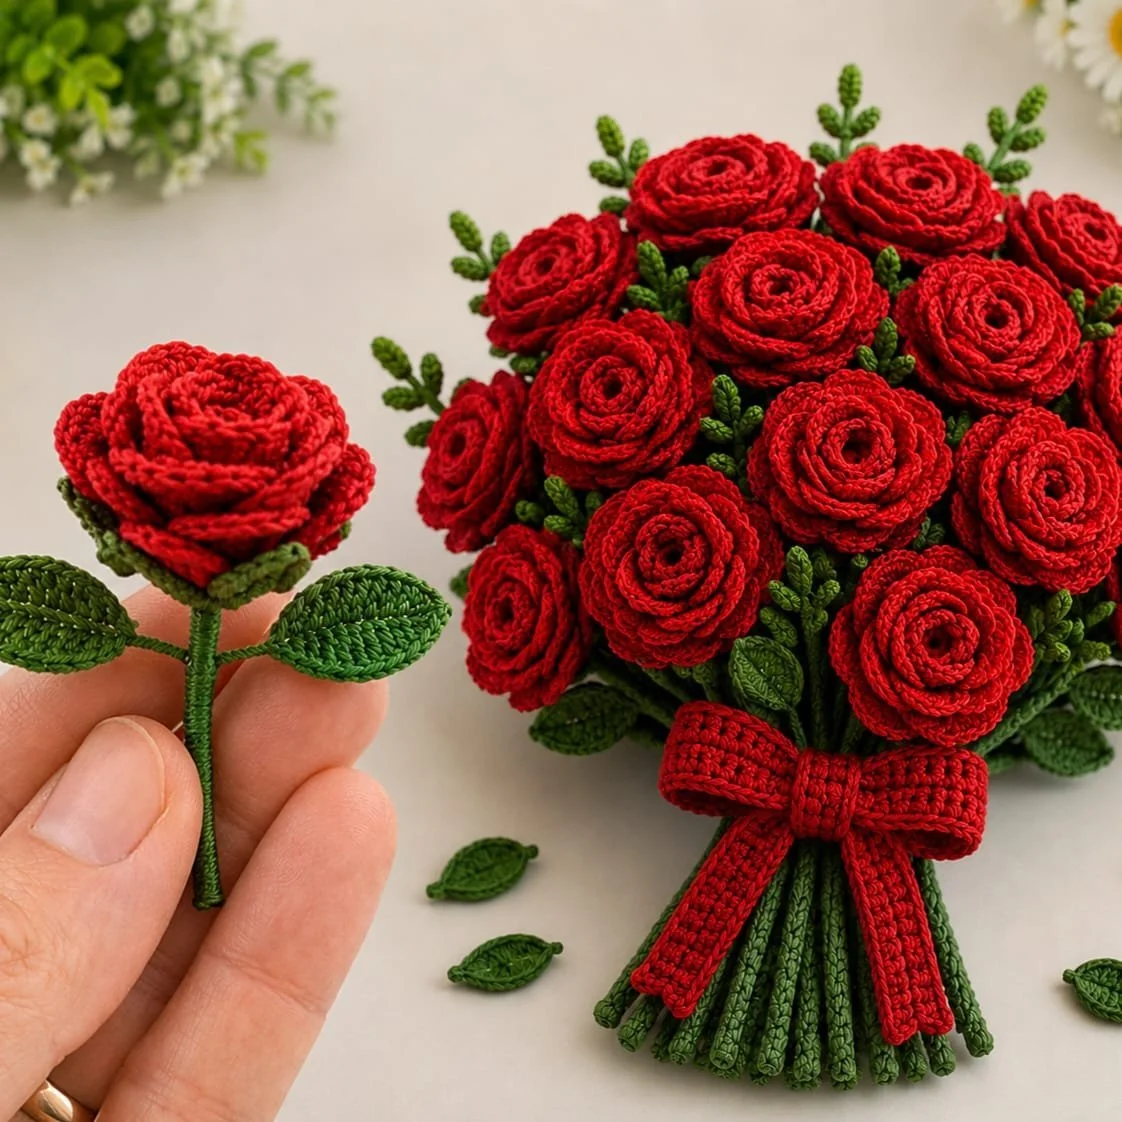
Creating a crochet rose bouquet is a wonderful project that not only enhances your home décor but also serves as a thoughtful handmade gift. In this tutorial, you will learn how to craft elegant crochet roses, assemble them into a stunning bouquet, and troubleshoot common issues you might encounter along the way. This guide will provide you with the essential techniques and decisions necessary to create your floral arrangement.
Project Plan
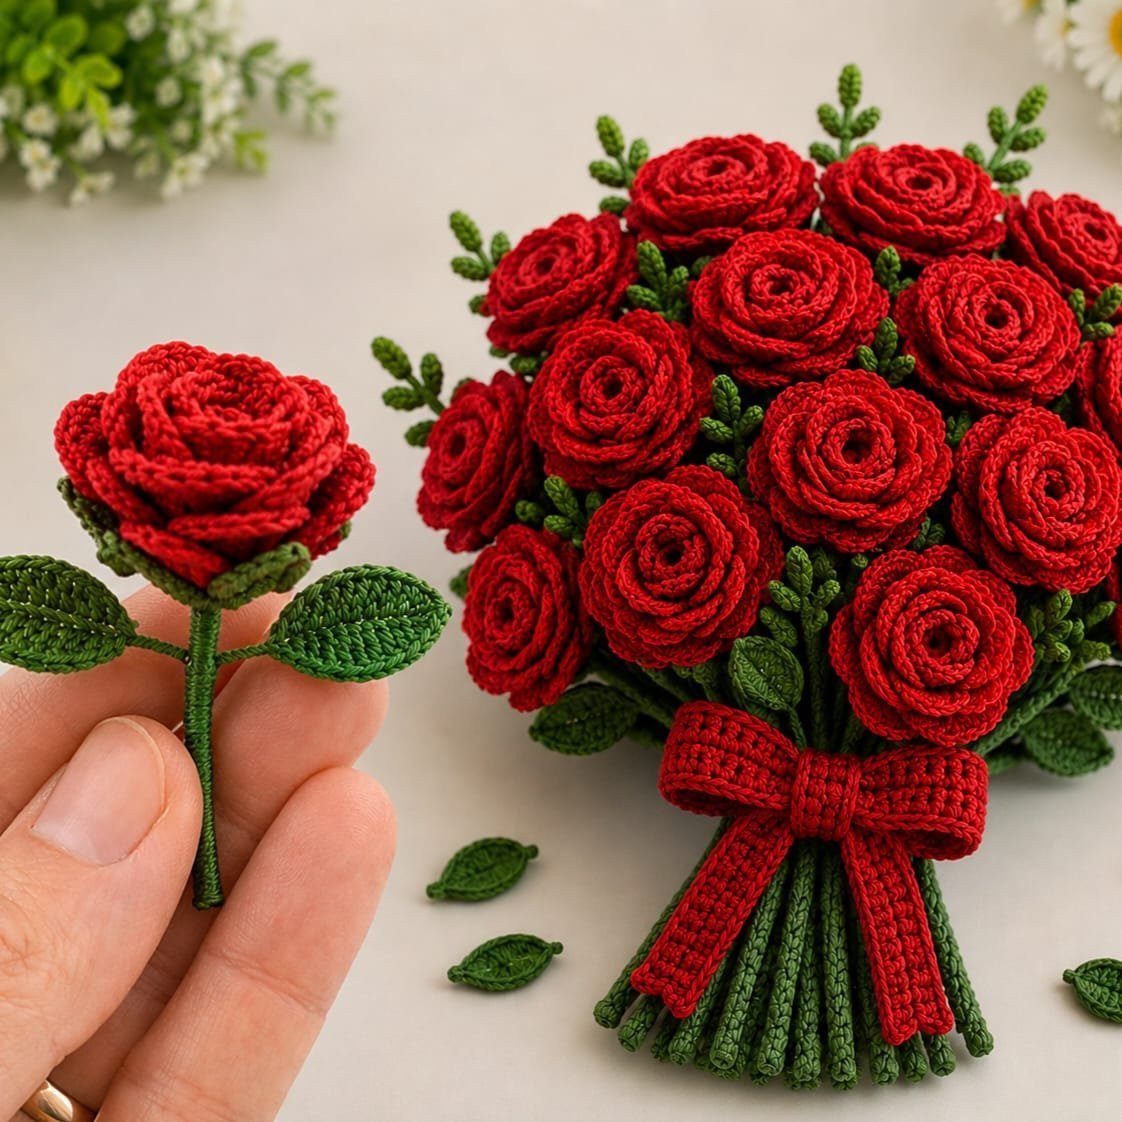
To successfully create your crochet rose bouquet, you will need to focus on several components, each contributing to the overall appearance of the bouquet. The main pieces include:
- Crocheted Rose Petals: Make individual rose petals in varying sizes to add depth.
- Leaves and Foliage: Crochet complementary leaves to accompany the roses.
- Assembly: Combine these elements to form the final bouquet, ensuring secure attachment to stems.
This step-by-step process will ensure each component works harmoniously with the others to create a visually striking bouquet.
Materials and Tool Selection
Essential Materials:
-
Yarn:
- Cotton Yarn: Ideal for structured petals due to its shape retention and crisp finish.
- Acrylic Yarn: Provides a softer texture and vibrant colors.
-
Crochet Hook: A medium-sized hook (generally sizes G to I) suited for your chosen yarn. Always check the yarn label for specific recommendations.
-
Floral Wire and Tape: Necessary for creating sturdy stems and supporting your flowers.
-
Floral Foam or Vase: Used to display the finished bouquet securely.
Suggested Alternatives:
- Fine Weight Yarn: For a more delicate flower appearance, consider using finer weight yarn.
- Metallic Yarn: Incorporate a sparkly yarn for a festive touch.
When selecting your materials, ensure that the yarn weight and fiber content complement your desired outcome. Making a small swatch will help you test the look and feel of your chosen materials before starting your project.
Terminology and Techniques
Before you get started, familiarize yourself with the following crochet terms:
- Chain (ch): The foundational stitch that starts your work.
- Slip Stitch (sl st): Used for joining yarn pieces.
- Double Crochet (dc): Creates height in your petals.
- Puff Stitch: A technique that enhances texture in your work.
Key Techniques
-
Making a Chain:
- Begin with a slip knot.
- Wrap the working yarn around the hook to create a loop, then pull it through, forming your first chain. Repeat this process for additional chains.
-
Working a Double Crochet:
- Yarn over the hook.
- Insert the hook into the specified stitch.
- Yarn over again and pull through, leaving three loops on the hook.
- Yarn over and pull through the first two loops, leaving two loops.
- Yarn over once more and pull through the last two loops. This completes the stitch.
-
Puff Stitch Technique:
- Yarn over, insert into the stitch, and pull through, leaving three loops on the hook.
- Yarn over again and pull through the first two loops, leaving two loops.
- Repeat the previous two steps until you have five loops on the hook.
- Yarn over and pull through all five loops at once to complete the puff stitch.
-
Turning Chains and Joining:
- Usually, a turning chain of two or three is needed at the beginning of each row, depending on the height of the stitch used.
- Use a slip stitch to join a round or row, ensuring a smooth transition.
Measurements and Preparation
Before starting, it is essential to take accurate measurements and prepare your workspace:
-
Swatch Gauge: Crochet a swatch measuring 4” x 4” using your chosen yarn and hook. This will help you check for gauge consistency.
- Count the stitches and rows in your swatch to confirm it aligns with your desired size.
-
Washing and Blocking: Wash and block your swatch to allow it to settle. This is crucial before determining fit or size for your bouquet.
-
Foundation Stitches and Sample Counts: Note how many stitches you will require for each rose, as this will determine the size of your petals.
Detailed Working Method
Stage 1: Create the Rose Petals
Start by selecting your yarn and creating the inner petals:
-
Chain 4 and join with a slip stitch to form a ring.
Round 1:
- Into the ring, work 8 double crochets (dc). Join with a slip stitch to the top of the first dc. (9 stitches)
Round 2:
- Chain 3 (counts as the first dc), then work 2 dc into each stitch around. Slip stitch to the top of the chain to close (18 stitches total).
Round 3:
- Chain 3 and work 1 dc in the same space. In the next stitch, do 2 dc. Continue this pattern around, resulting in 27 stitches.
-
Create additional petal rounds following the same process, gradually making the petals larger by adding more stitches.
- Checkpoint: Each petal should have a slight cup or ruffle shape.
- Common Error: If petals are too tight, adjust your tension as needed.
Stage 2: Create Leaves
Using green yarn, create the leaves:
-
Chain 10 to start.
-
Work a series of double crochets and single crochets to build the leaf shape, aiming for a leaf that tapers at one end.
- Example: Work 1 dc in the first stitch, then increase with 2 dc in the next, followed by single crochets in the following stitches.
-
Checkpoint: Each leaf should be distinctly shaped and vary slightly for a natural look.
Stage 3: Assemble the Bouquet
-
Start layering your petals, beginning with the smallest at the center and attaching larger petals behind using slip stitches or a tapestry needle threaded with yarn.
-
Place leaves between the roses to add dimension, securing them with a yarn needle and thread from the bottom of the leaf to the base of the rose.
- Common Error: Ensure that flowers and leaves do not overlap too tightly; maintain space between them for a full, lush appearance.
Stage 4: Attach Floral Wire
-
Cut lengths of floral wire to your desired stem length.
-
Using floral tape, firmly bind the wire to the base of your flower, adjusting lengths as necessary to ensure height differences among the flowers are accommodated.
- Checkpoint: Ensure the wire is securely wrapped to support the flower upright.
Stage 5: Final Assembly and Finishing Touches
-
If using floral foam, insert the wired stems into the foam. Arrange flowers for an aesthetically pleasing layout.
-
Shape the petals gently for a natural appearance, and make sure to weave in any loose yarn ends for a finished look.
- Final Checkpoint: Ensure each flower is visible and spaced appropriately.
Troubleshooting
| Symptom | Likely Cause | Practical Correction |
|——————————-|——————————–|————————————-|
| Petals too tight | Tension issues | Loosen your stitches. |
| Flowers sagging | Insufficient wire support | Reinforce with more tape or thicker wire. |
| Colors clashing | Poor color choice | Test swatches using your desired colors before committing. |
| Leaves not holding shape | Incorrect stitch tension | Practice tension adjustments on a separate swatch. |
Variations, Care, and FAQ
Variations
- Dye Your Yarn: Experiment with dyeing yarn for unique colors.
- Embellishments: Incorporate beads or sequins for added interest.
- Mixed Bouquets: Blend roses with other floral types for variety.
- Themed Color Schemes: Match colors to seasons or special events.
Frequently Asked Questions
-
How long does it take to make a crochet rose bouquet?
- The time varies based on skill level and the number of roses made. Expect anywhere from a few hours to several days.
-
Can I adapt this pattern for other flowers?
- Yes! Many of the techniques can be adjusted for different flower shapes.
-
What if my roses don’t look right?
- Practice makes perfect! Identify which stitch needs improvement and redo it where necessary.
-
How do I store my crochet flowers when not in use?
- Store in a cool, dry space to prevent tangling, preferably in a box.
Completion Checklist
- [ ] Gather all materials.
- [ ] Complete swatches and check gauge.
- [ ] Create all flower and leaf components.
- [ ] Assemble bouquet and secure stems.
- [ ] Weave in all yarn ends and shape petals.
- [ ] Display your beautiful crochet rose bouquet!
Embarking on the journey to create a crochet rose bouquet is rewarding. With this guide, your handmade floral arrangement will add charm to any setting or become a cherished gift for a loved one. Enjoy the crafting process and happy crocheting!