Crochet Ring-Motif Bag: A Stylish, Ring-Centered Accessory
Crochet Ring Motif Bag: A Stylish, Ring-Centered Project
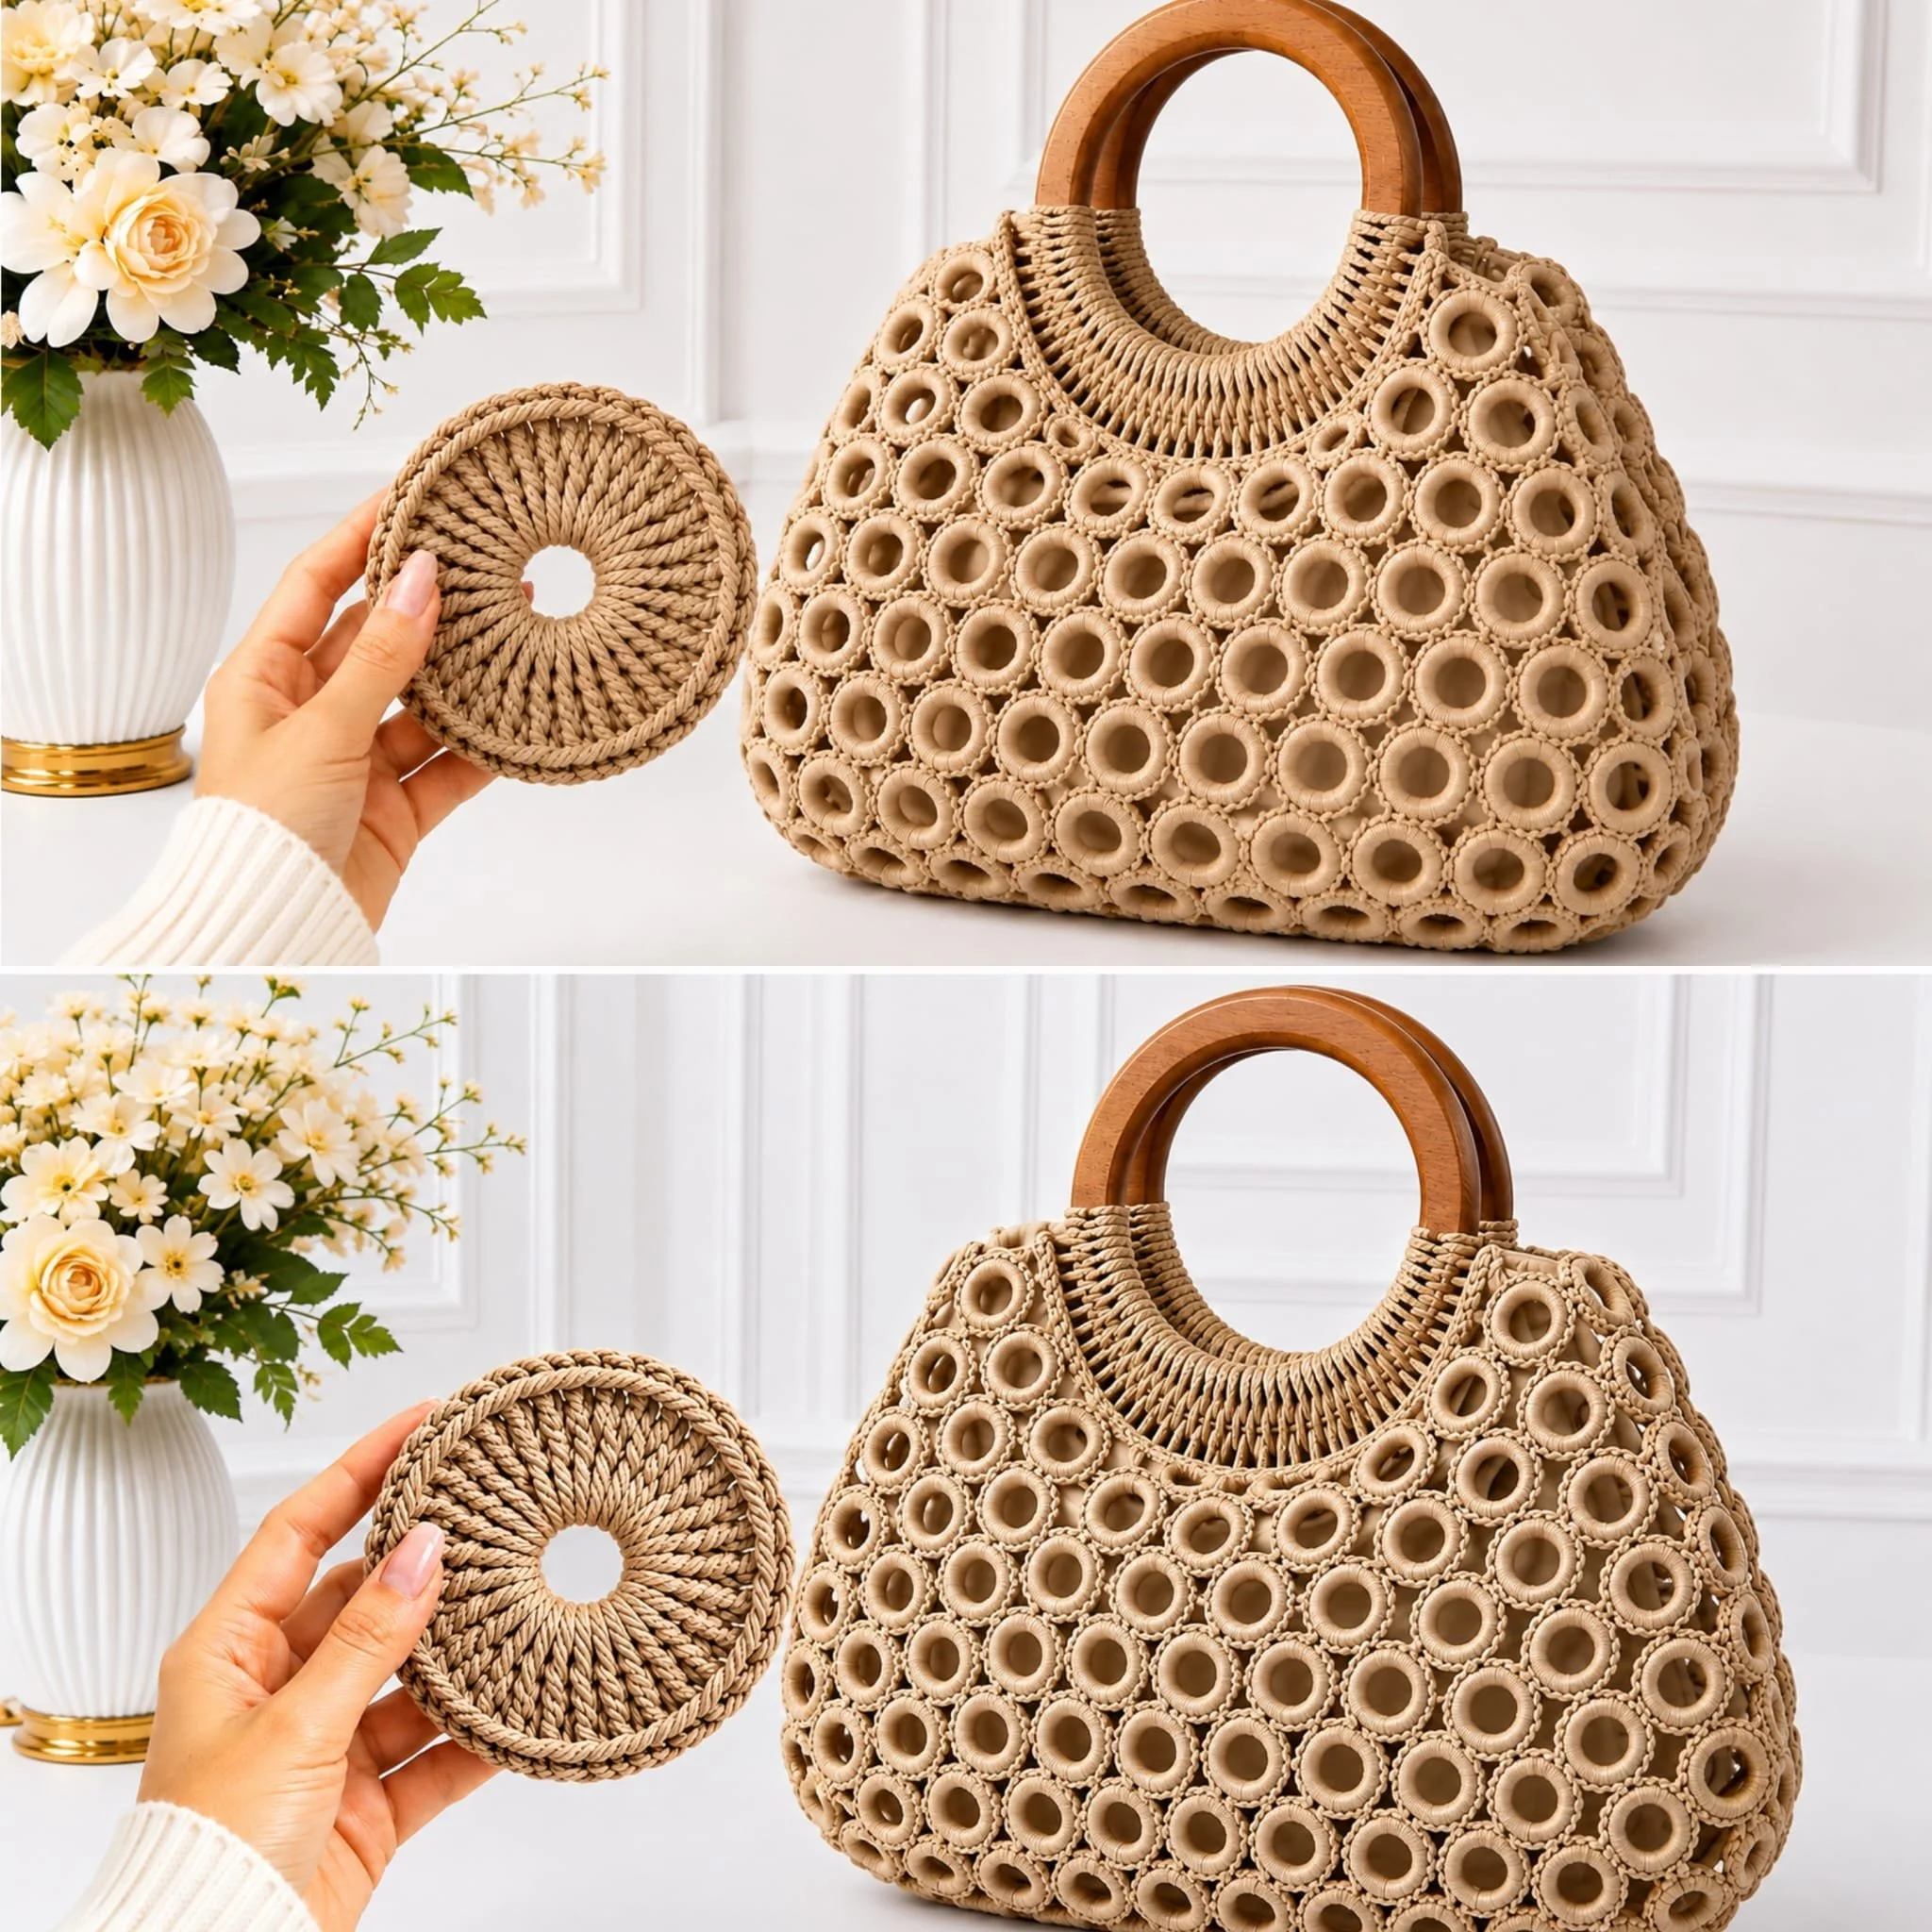
Creating a crochet ring motif bag combines practicality with artistry. In this comprehensive tutorial, you will learn how to construct a functional bag adorned with beautiful ring motifs. We’ll guide you through every step, from material selection to assembly, ensuring you have the skills to create your own eye-catching accessory.
Project Plan
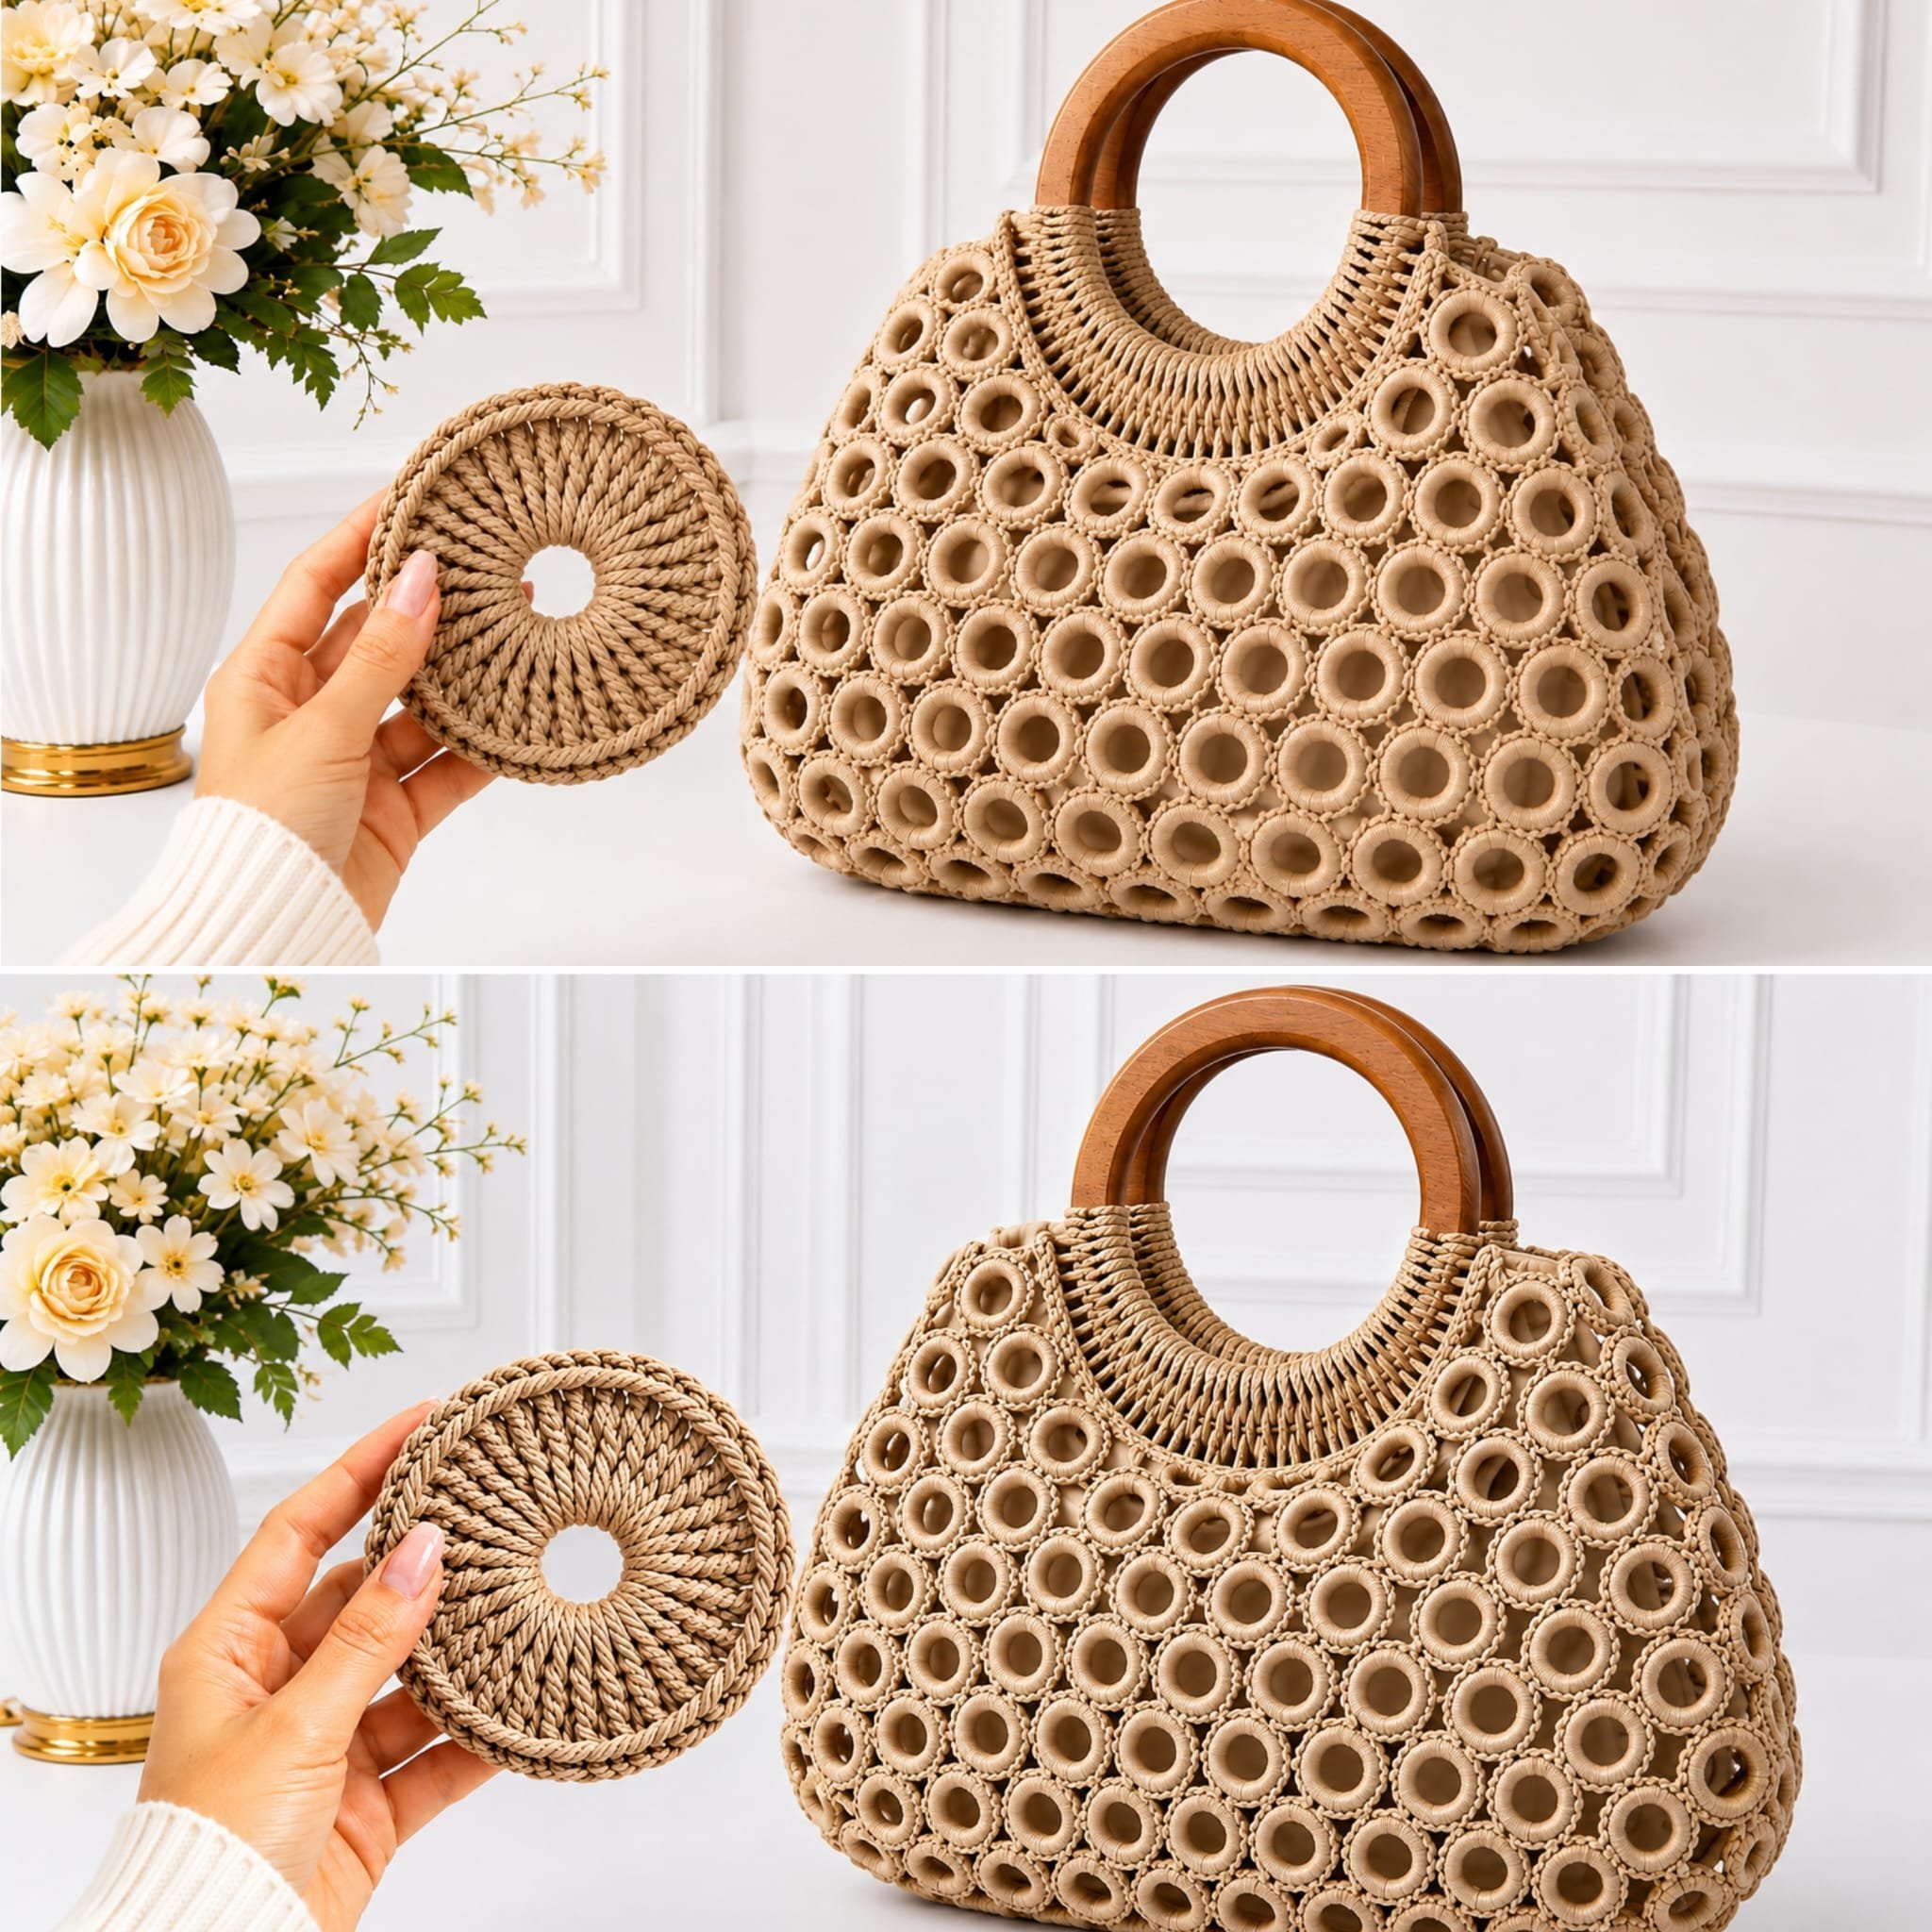
This project features several key components that will come together to create your handbag:
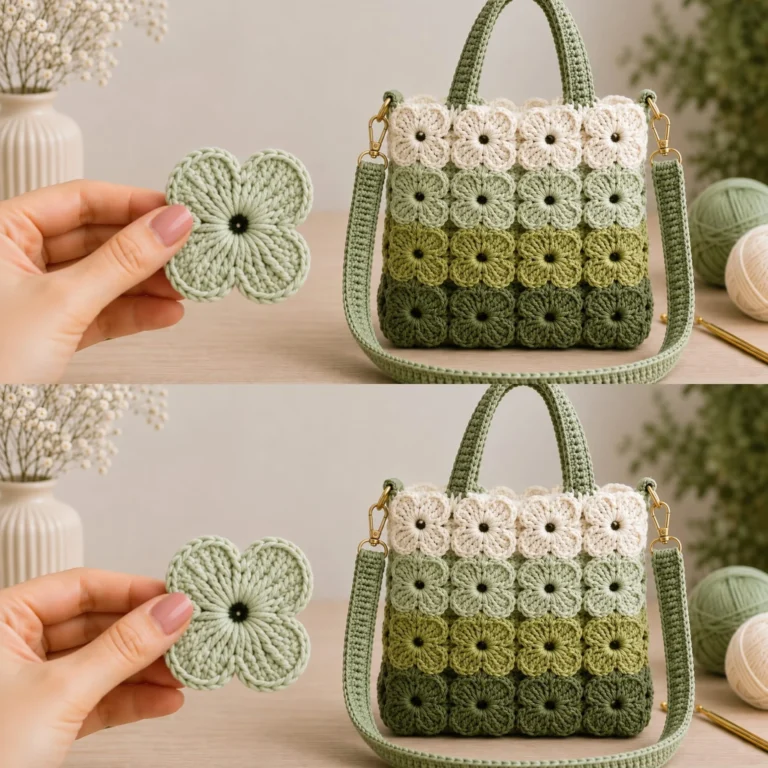
- Base: This is the foundation of the bag, typically worked in the round.
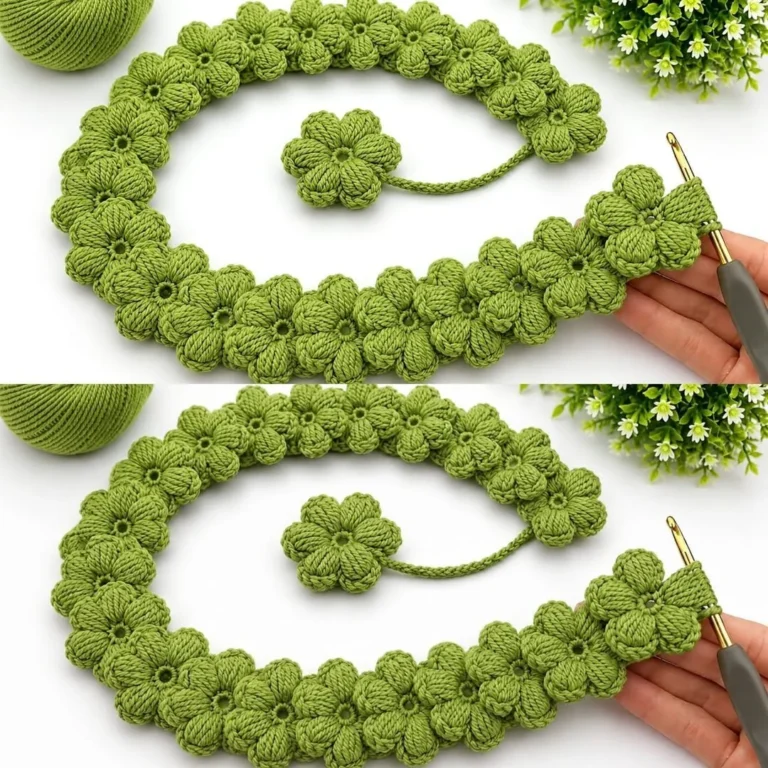
- Ring Motifs: Decorative elements that add a unique flair to the bag.
- Strap: A durable handle, which can be a shoulder strap or crossbody.
- Edging: A finishing touch along the top to help with structure.
The assembly order is as follows: first, you will create the base, then the motifs, followed by the strap, and finally, you’ll finish it with the edging.
Materials and Tool Selection
Verified Materials
-
Yarn:
- Type: Worsted weight cotton yarn.
- Purpose: This material is durable and holds its shape well while offering flexibility and ease of wash.
-
Hook:
- Size: Size H (5 mm) crochet hook, suitable for worsted weight yarn.
-
Other Tools:
- Scissors: To cut yarn.
- Tapestry Needle: For weaving in ends.
- Stitch Markers: Recommended for tracking rounds and marking important parts.
Suggested Alternatives
- Yarn Options: You can experiment with bamboo yarn for a unique sheen or a beaded yarn for added elegance.
The selection of yarn fiber and hook thickness impacts the result of your project. Always create a gauge swatch before diving into the main project to ensure accurate stitch tension and dimensions.
Terminology and Techniques
Before you start, it’s important to familiarize yourself with these crochet terms:
- Chain Stitch (ch): A foundational stitch created by looping yarn through the hook.
- Slip Stitch (sl st): Utilized for joining or securing stitches without adding height.
- Double Crochet (dc): A taller stitch that provides a lacy effect, commonly used in motifs.
Working Techniques
Chain Stitch
- Insert your hook into the desired position.
- Wrap the working yarn around the hook and pull it through.
- You will have one loop on your hook after this step. This forms one chain.
Double Crochet
- Yarn over, insert the hook into the stitch.
- Yarn over again and pull through, which leaves three loops on the hook.
- Yarn over and pull through the first two loops, leaving two loops.
- Yarn over once more and pull through the last two loops to complete the stitch.
- The finished stitch should be taller than your chain stitch.
Before starting your bag, practice these stitches until you feel comfortable with them.
Measurements and Preparation
Gauging Your Swatch
Creating a gauge swatch is critical to ensure your bag has the intended dimensions. Measure a swatch approximately 4 inches by 4 inches.
- Count how many stitches fit into 4 inches both in width and height.
- If your swatch is not measuring as expected, adjust your yarn or hook size accordingly.
For example, if your gauge swatch measures 10 stitches over 4 inches, you will need to adjust your stitch count for the bag’s base.
Detailed Working Method
Stage 1: Creating the Base
Step 1: Foundation Chain
- Chain 36 stitches (adjust based on your gauge).
Step 2: First Round
- Slip stitch into the first chain to form a ring.
- Chain 2 (this counts as your first double crochet), then work 1 double crochet in each chain stitch around.
- Join with a slip stitch to the top of the initial chain.
Stopping Condition: You should have 36 double crochets in the first round.
Stage 2: Working Up the Sides
Step 1: Second Round
- Chain 2 for your turning chain; work a double crochet in the same stitch.
- Work 2 double crochets in the next stitch followed by 1 double crochet in the following stitch. Repeat this around.
Stopping Condition: You should end with 54 double crochets.
Step 2: Continue Rounds
Repeat the previous step until you achieve your desired height. Keep checking your totals after each round.
Stage 3: Creating Ring Motifs
Step 1: Motif Base
- Start with a magic ring.
- Chain 4 (this counts as your first double crochet) and work 11 double crochets into the ring.
Step 2: Close the Ring
Pull the tail to tighten the ring. Slip stitch into the top of the initial chain 4 to finish.
Checkpoint: Each completed motif should have a tight center with a total of 12 double crochets.
Step 3: Attaching Motifs
Lay out your motifs on the bag to determine their placement. Use slip stitches or whip stitches through the back loops of the last row of each motif to secure them to the bag.
Stage 4: Adding the Strap
Step 1: Prepare for the Strap
- Chain enough length based on your desired strap size; generally, 22-30 inches is recommended.
- Work in single crochet until you achieve the desired width and sturdiness.
Step 2: Attach the Strap
- Position the strap evenly on either side of the bag.
- Sew it securely, reinforcing the attachment points to ensure durability.
Stage 5: Finishing Edging
Step 1: Top Edging
Work a final round of single crochet around the top edge of the bag.
Stopping Condition: Ensure you end cleanly to achieve a neat finish that unifies the design.
Assembly and Finishing
After constructing all components, weave in any ends using a tapestry needle to prevent unraveling. Lightly block your motifs using steam to help them lay flat. If desired, consider sewing a fabric lining into the bag for additional structure and durability.
Checking Alignment:
Before finalizing, lay the bag flat to verify the alignment of the motifs and the strap, ensuring everything looks balanced and sits comfortably.
Troubleshooting
| Symptom | Likely Cause | Practical Correction |
|———————-|———————————–|—————————————–|
| Uneven stitches | Improper tension | Reassess your grip on the yarn. |
| Bag isn’t flat | Incorrect stitch count | Count stitches and make adjustments. |
| Strap length too short | Miscalculation in chains | Lengthen the chain before attaching. |
Variations, Care, and FAQ
Variations
- Experiment with color schemes or add decorative elements like tassels.
- Change the base stitch count to alter the bag size.
Care
- Machine wash on a gentle cycle if you are using cotton yarn, but be sure to air dry flat.
- Store in a cool, dry place when not in use.
FAQs
Can I make this bag larger or smaller?
Yes, by adjusting the base size and the number of motifs, the bag can be customized to your desired dimensions.
What other motifs can I use?
Feel free to experiment with flower motifs or solid granny squares for added creativity.
Can I use scrap yarn?
Absolutely! Mixing various scrap yarn colors can result in a uniquely beautiful design.
Can I line my crocheted bag?
Yes! Adding a lining will provide the bag with more structure and ensure durability.
Completion Checklist
- [ ] Gauge swatch completed and checked.
- [ ] Base and motifs constructed as directed.
- [ ] Strap securely attached.
- [ ] Ends woven in and bag blocked if necessary.
Enjoy your beautifully crafted crochet ring motif bag! Happy crocheting!