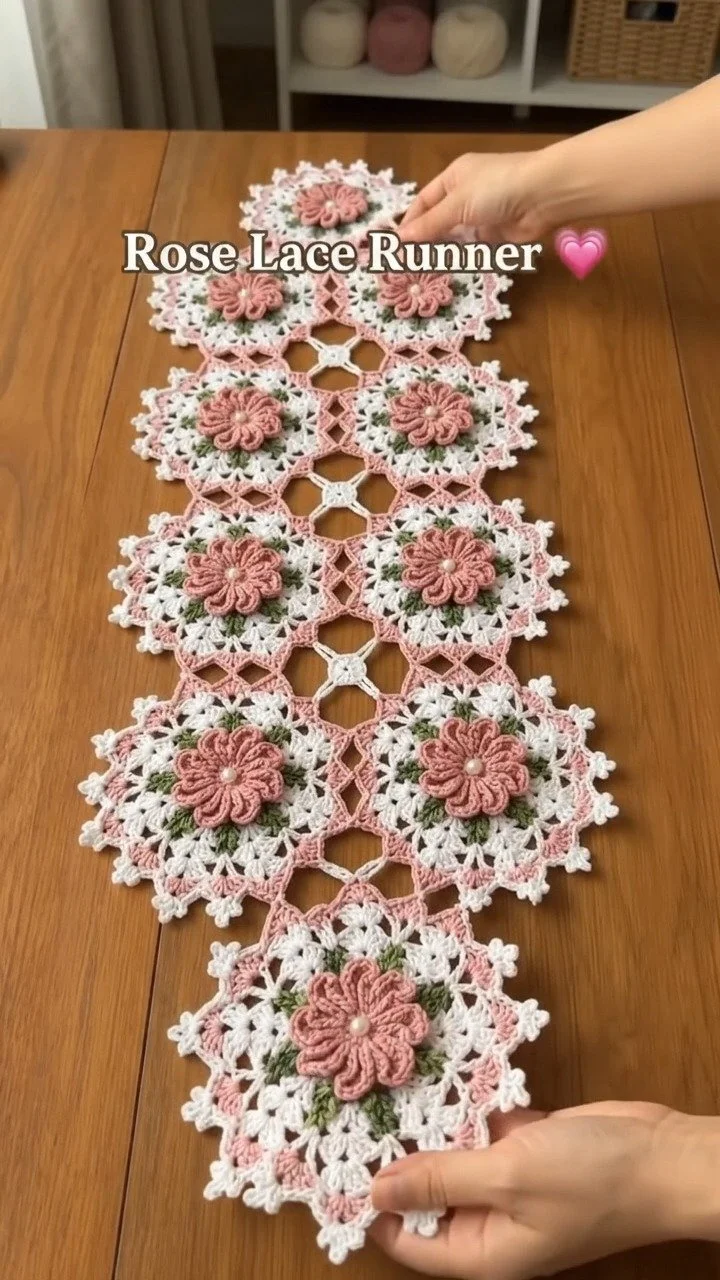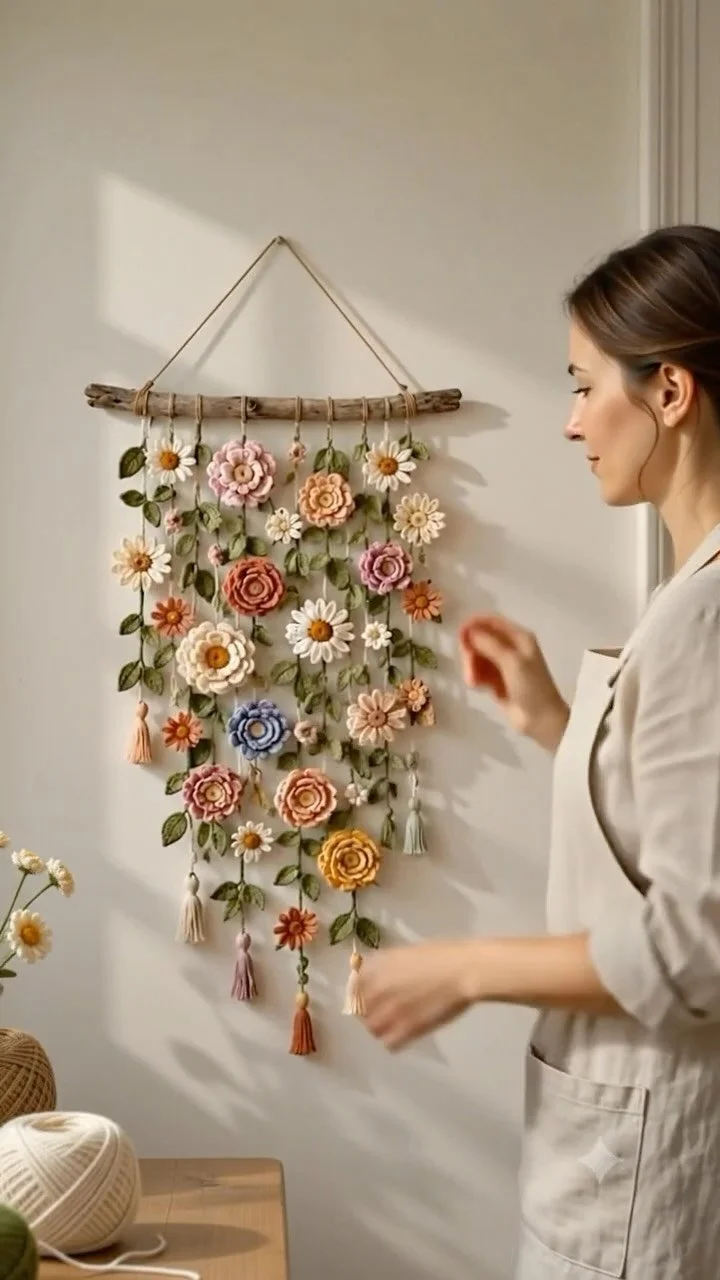
Crochet Floral Wall Hangings: Delicate Daisies, Textured Roses
Crochet Floral Wall Hangings: Delicate Daisies, Textured Roses
Transform your indoor space into a vibrant oasis with crochet floral wall hangings. In this tutorial, you will learn to craft beautiful floral motifs, including delicate daisies and rich textured roses, alongside the assembly process to create a stunning home decor piece. This detailed guide will teach you essential crochet techniques, how to select materials, and effective assembly methods, enabling you to create your very own floral masterpiece.
Project Plan
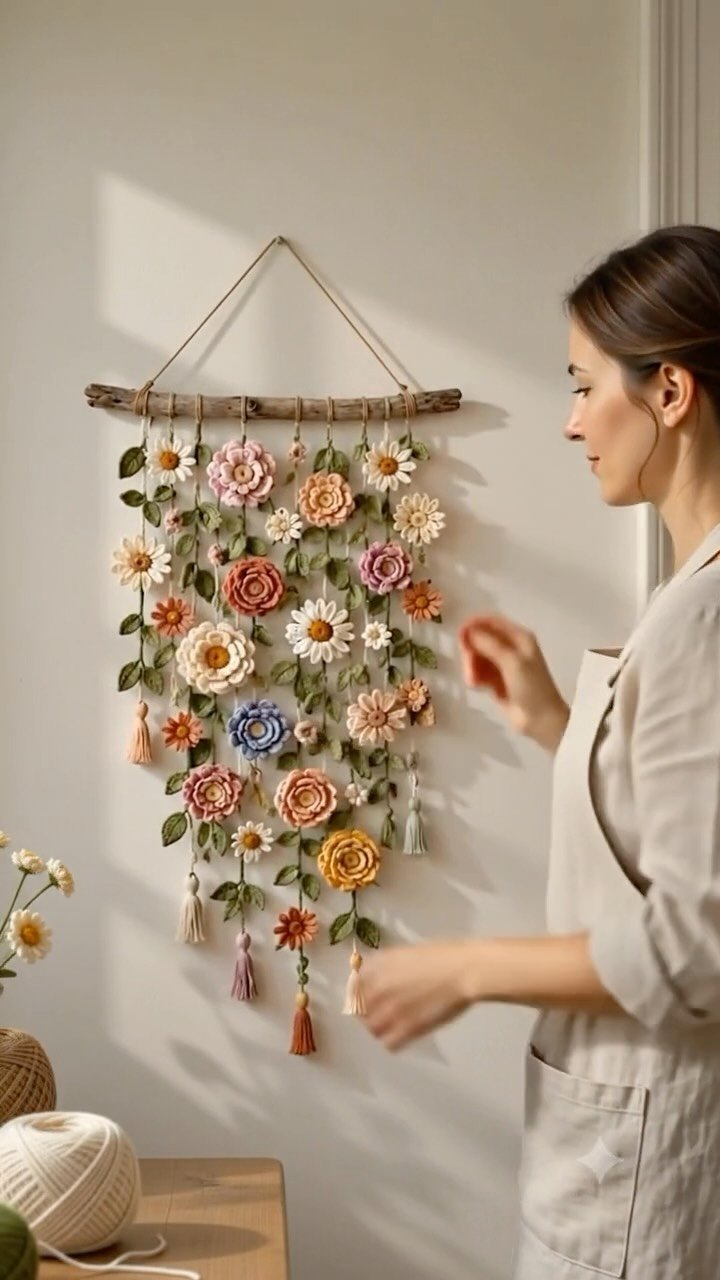
In this project, you’ll create a floral wall hanging featuring:
- Flower Motifs: Delicate daisies and rich, textured roses.
- Leaves: Complementary foliage to enhance your arrangement.
- Base for Assembly: Choose either a circular or rectangular shape.
- Optional Embellishments: Personal touches like beads or buttons for added flair.
- Hanging Mechanism: Use a wooden dowel or decorative branch for display.
Each of the flower motifs and leaves will be crocheted separately and then attached to the base. Your choice of embellishments will lend a personalized touch to the final piece.
Materials and Tool Selection
Required Materials
-
Yarn:
- Choose a medium-weight cotton yarn for strength and ease of care.
- Suggested colors: Green for leaves, Yellow or White for daisies, and various shades of Red for roses.
-
Crochet Hook:
- Use a 4.0mm (G) or 5.0mm (H) hook, adjusting based on your yarn thickness.
-
Scissors:
- For cutting yarn.
-
Tapestry Needle:
- For weaving in ends.
-
Optional Embellishments:
- Beads, buttons, or other decorative items to personalize your wall hanging.
Suggested Choices
-
Yarn Fiber:
- Cotton is preferred for its structure and reduced stretch. Acrylic can be suitable for a softer effect.
-
Testing Your Yarn:
- Crochet a small swatch (approximately 4” x 4”) to evaluate how the yarn behaves when crocheted. This is crucial for ensuring the desired drape and size.
Terminology and Techniques
Common Abbreviations
- ch: chain
- sc: single crochet
- dc: double crochet
- sl st: slip stitch
- st(s): stitch(es)
Basic Techniques
Single Crochet (sc)
- Insert the hook into the stitch.
- Yarn over and pull through (2 loops on the hook).
- Yarn over again and pull through both loops (1 loop remains).
- Finished look: A neat, tight stitch.
Double Crochet (dc)
- Yarn over, insert the hook into the stitch.
- Yarn over, pull through (3 loops on the hook).
- Yarn over again and pull through the first two loops (2 loops remaining).
- Yarn over once more, pull through the last two loops (1 loop remains).
- Finished look: A taller stitch with more height and airiness.
Chain Stitch (ch)
- Yarn over.
- Pull the yarn through the loop on the hook.
- Finished look: A series of chains that can be used as a foundation.
Measurements and Preparation
Before beginning, determine the desired dimensions of your wall hanging. For intricate designs, measuring your swatch after washing is vital, as different yarns may behave differently when cleaned.
Example:
If your swatch measures 10 stitches in 4 inches (width), you can calculate the required width for your piece:
- For a piece 12 inches wide:
- 10 stitches / 4 inches = 2.5 stitches per inch
- 2.5 stitches/inch * 12 inches = 30 stitches
Preparing Your Swatch:
Crochet a sample square using your chosen yarn and hook to evaluate dimensions and drape. Check the finished measurement against your desired size, adjusting your technique if necessary.
Detailed Working Method
Stage 1: Crocheting Flower Motifs
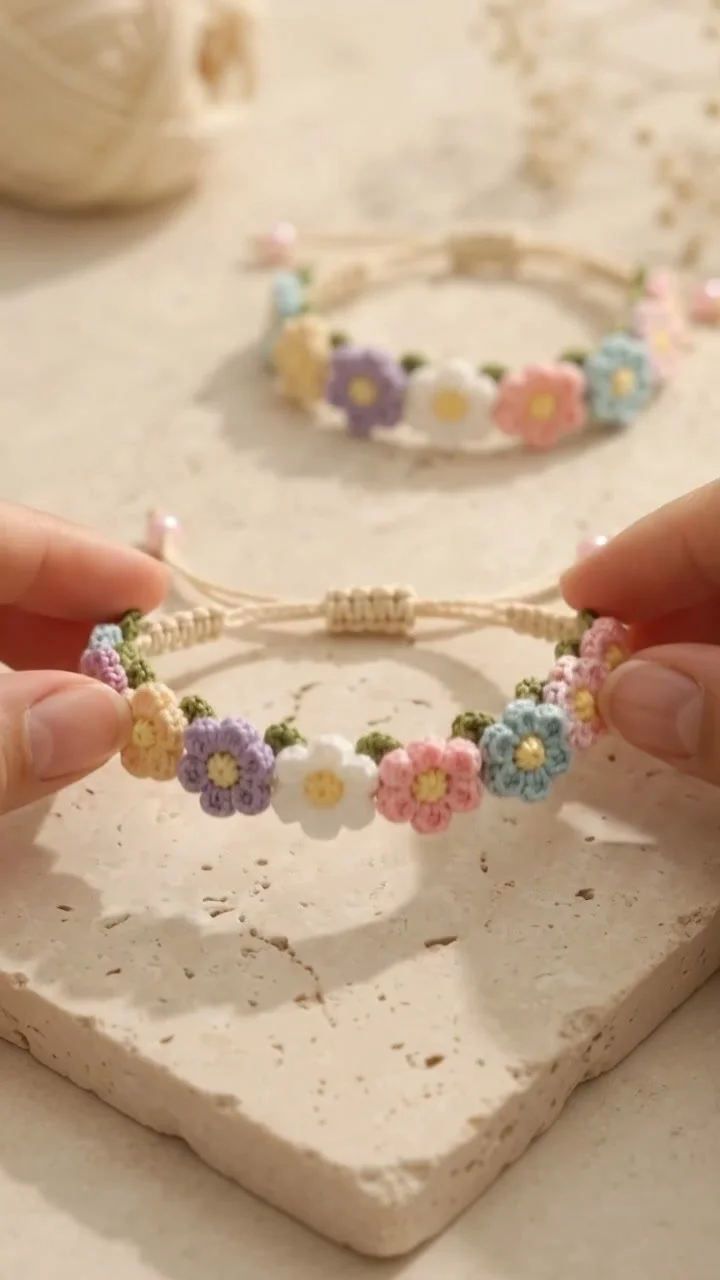
Daisies
- Foundation: Start with a magic ring.
- Petals: Chain 2 (does not count as a stitch) and make 10 dc into the ring (total of 11 stitches).
- Close Circle: Pull the magic ring tight and join with a sl st to the top of the first dc.
- Finish Off: Cut the yarn, leaving a tail for sewing.
- Checkpoint: You should have a flower with 10 petal points sticking out.
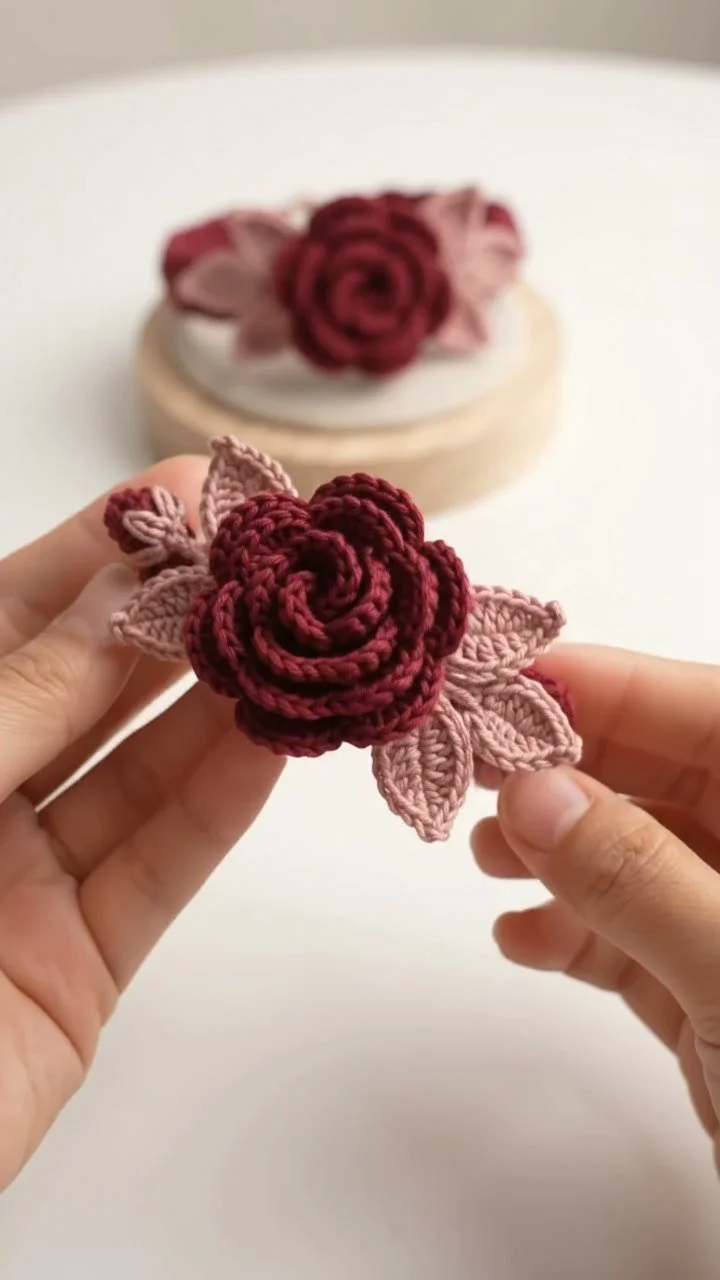
Roses
- Foundation: Start with a chain of 4, join with a sl st to form a ring.
- Round 1: Chain 3 (counts as first dc), make 11 dc into the ring (total 12 dc).
- Round 2: Chain 3, dc in the same stitch, then 2 dc in next st, repeating until complete (total of 24 stitches).
- Shape: Gently spiral and sew the rose together, tacking securely.
- Checkpoint: The rose should look full and spiral.
Stage 2: Crochet Leaves
- Foundation: Chain 10.
- Row 1: Starting in the 2nd ch from the hook, sc in the next 8 ch, and 3 dc in the last ch.
- Row 2: Working down the opposite side, sc in the next 8 ch, and join with a sl st to the base.
- Finish Off: Cut the yarn and weave in ends.
- Checkpoint: You should have a leaf shape with a central vein.
Stage 3: Assembling Your Wall Hanging
- Base Creation: Crochet a circular or rectangular base using sc across until reaching your desired size.
- Placement: Layout your flowers and leaves on the base to finalize your design before securing them.
- Attachment: Using a tapestry needle, sew each flower and leaf securely to the base with matching yarn. Maintain consistent tension.
- Hanging Mechanism: Attach a dowel or branch to the top using yarn or strong string.
Assembly and Finishing
- Positioning: Ensure flowers and leaves are evenly spaced.
- Sewing Paths: Use straight stitches to attach components, maintaining consistent tension.
- Final Check: Inspect for gaps or loose stitches before finishing and weaving in all ends.
Troubleshooting
| Symptom | Likely Cause | Practical Correction |
|—————————–|———————————————–|————————————————|
| Flowers are uneven | Misplaced stitches or uneven tension | Readjust placement or re-crochet affected area |
| Leaves curl up | Incorrect stitch count or tight stitches | Loosen stitches or use a larger hook |
| Difficulty in joining | Not securing stitches tightly | Use a smaller needle for better closure |
Variations, Care, and FAQ
Variations
- Experiment with different flower types or styles.
- Introduce beads or fabric scraps for decorative accents.
- Alter color combinations to match your home décor.
Care
- Hand wash your wall hanging gently and lay it flat to dry to maintain its shape and prevent damage.
Frequently Asked Questions
-
Can I use acrylic yarn instead of cotton?
- Yes, although the drape and durability might differ.
-
How do I hang my wall hanging?
- You can use a dowel or decorative branch attached with yarn or hooks.
-
What if I want a larger design?
- Scale proportions accordingly based on your estimated sizes.
-
Can I incorporate other materials?
- Absolutely! Feel free to mix fabric or paper elements for a unique touch.
Completion Checklist
- Have all components been crocheted and checked?
- Are all flowers and leaves securely attached to the base?
- Is the finished wall hanging clean and positioned properly for hanging?
Create your own crochet floral wall hanging that not only beautifies your personal space but also showcases your crafting skills and creativity! Enjoy your completed project!