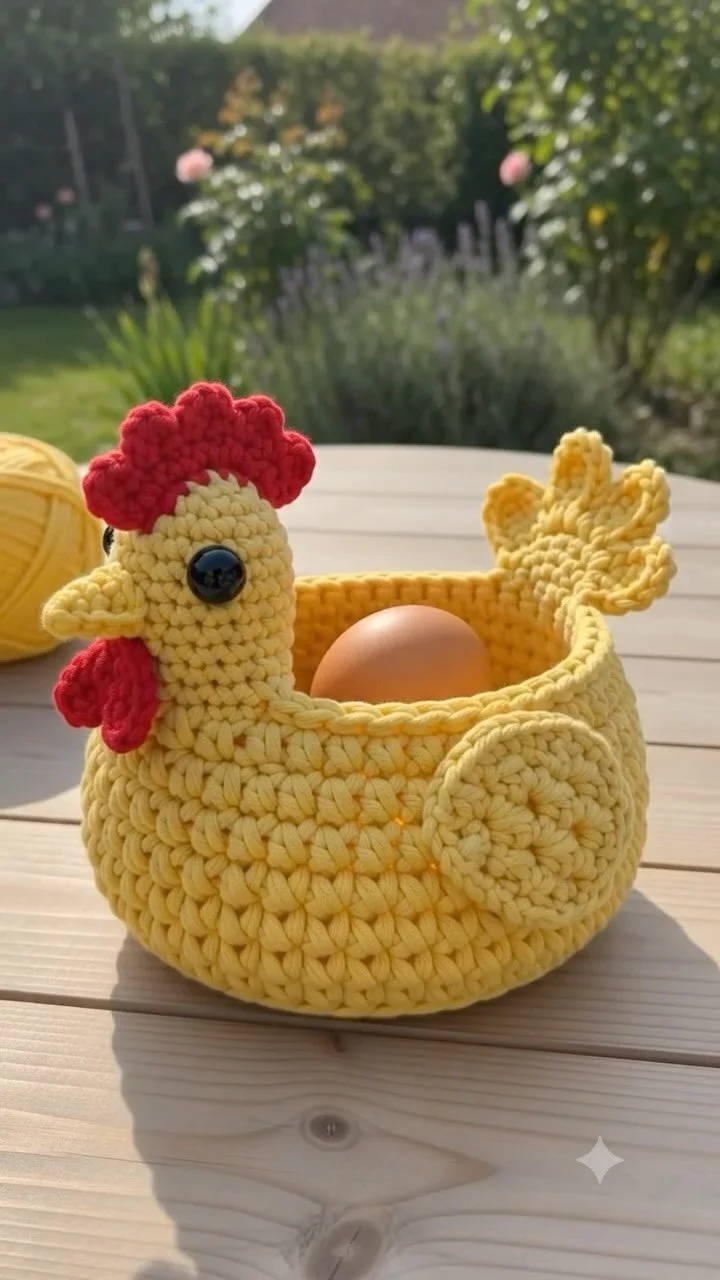
Crochet Chicken Basket: Handmade Yellow Kitchen Charm
Bring a Touch of Cozy Farmhouse Charm to Your Kitchen with this Handmade Yellow Crochet Chicken Basket! 🐣💛
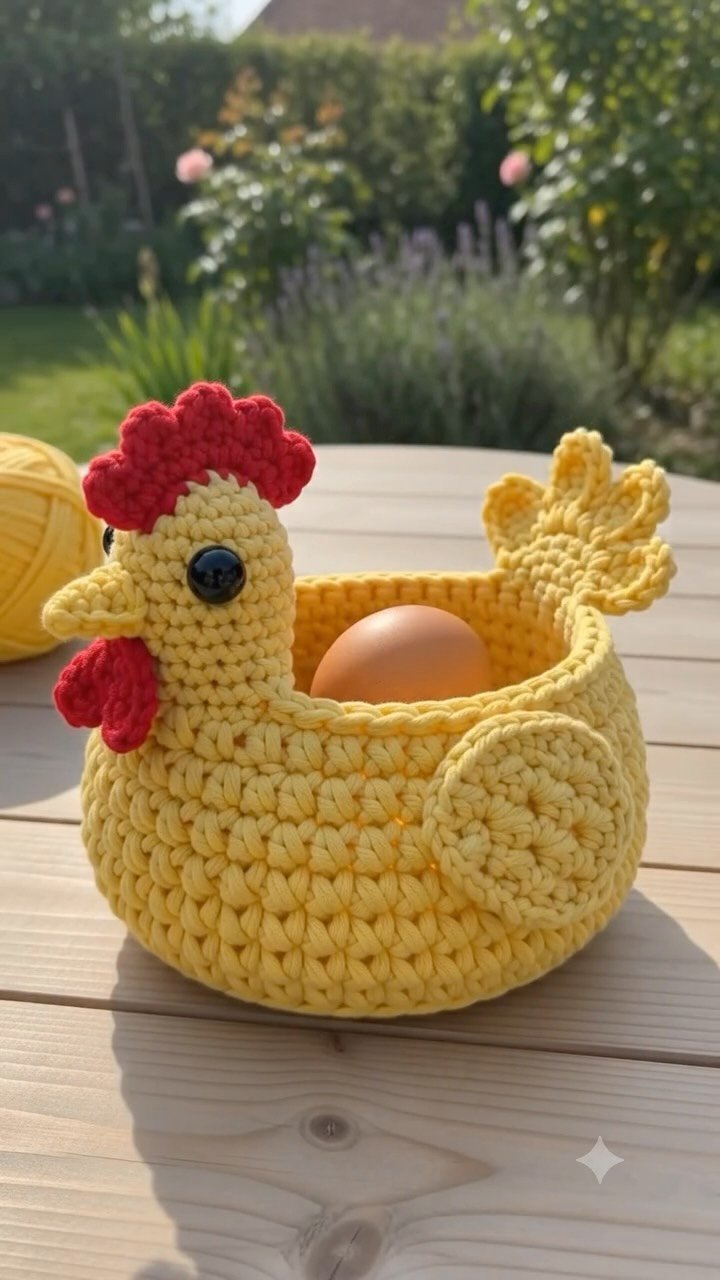
In this tutorial, you’ll learn how to create a beautiful and functional chicken-shaped basket that adds rustic charm to your kitchen. Perfect for gathering fresh eggs or beautifying your picnic table, this project will guide you through the essential techniques and step-by-step instructions you need to make your own handmade yellow crochet chicken basket.
Project Plan
This crochet chicken basket comprises three main components:
- Base: The sturdy foundation that provides stability for the basket.
- Sides: The vertical sections that shape the basket.
- Handle: A decorative and functional feature for carrying the basket.
We will crochet each piece separately and then assemble them. The construction will primarily utilize standard crochet techniques, focusing on working in the round for both the base and the sides.
Materials and Tool Selection
Yarn
- Yellow Crochet Yarn: Choose a worsted weight cotton or acrylic yarn. Cotton gives a rustic look and is highly absorbent, while acrylic is easier to clean.
Crochet Hook
- Size H/8 (5 mm) Hook: A common size for medium weight yarn. Hook size impacts stitch tension, so if unsure, make a gauge swatch.
Other Tools
- Scissors: To cut your yarn.
- Yarn Needle: For weaving in ends.
- Measuring Tape: To check dimensions during construction.
Suggested Starting Choices
Using bright yellow yarn will promote a cheerful kitchen atmosphere. It’s essential to ensure your yarn thickness corresponds with the hook size for consistent results.
Sample Swatch
Before starting, create a swatch to check your gauge. Make a chain of 10 stitches and crochet 4-5 rounds in single crochet. Measure how many stitches fit in approximately 4 inches to align with your project dimensions.
Terminology and Techniques
This tutorial uses U.S. crochet terminology. Below are key stitches and abbreviations:
- Single Crochet (sc): Insert the hook into a stitch, yarn over, pull through, yarn over again, and pull through both loops. One loop remains on the hook after finishing.
- Slip Stitch (sl st): Used for joining rounds without adding bulk.
Abbreviations
- ch: chain
- sc: single crochet
- sl st: slip stitch
Important Notes:
- Maintain consistent tension to avoid distortions in your basket.
Measurements and Preparation
Measurement
Decide how big you want your basket. A typical chicken basket measures about 12 inches in diameter and 10 inches tall.
Sample Swatch
Crochet a swatch approximately 4” x 4” to ensure your gauge aligns with desired dimensions.
Detailed Working Method
Stage 1: Create the Base
-
Magic Circle: Start with a magic circle to create a tight center.
- Make a loop with your yellow yarn around your fingers.
- Insert the hook into the loop, yarn over, and pull through.
- Chain 1, then crochet 6 sc into the ring.
- Pull the tail to close the circle and join with a sl st to the first sc.
- Checkpoint: Count to ensure there are 6 stitches in this round.
-
Increase Rows: Work in the round to gradually increase stitches.
- Round 2: Chain 1, crochet 2 sc in each stitch around (12 sc total).
- Round 3: Chain 1, crochet 1 sc, then 2 sc in the next stitch; repeat to end (18 sc total).
- Round 4: Chain 1, crochet 2 sc, then 2 sc in the next stitch; repeat to end (24 sc total).
- Finish the round with a sl st into the first stitch.
Stage 2: Crochet the Sides
- Transition to Sides: Work 2-3 additional rounds without increases to lengthen the sides of the basket.
- Continue with single crochet stitches until the height reaches approximately 10 inches.
- Diameter Check: Ensure it remains around 12 inches in diameter.
Stage 3: Create the Handle
- Foundation Chain: Make a chain about 30 inches long (feel free to adjust this for your preference).
- Row of Double Crochet: Work back into the chain with a row of double crochets to strengthen the handle.
- Attach the Handle: Use sl st to connect both ends of the handle to the basket sides. Ensure even spacing for a balanced look.
Assembly and Finishing
- Join the Base and Sides: With the right sides facing each other, attach the base to the sides using slip stitches along the edge.
- Finishing Off: Weave in any loose ends to tidy up your work and trim any excess yarn.
- Block the Basket: If needed, lightly steam the project to shape it, especially to even out any uneven stitches.
Troubleshooting
| Symptom | Likely Cause | Practical Correction |
|—————————–|—————————————|———————————————-|
| Base is too loose | Wrong hook size or yarn type. | Check gauge and adjust your hook size if necessary. |
| Sides curl inward | Stitches are too tight. | Loosen your tension or use a larger hook for the sides. |
| Handle feels weak | Insufficient stitches in the handle. | Reinforce by adding more rows or stitches. |
Variations, Care, and FAQ
Variations
You can switch colors, create patterns with contrasting yarns, or add embellishments like flowers or beads to customize your basket.
Care
Hand wash your basket and lay it flat to dry to maintain its shape.
FAQs
-
Can I mix different yarn types?
- Yes, but be aware that different fibers affect the texture and durability of your basket.
-
How can I change the size of the basket?
- Adjust the number of rounds in the base or modify the height of the sides.
-
Is it possible to add embellishments?
- Of course! Feel free to get creative with flowers, beads, or embroidery.
-
What if I make a mistake?
- Carefully undo your stitches back to the row before the error and restart from there.
Completion Checklist
- [ ] Base completed with confirmed stitch count.
- [ ] Sides finished to desired height.
- [ ] Handle secured and aligned properly.
- [ ] All ends woven in and secured.
Congratulations! You’ve now crafted your own handmade yellow crochet chicken basket, adding a delightful touch of farmhouse charm to your kitchen. Happy crocheting!